|
Same as when I first installed the Software Bisque locking collar,when the wife is supportive, life is good :-). My operating location was again the kitchen table.
|
|
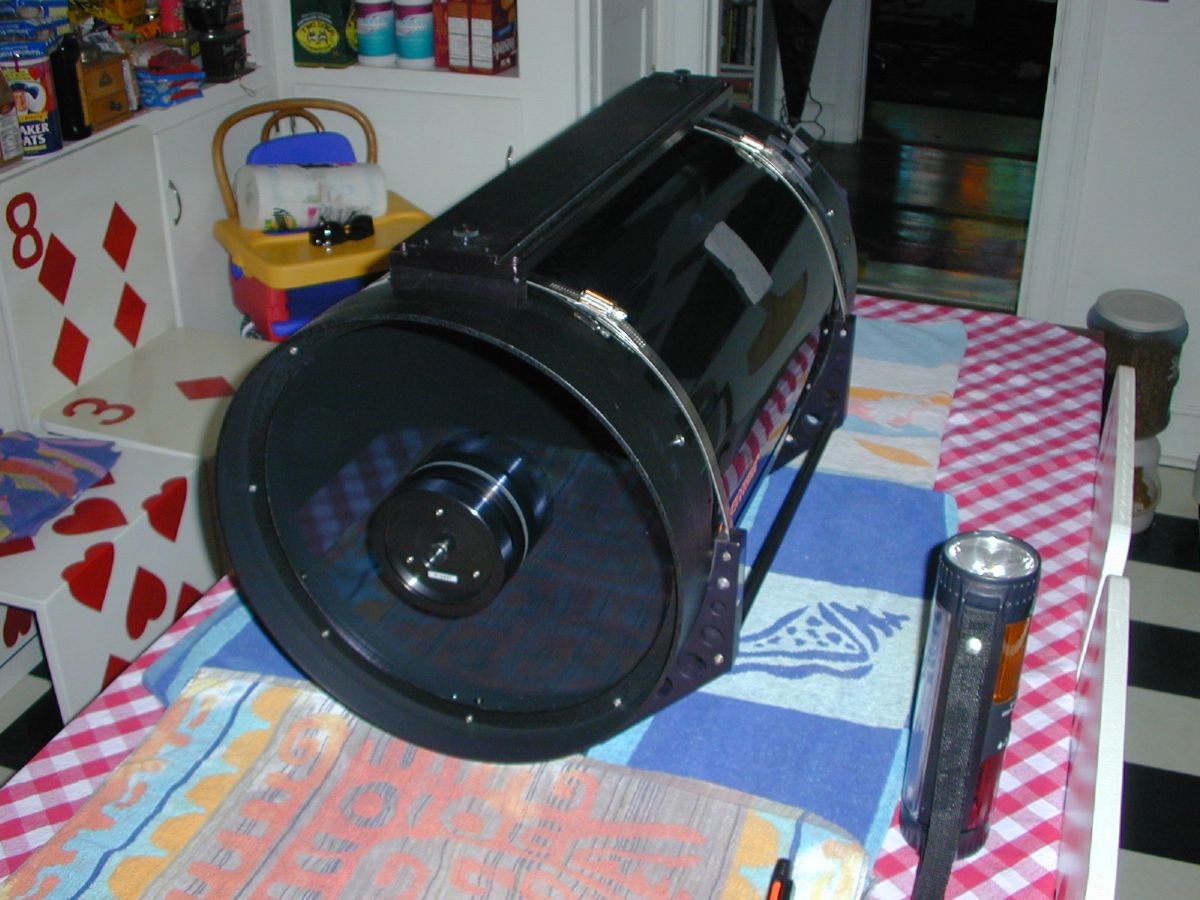
Just as before, the first piece out is the corrector. I removed the retaining ring and made note of the position of the cork spaces. Also, I noted the position of the number on the corrector. Taking a picture is an easy way to return it to exactly the same orientation.
|
|
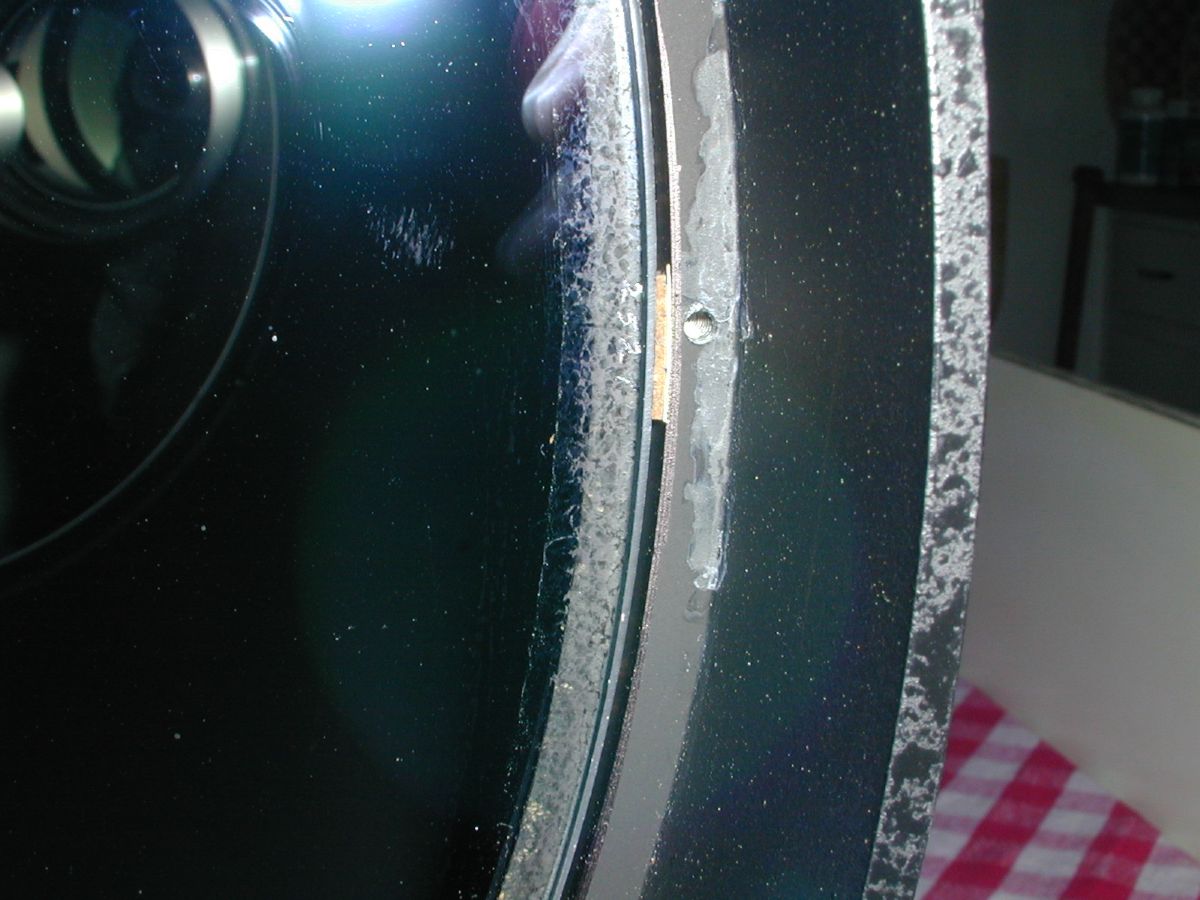
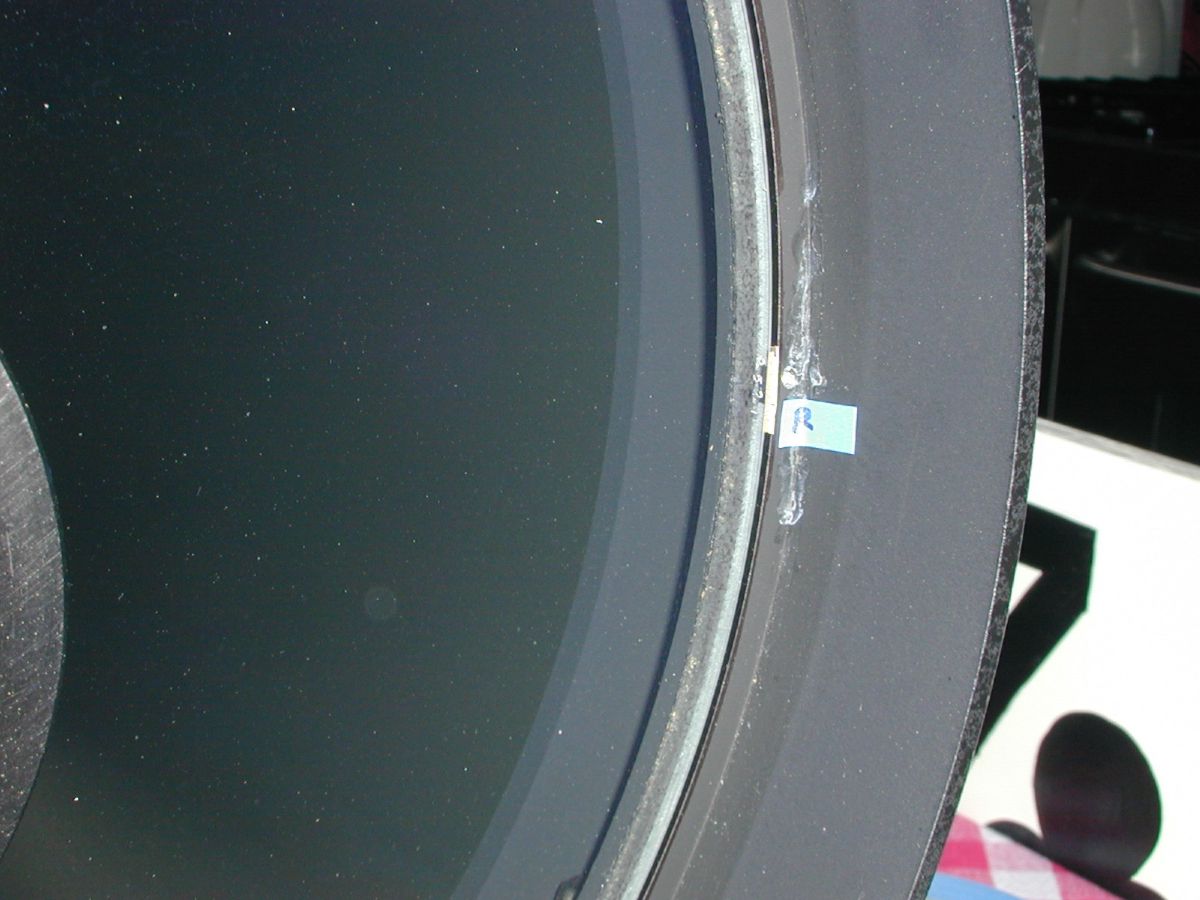
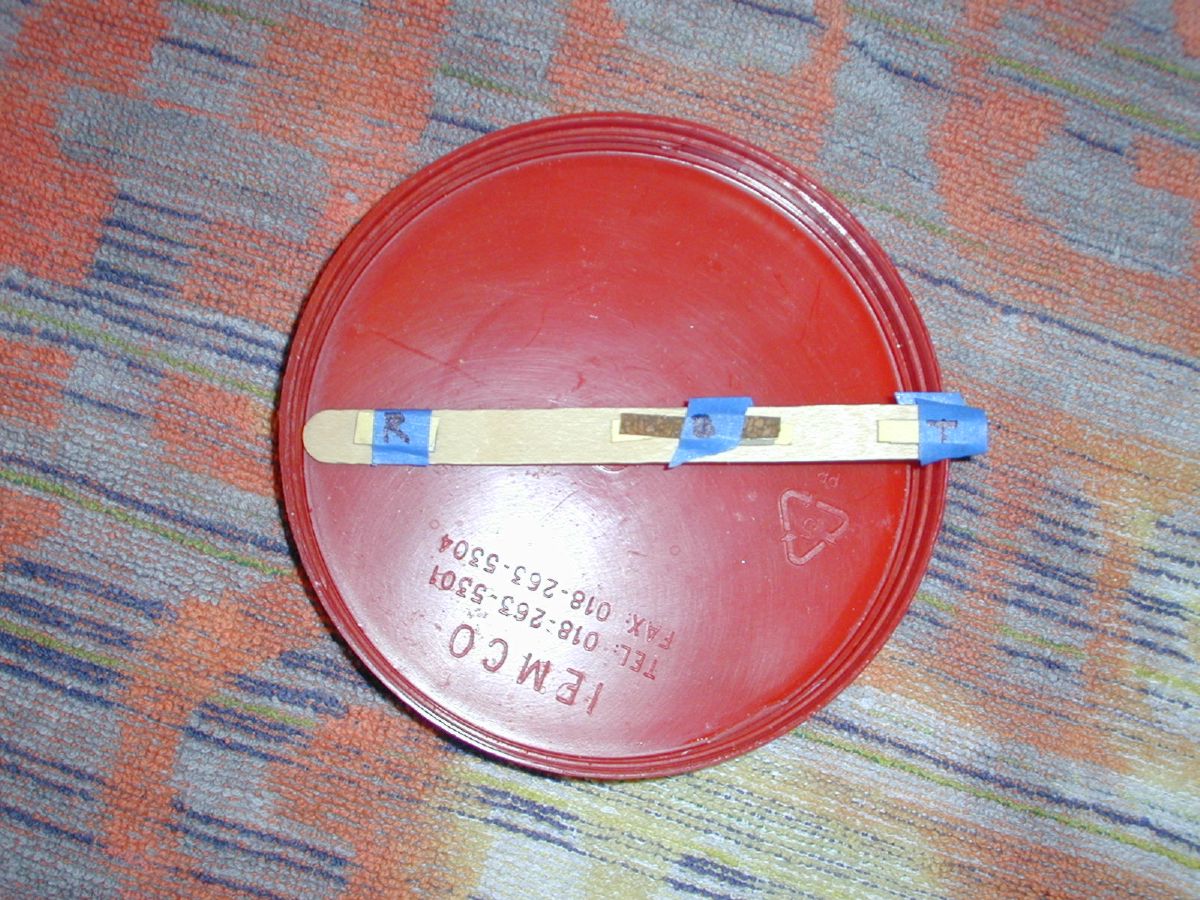
I have spacers at the top, bottom, and right side. I used masking tape to label the locations so each could be returned to its original position.
|
|
With the corrector removed, I carefully collected the spacers and taped and labeled them to a popsicle stick so they wouldn't get lost.
|
|
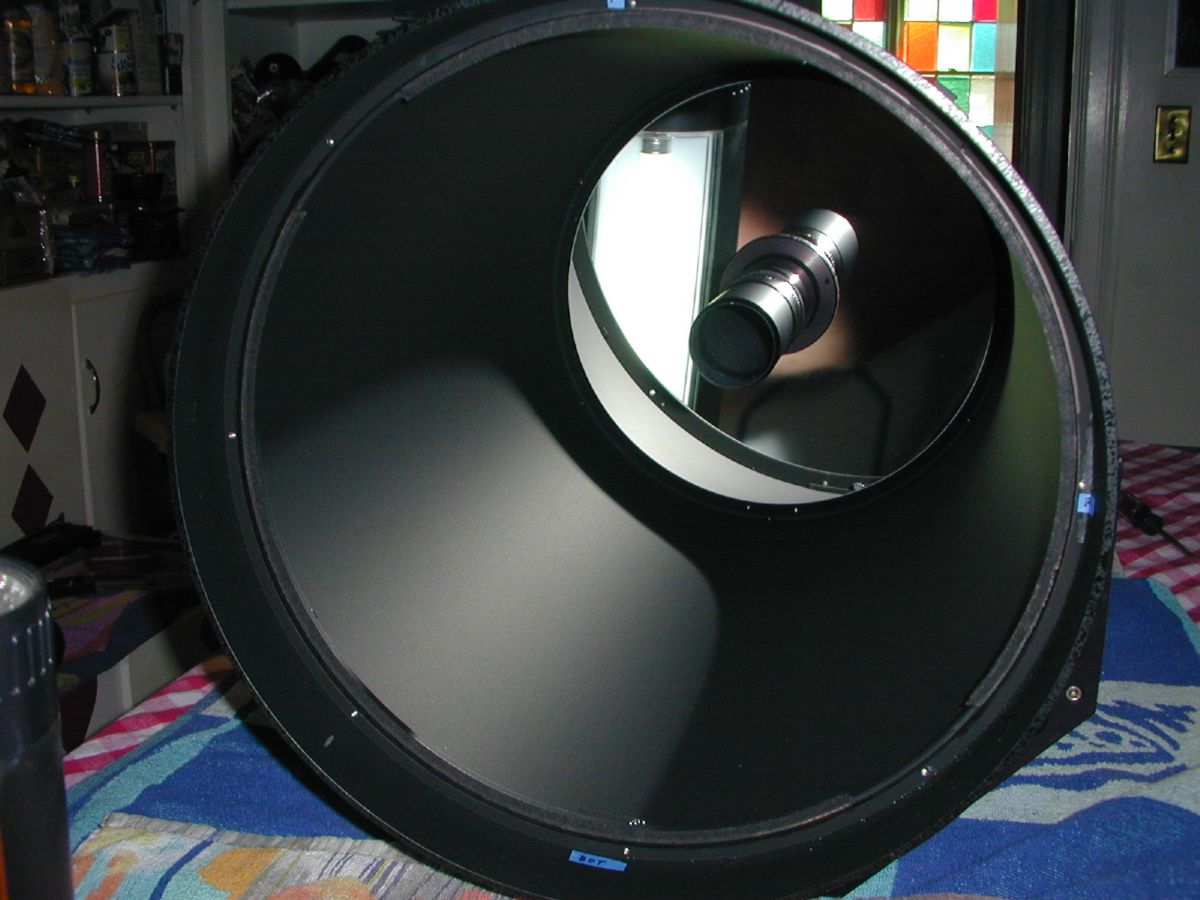
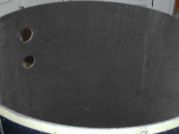
Here is the scope with the corrector removed . You can see the 3 markers for the spacer locations.
|
|
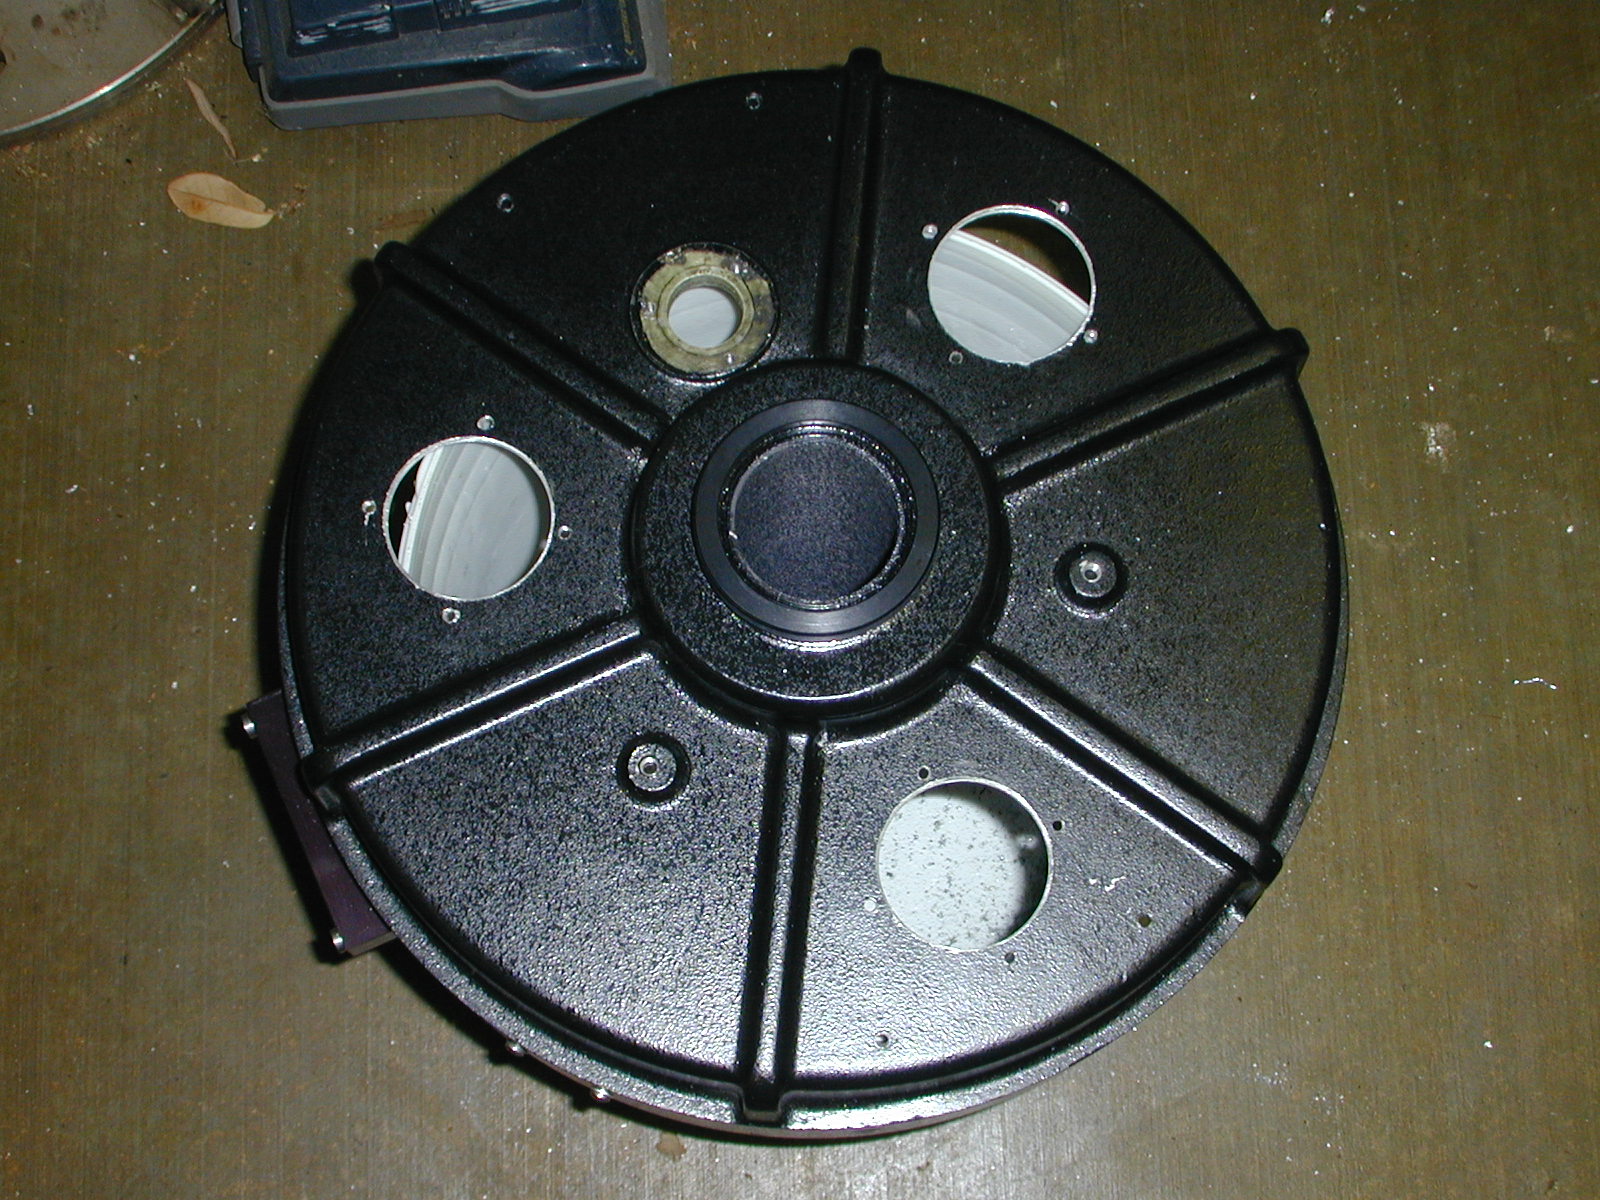
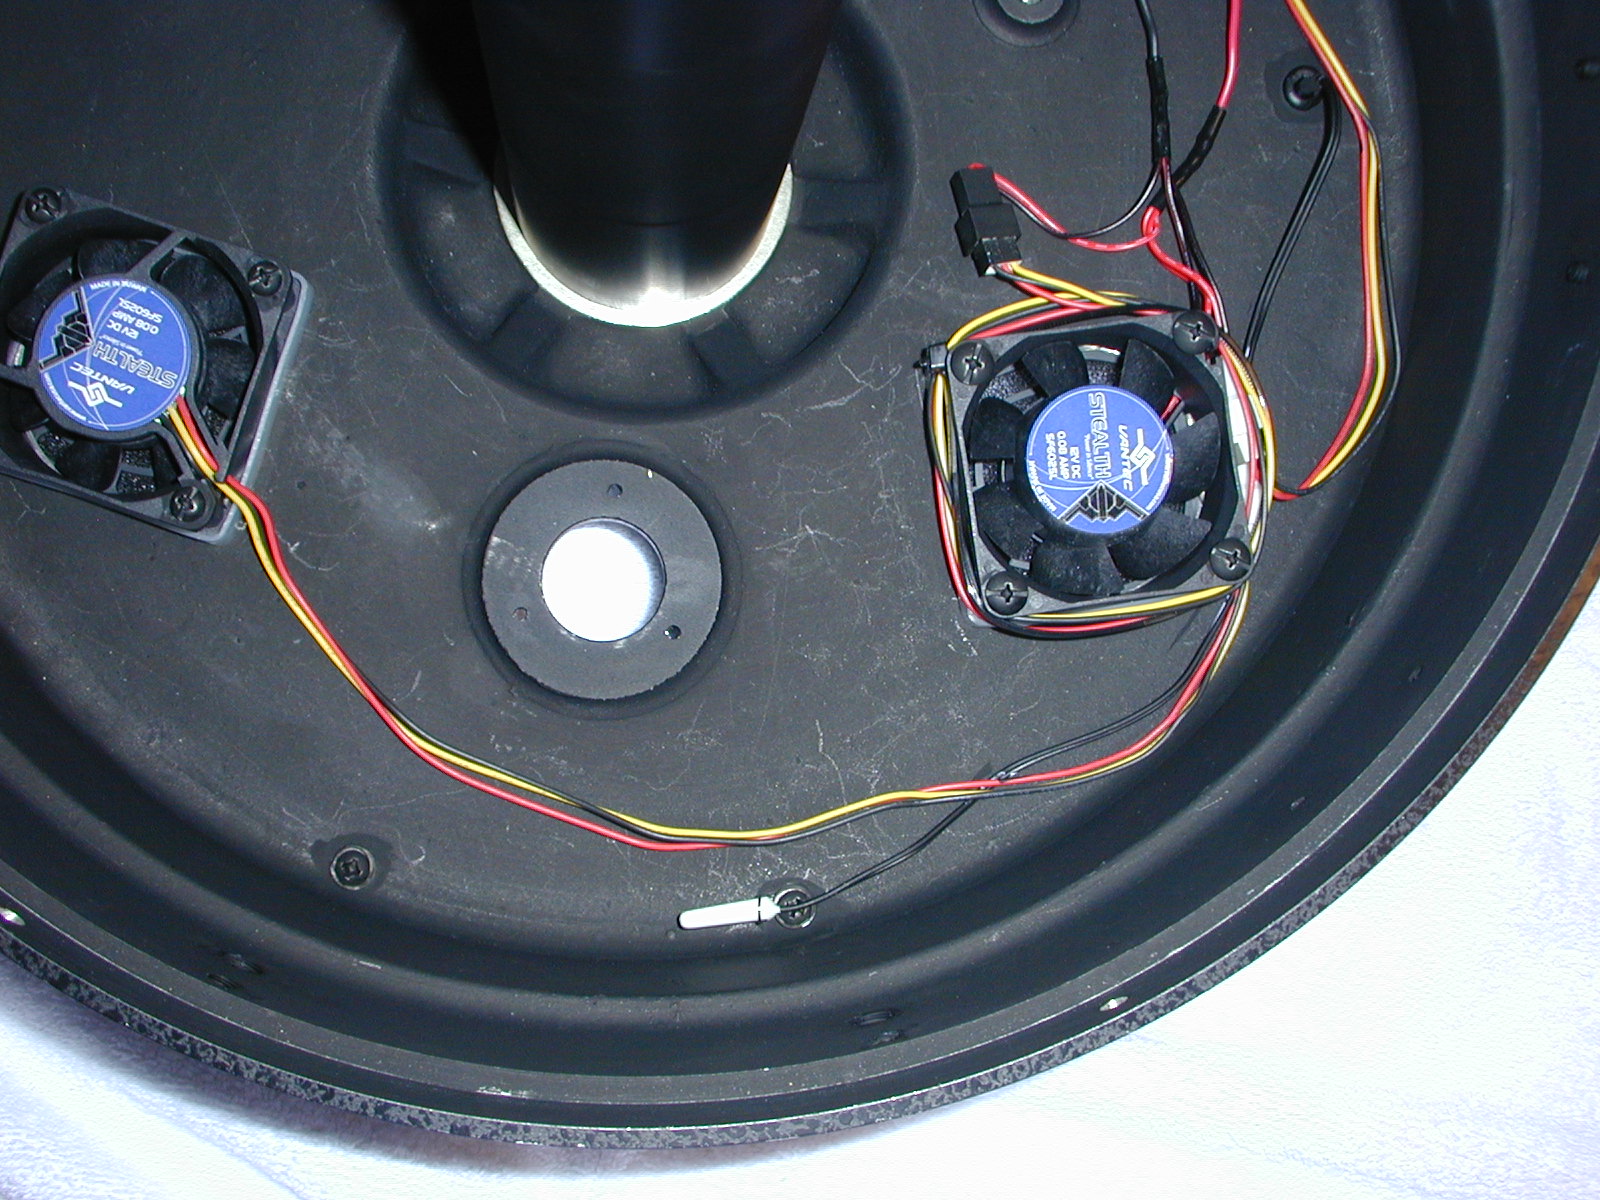
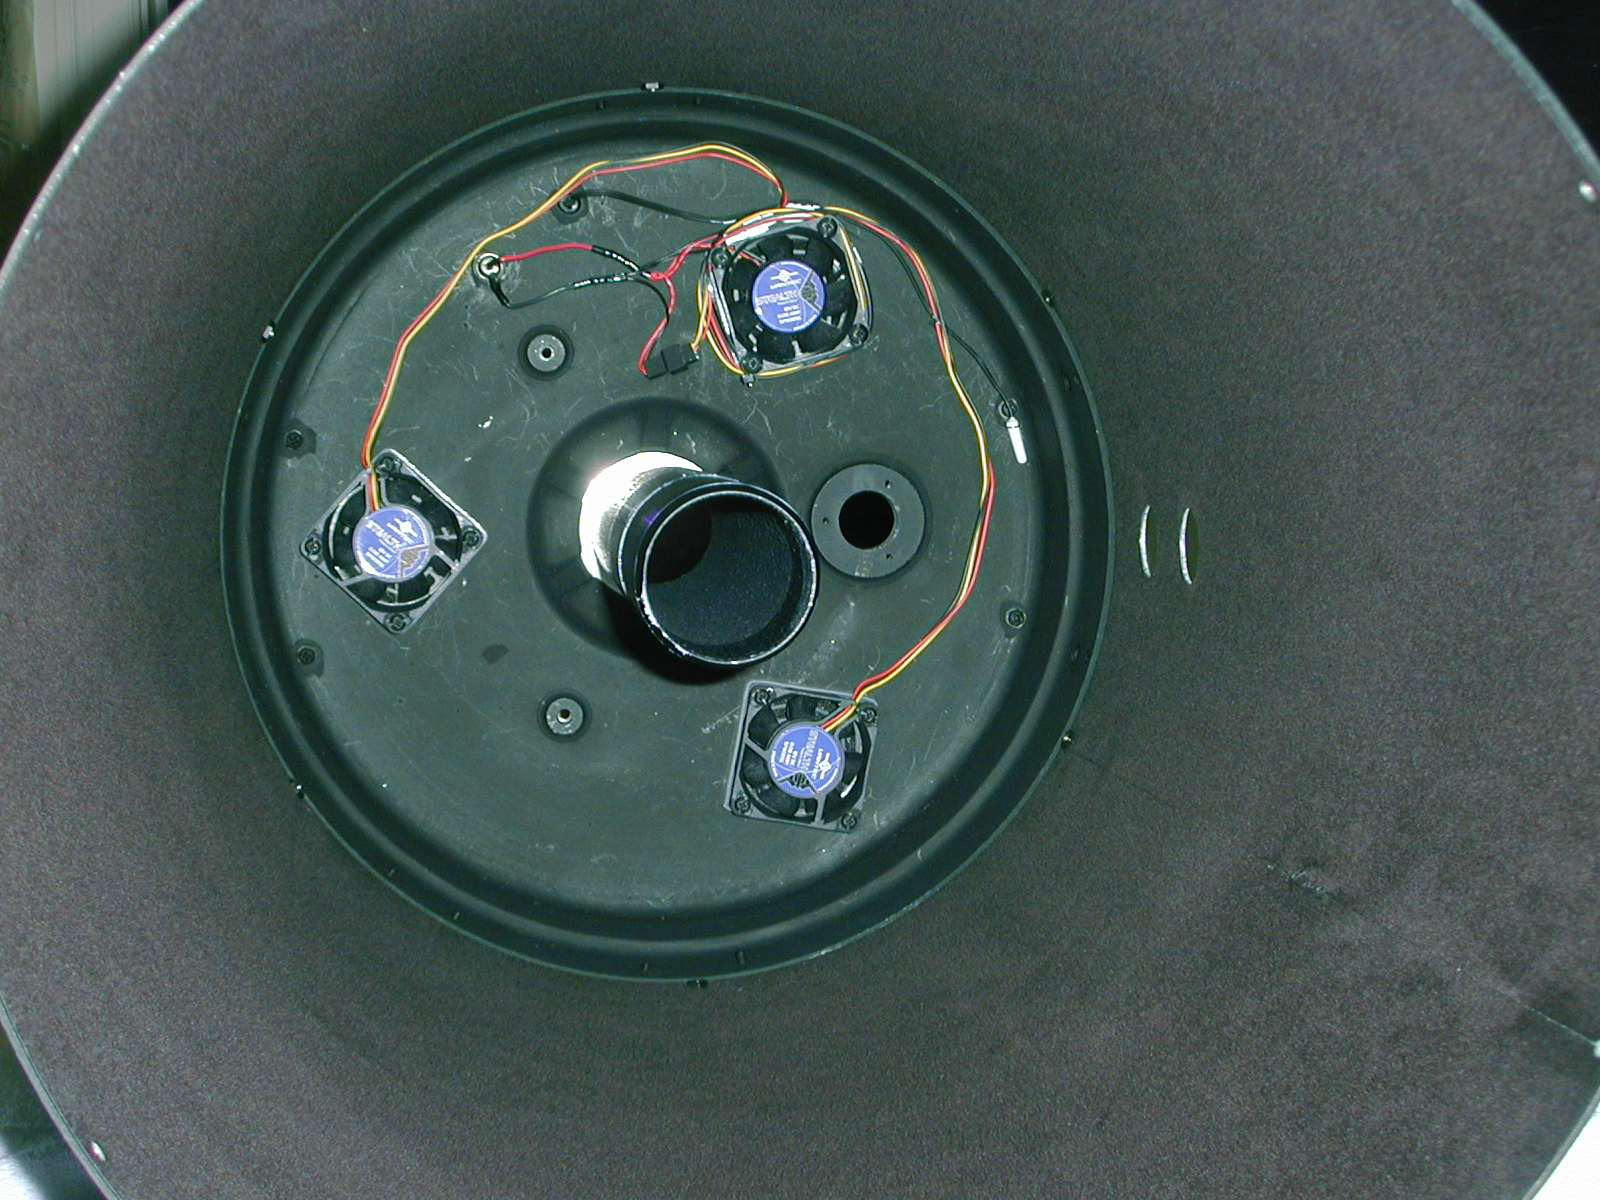
I started the project by cutting the holes in the rear cell for the 3 fans that I would use for cooling the big mirror.
|
|
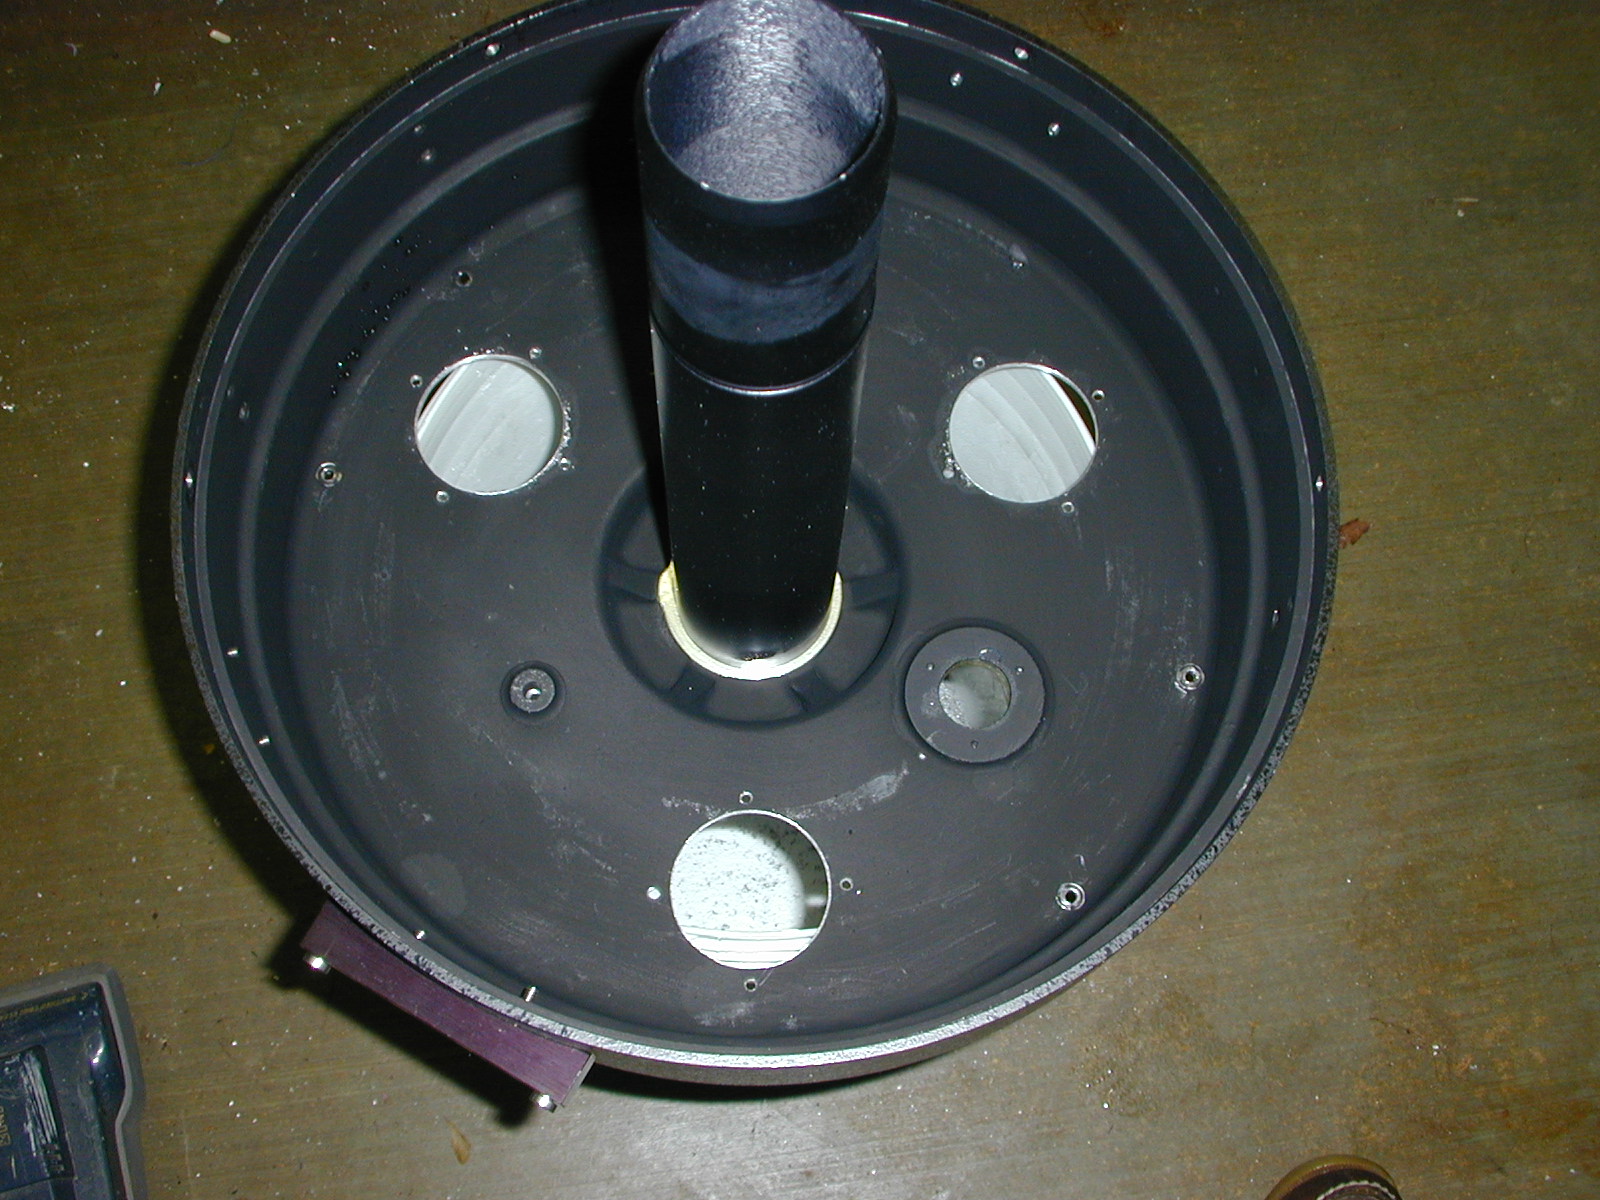
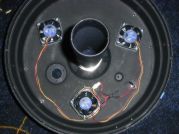
A view from the inside. The fans will be mounted 120°apart. All metal hardware will be painted flat black.
|

|
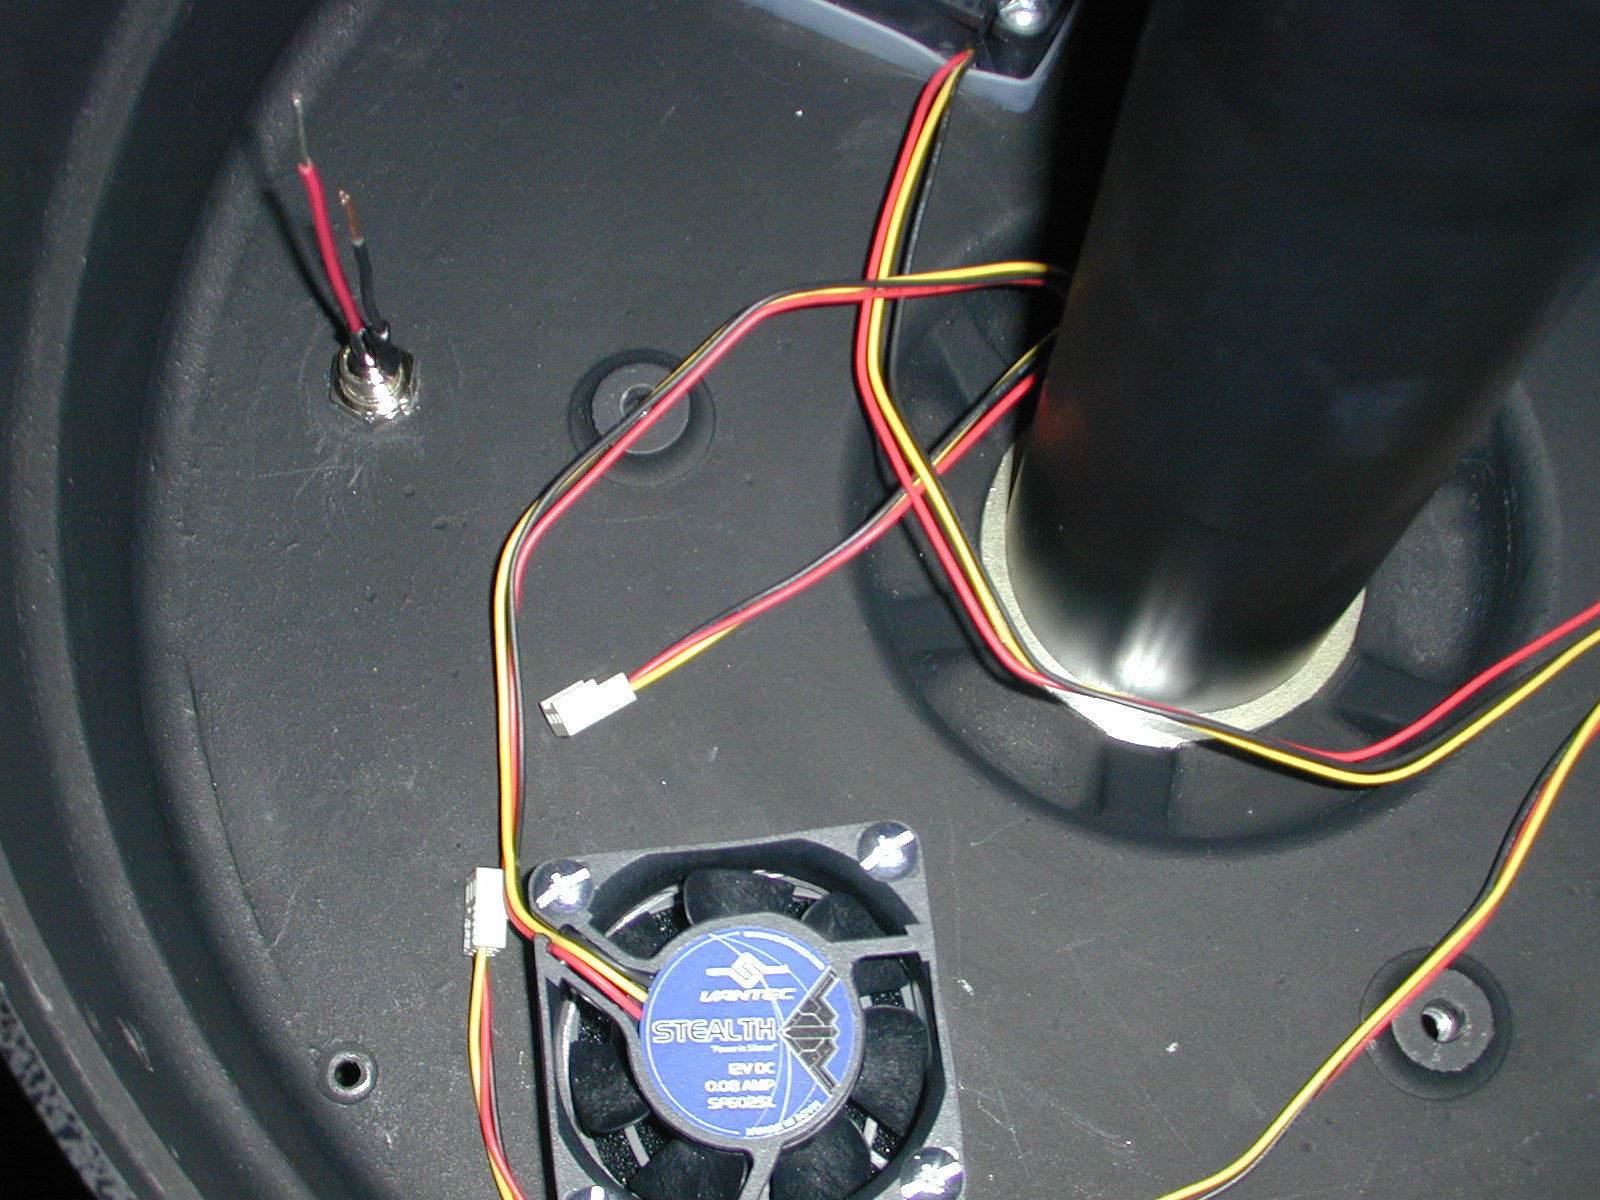
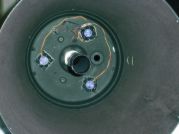
A power connector was installed to bring 12Vdc to the fans that are installed on the inside of the OTA.
|
|
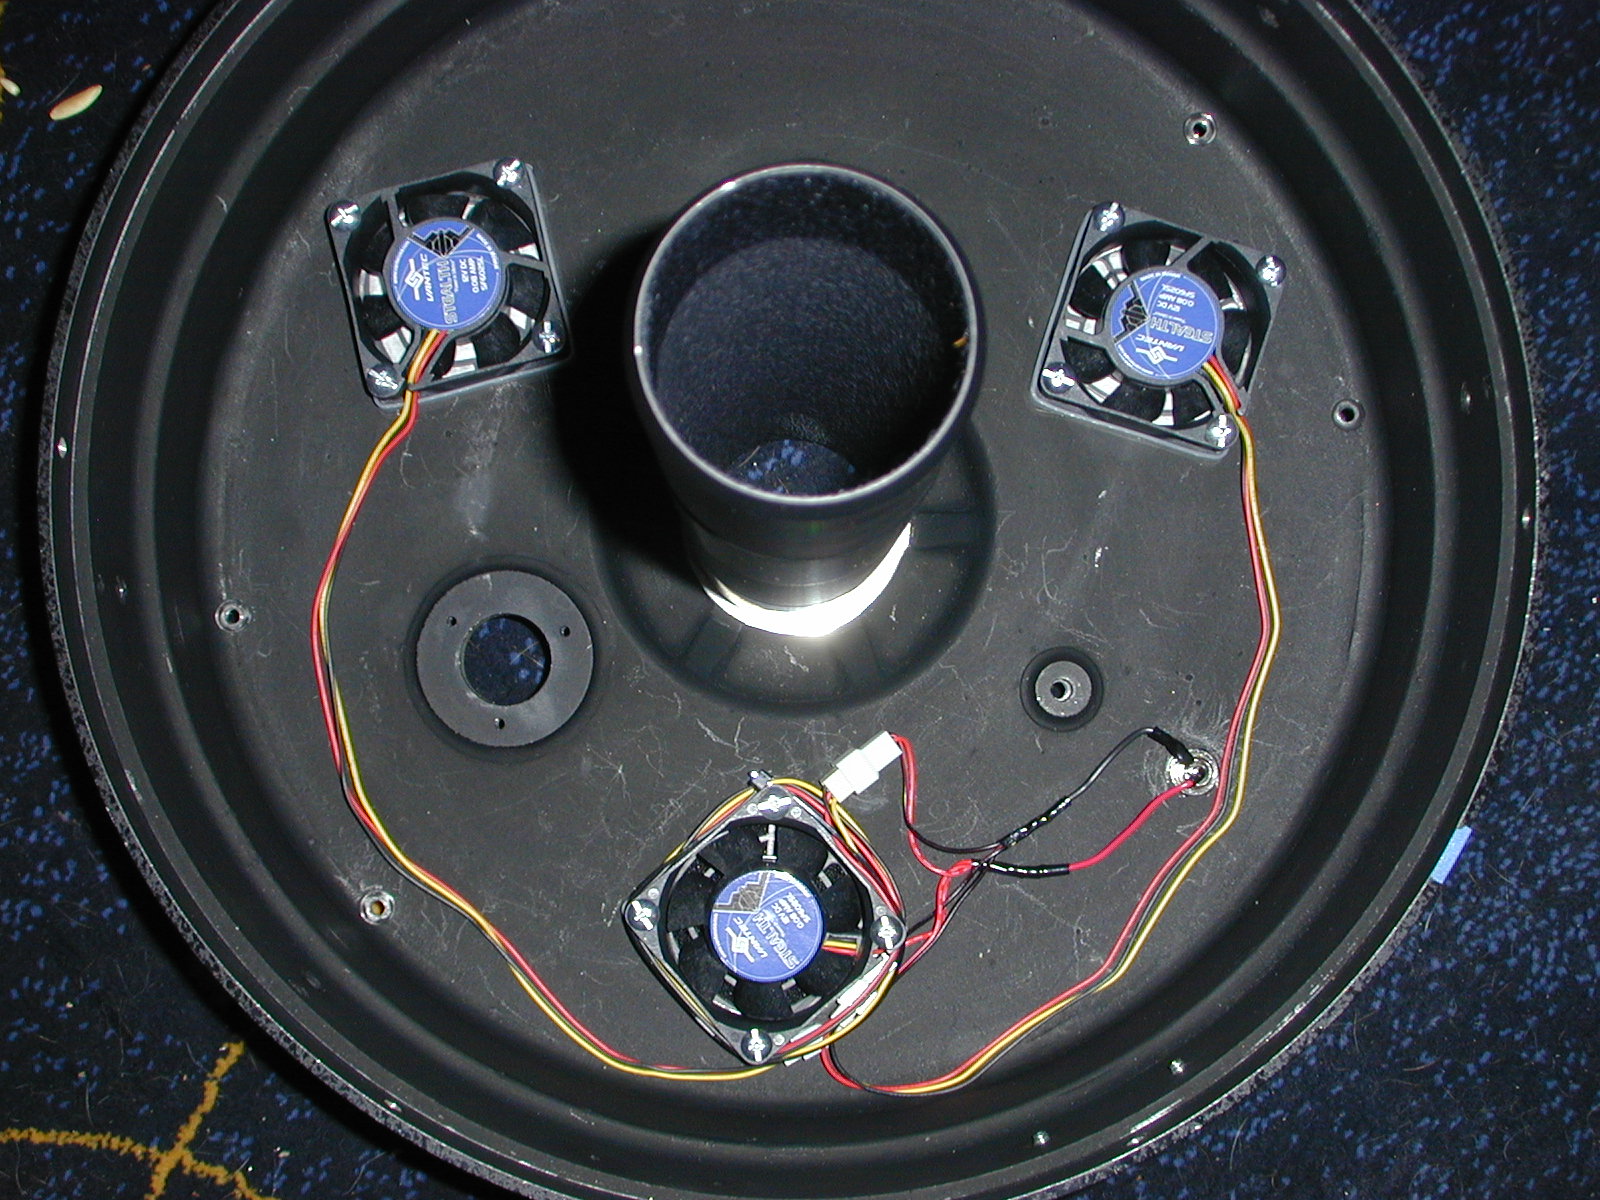
All fans are mounted and wired. Two fans will blow in and one will blow out. I decided to use 90mm fans as I wanted to keep the size of the holes I drilled small while still supplying ample CFM for cooling.
|
|
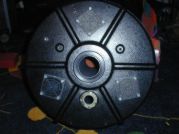
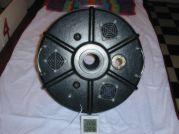
Here is a view from the back. The intake grills are doubled and sandwiched in between each is an extra filter cut from a vacuum cleaner bag. This will help keep the fine dust out.
|
|
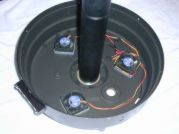
The next thing I added was an indoor/outdoor thermometer to let me watch the temperature inside the OTA. The temp probe is shown in the botom right of the picture.
|

|
Here is a closer view showing that I attached the probe to one screw of the carrying handle. This will measure the air temp behind the mirror.
|
|
This shows the reading from the thermometer. The "OUT" is the temp probe that will be behind the mirror.
|
|
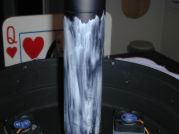
My next modification was flocking the inside of the OTA. I used ProtoStar flocking paper and cut it close to fitting first. Then as the backing was rolled off, I used a piece of PVC pipe to roll the paper flat, then trimmed the excess.
|

|
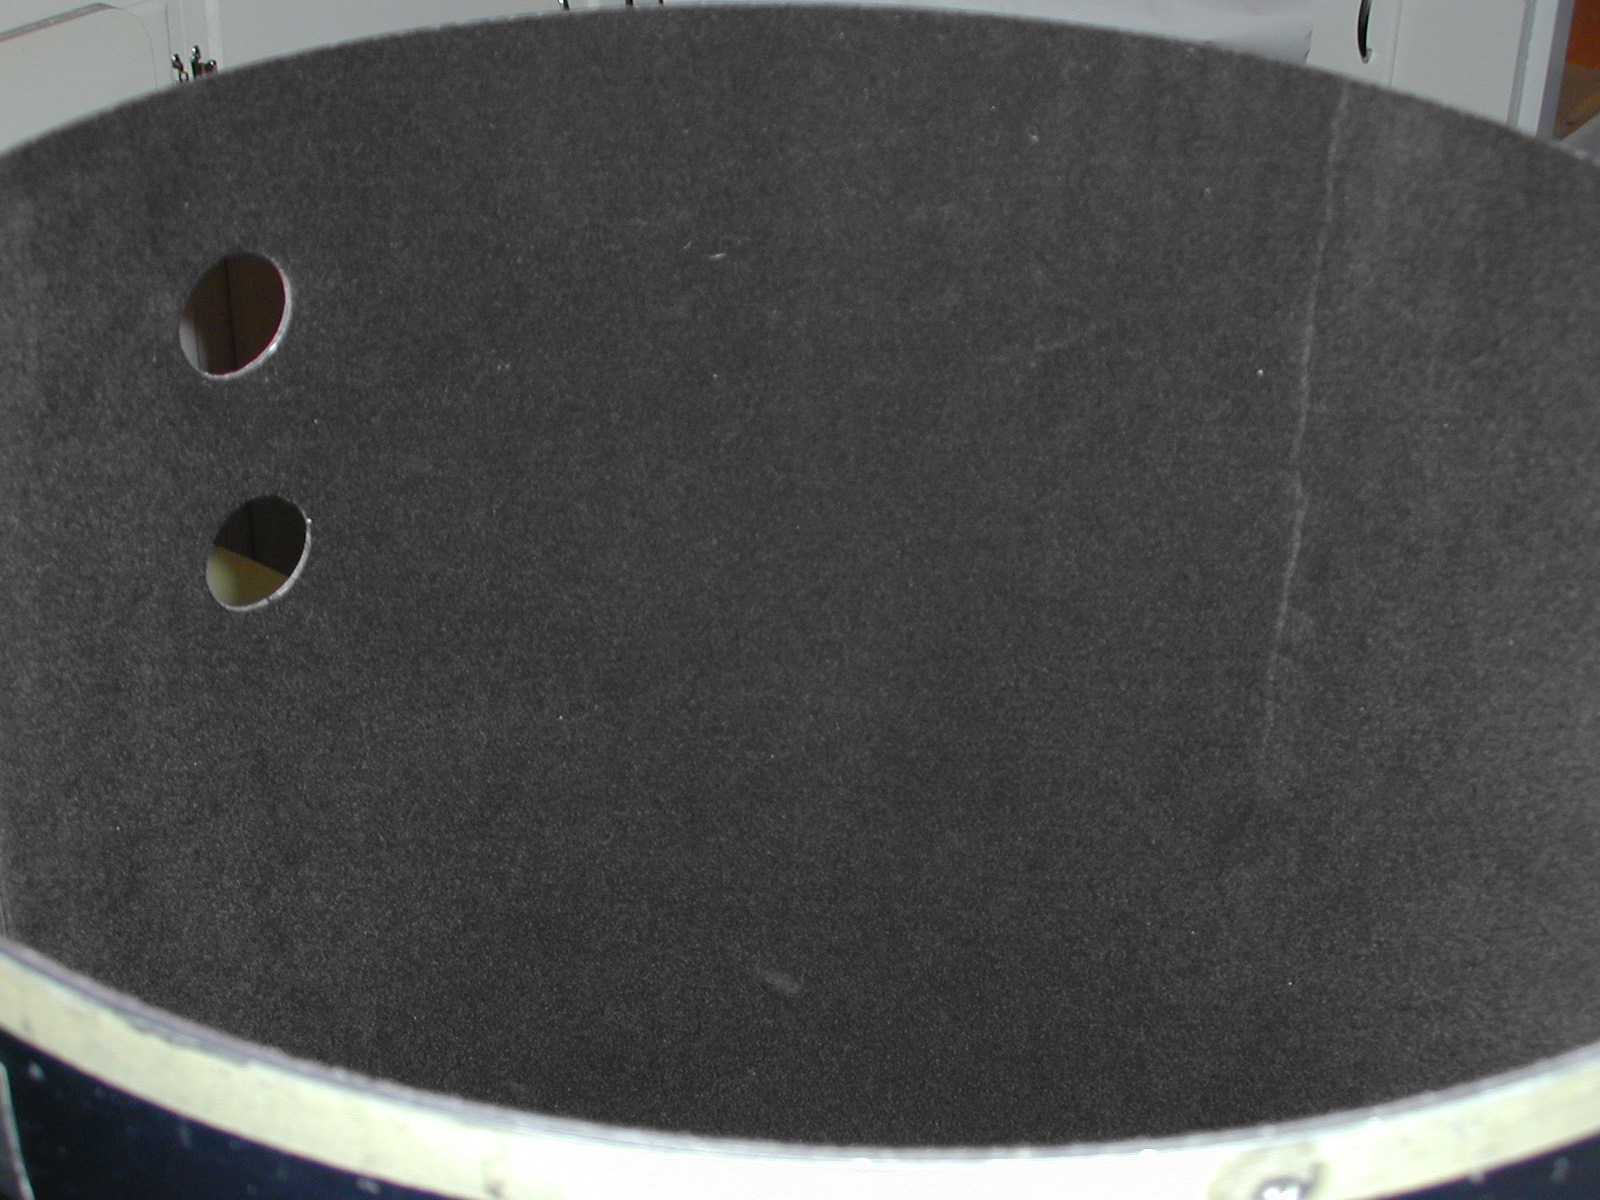
Here is a view of the inside of the OTA after the flocking was completed. The inside is much darker now and there is less reflected light.
|
|
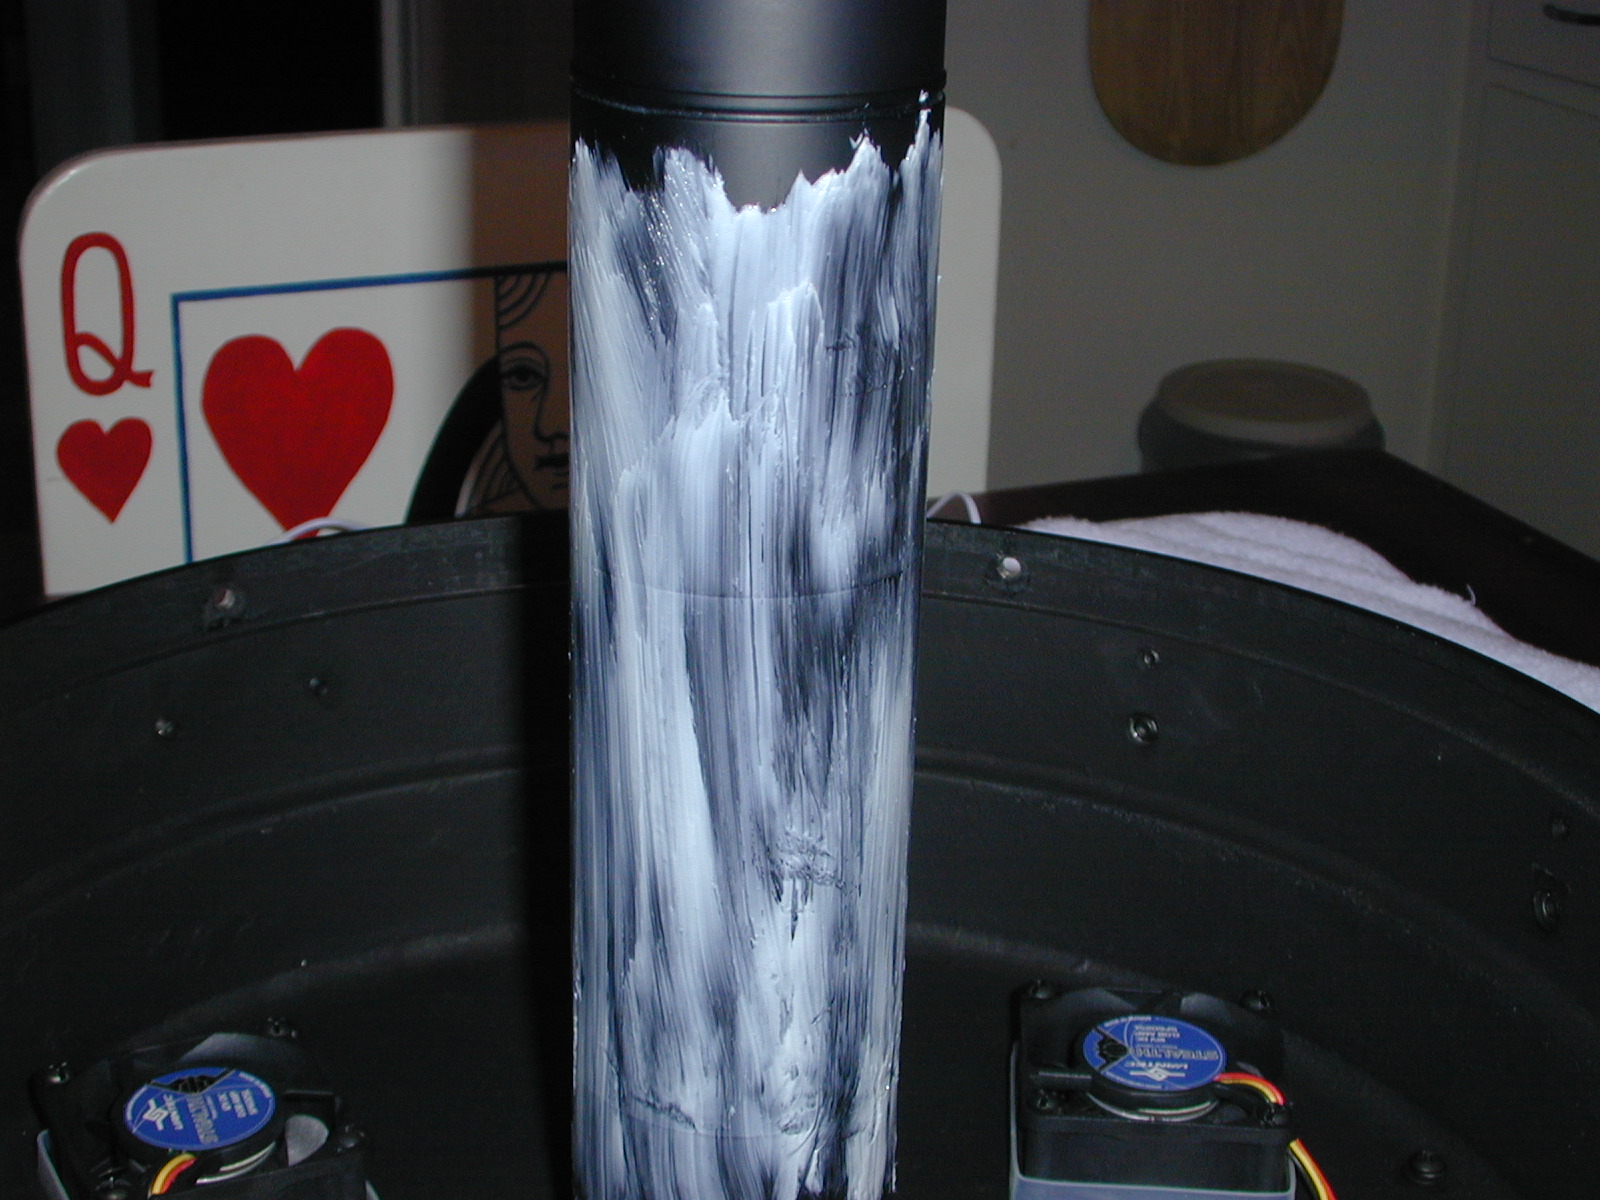
Next came a new coat of Dow Corning High Vacuum grease. The mirror baffle was run up and down a few times and then the excess greas was wiped off.
|
|
I tightened the spanner nut about 1/3 of a turn as it seemed pretty loose. The mirror was cleaned and the Software Bisque collar is back on.
|
|
Reassembly is started and the project was completed the next afternoon after work.
|