
|
|
|
In South Carolina, in the summer, the daytime temperature can get very hot and this can linger well into the nighttime hours, cooling off very slowly. My SBIG cameras struggle to get to -15C on warm nights and sometimes don't make it. This means I have to take yet another set of dark and bias frames and add them to my master library. Keeping the camera temperature at a single setpoint really simplifies data acquisition and master library frames. Since I standardize on -25C for all my late fall, winter, and early spring exposures, it would be nice to keep that setpoint year round. About the only way to reach that setpoint in the summer is to use water cooling. This can get you an extra 8-10 degrees cooling, but usually I need more to reach my -25C target. Colder water is the next logical step, but the camera heat transferring to your water cooling warms the water and reduces the cooling available to the camera. When I was cooling with a 5 gallon bucket and plenty of ice, I could reach the -20C, but that was it. When you cool with ice, you have to buy it and add it, and do this all over again the next imaging night and every night you want to image. Solution .... a water chiller that replaces the ice :-))) and maintains the water at a temperature low enough to allow me to reach my setpoint in a closed system.
This system is an adaptation from the chiller system built by Joe Mize found here : Water Cooling System
|
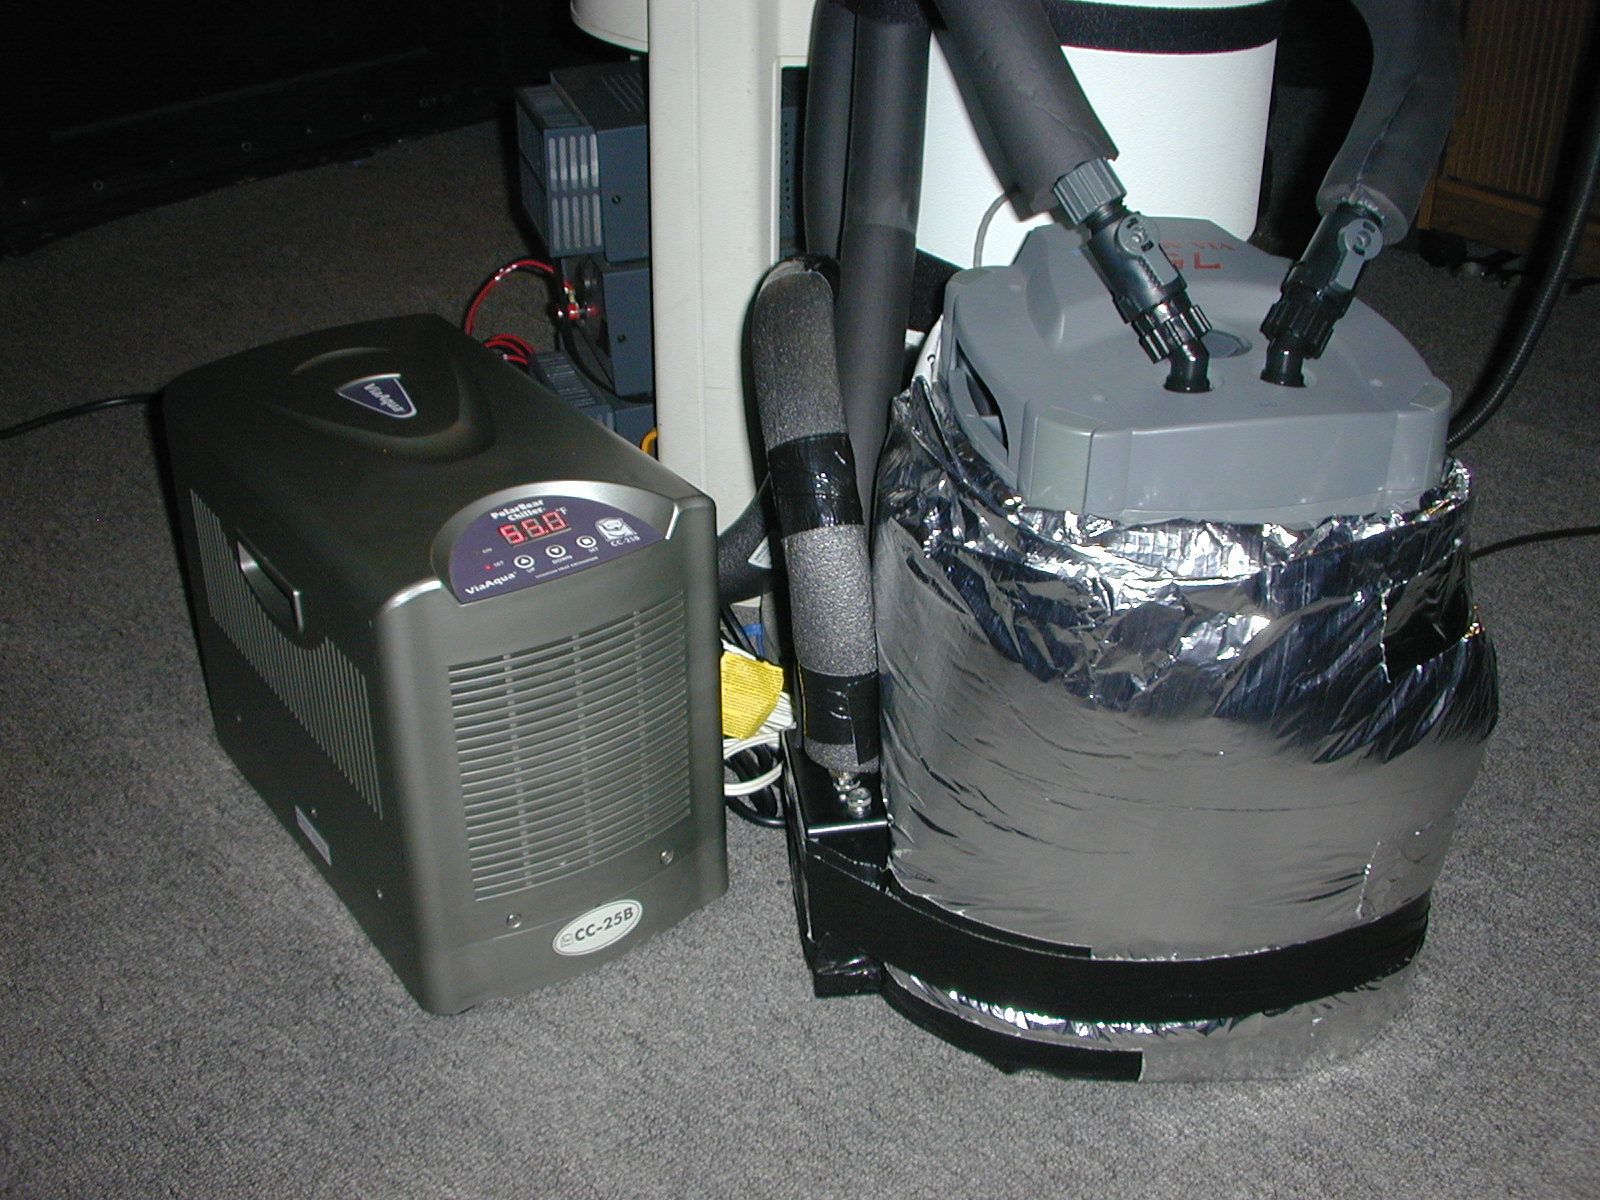
The components I chose for the job are a "Polar Bear 1/5 HP Aquarium Chiller(standard model)", "ViaAqua Canister Filter 750", High output MaxiJet Reservoir with 1/2 inch fittings", and "connectors from Omega Engineering, Inc.". | 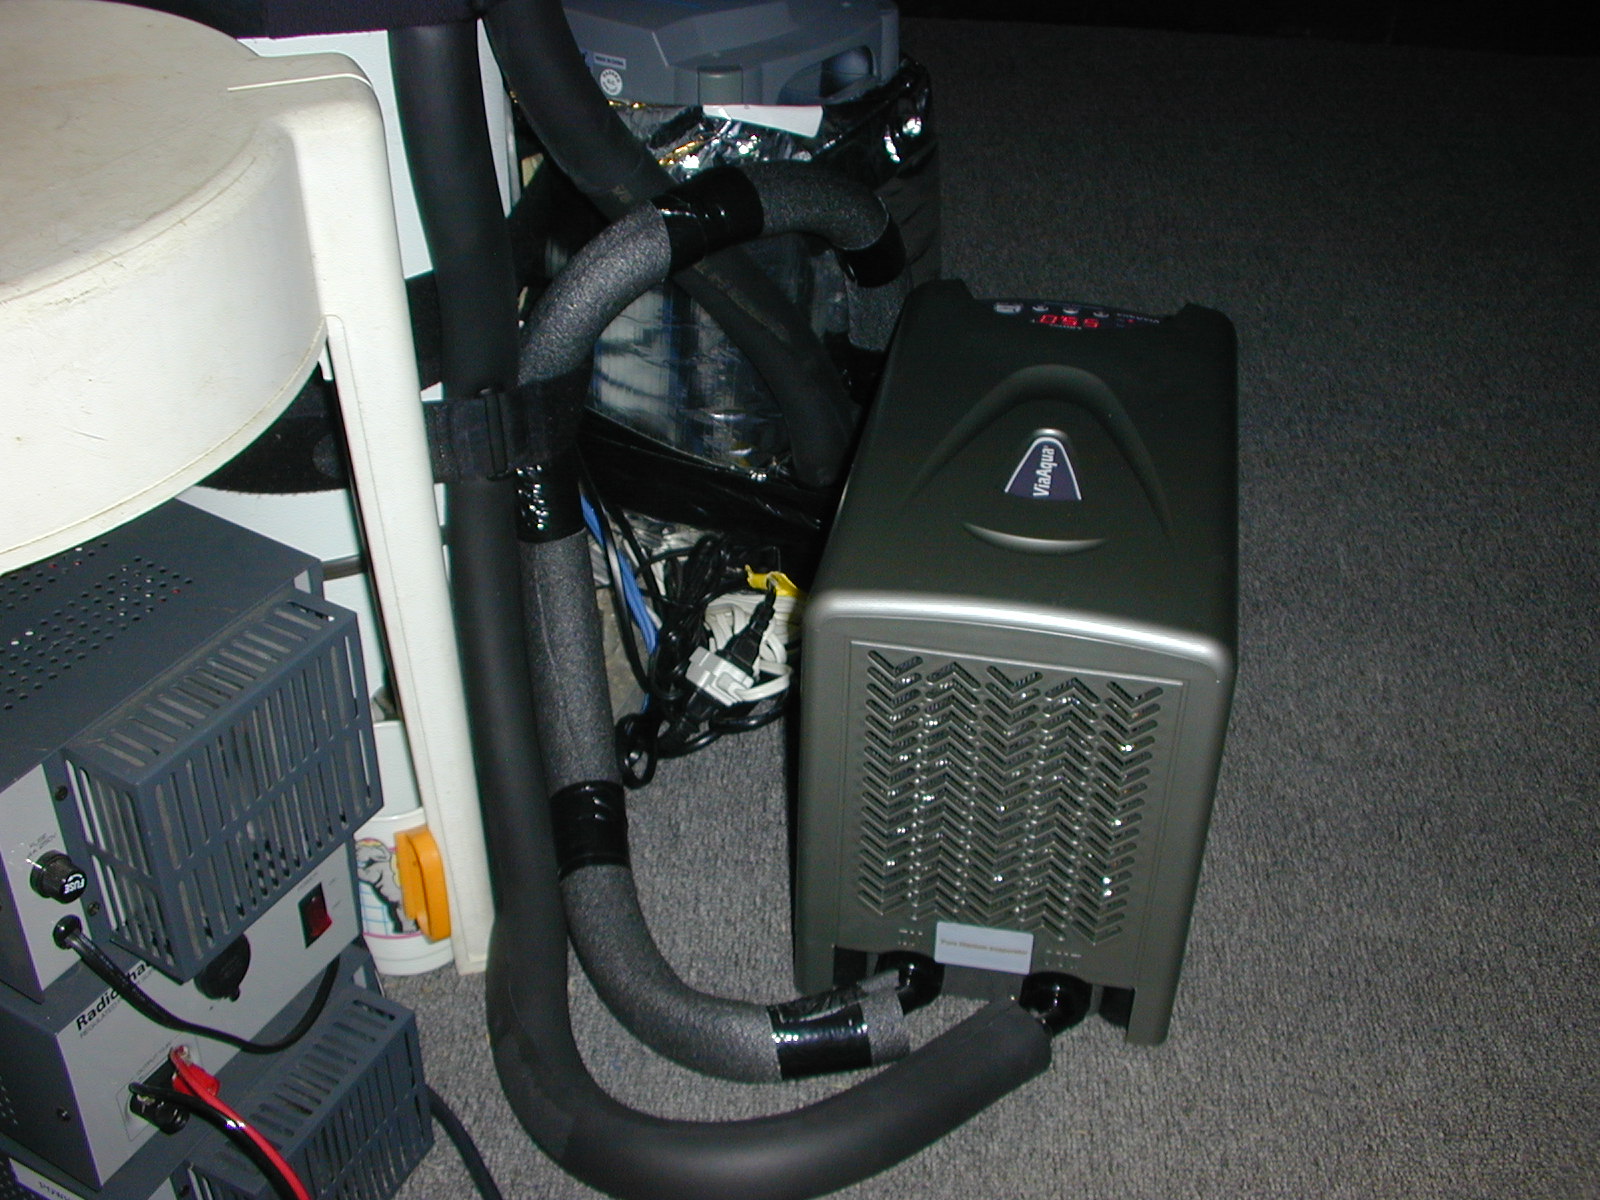
|
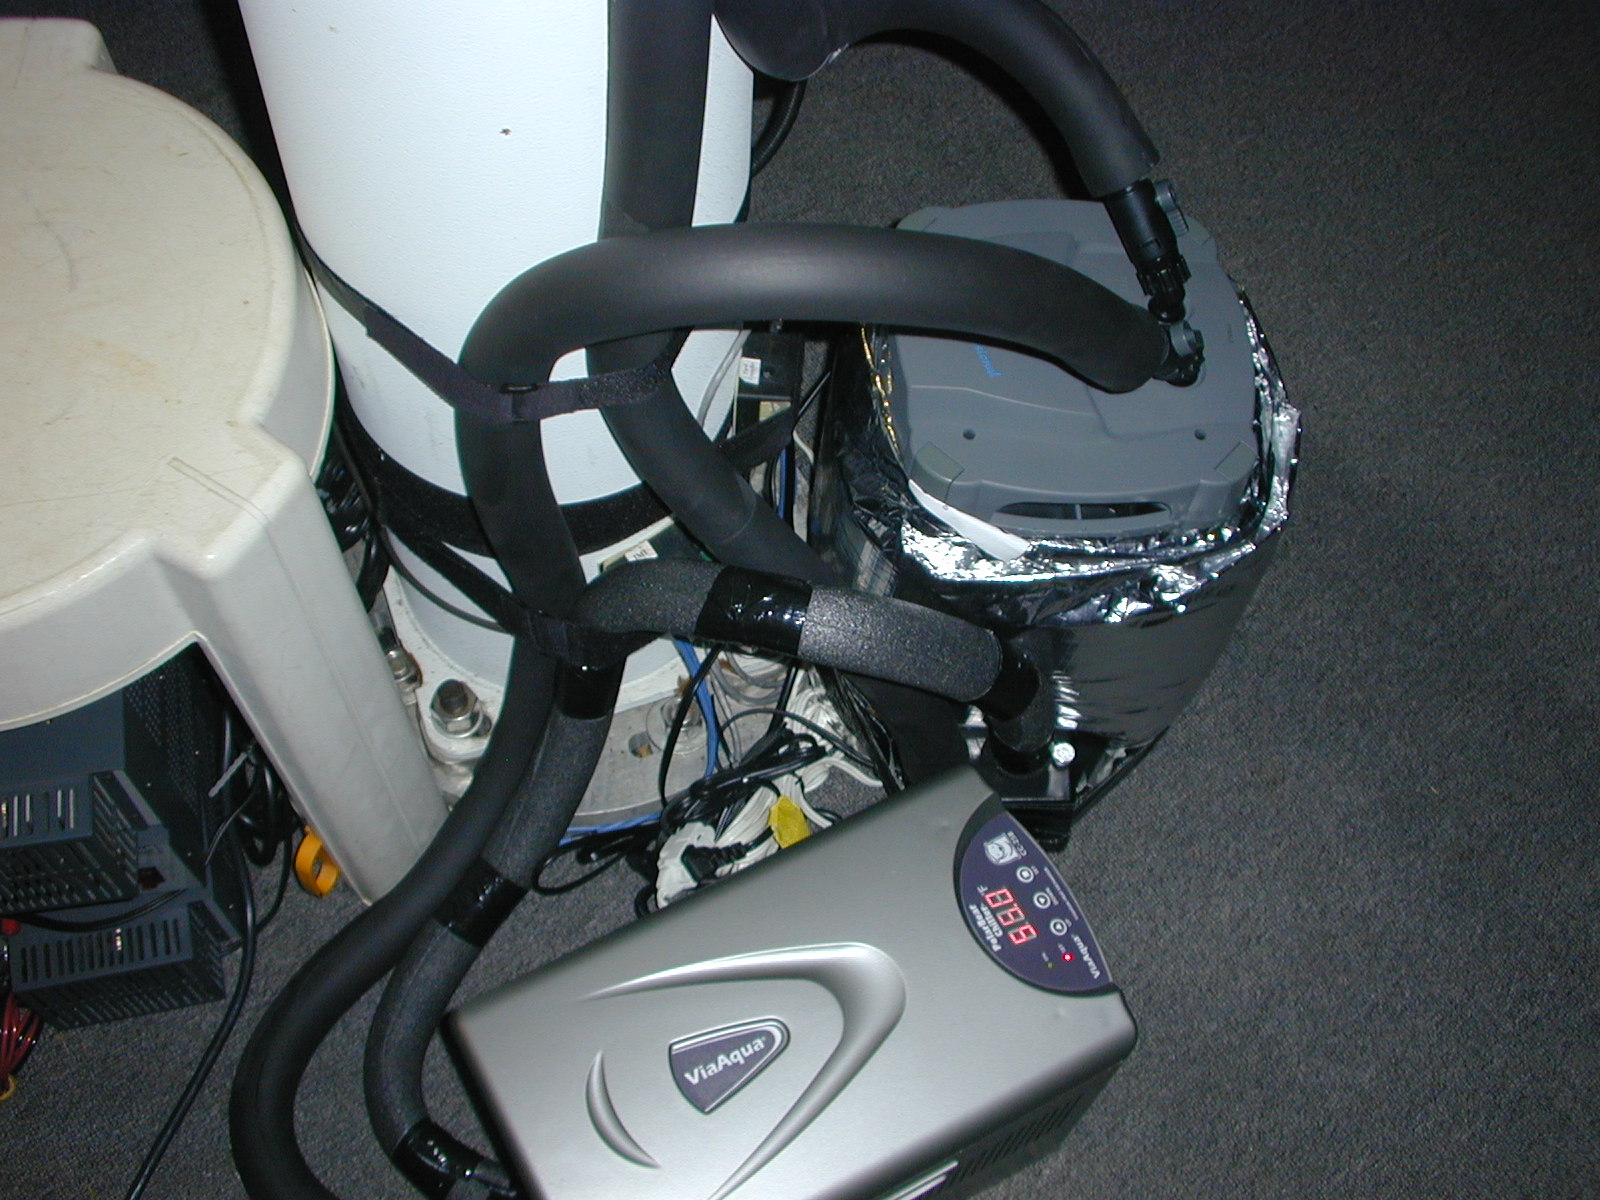
The water lines need to be insulated to minimize cooling that will be lost to the ambient air and keep the sweating contained. The less cold you looses getting to the camera, the more you have available for cooling. Pipe insulation from Home Depot was the perfect solution for this. |
|
The ViaAqua 750 is a 7.5 liter filter and tank that has it own 265 gph pump. I bought some duct insulation while at Home Depot and used this to wrap the tank to help keep the cool in. The MaxiJet Reservoir is a small tank that has a 265 gph pump inside. The System is a "push/pull" design with the ViaAqua as the push pump, and the MaxiJet as the pull pump. The pumps are matched for output, so there is no unequal pressure. | 
|
5/8" tubing is used for all the feed lines up to the 1/4" tubing that runs to the camera. 1/2" tubing is used for the return lines from the 1/4" camera tubing to fit the MaxiJet connections. I kept the 1/4" tubing to the camera because it is very light and flexible. |
|
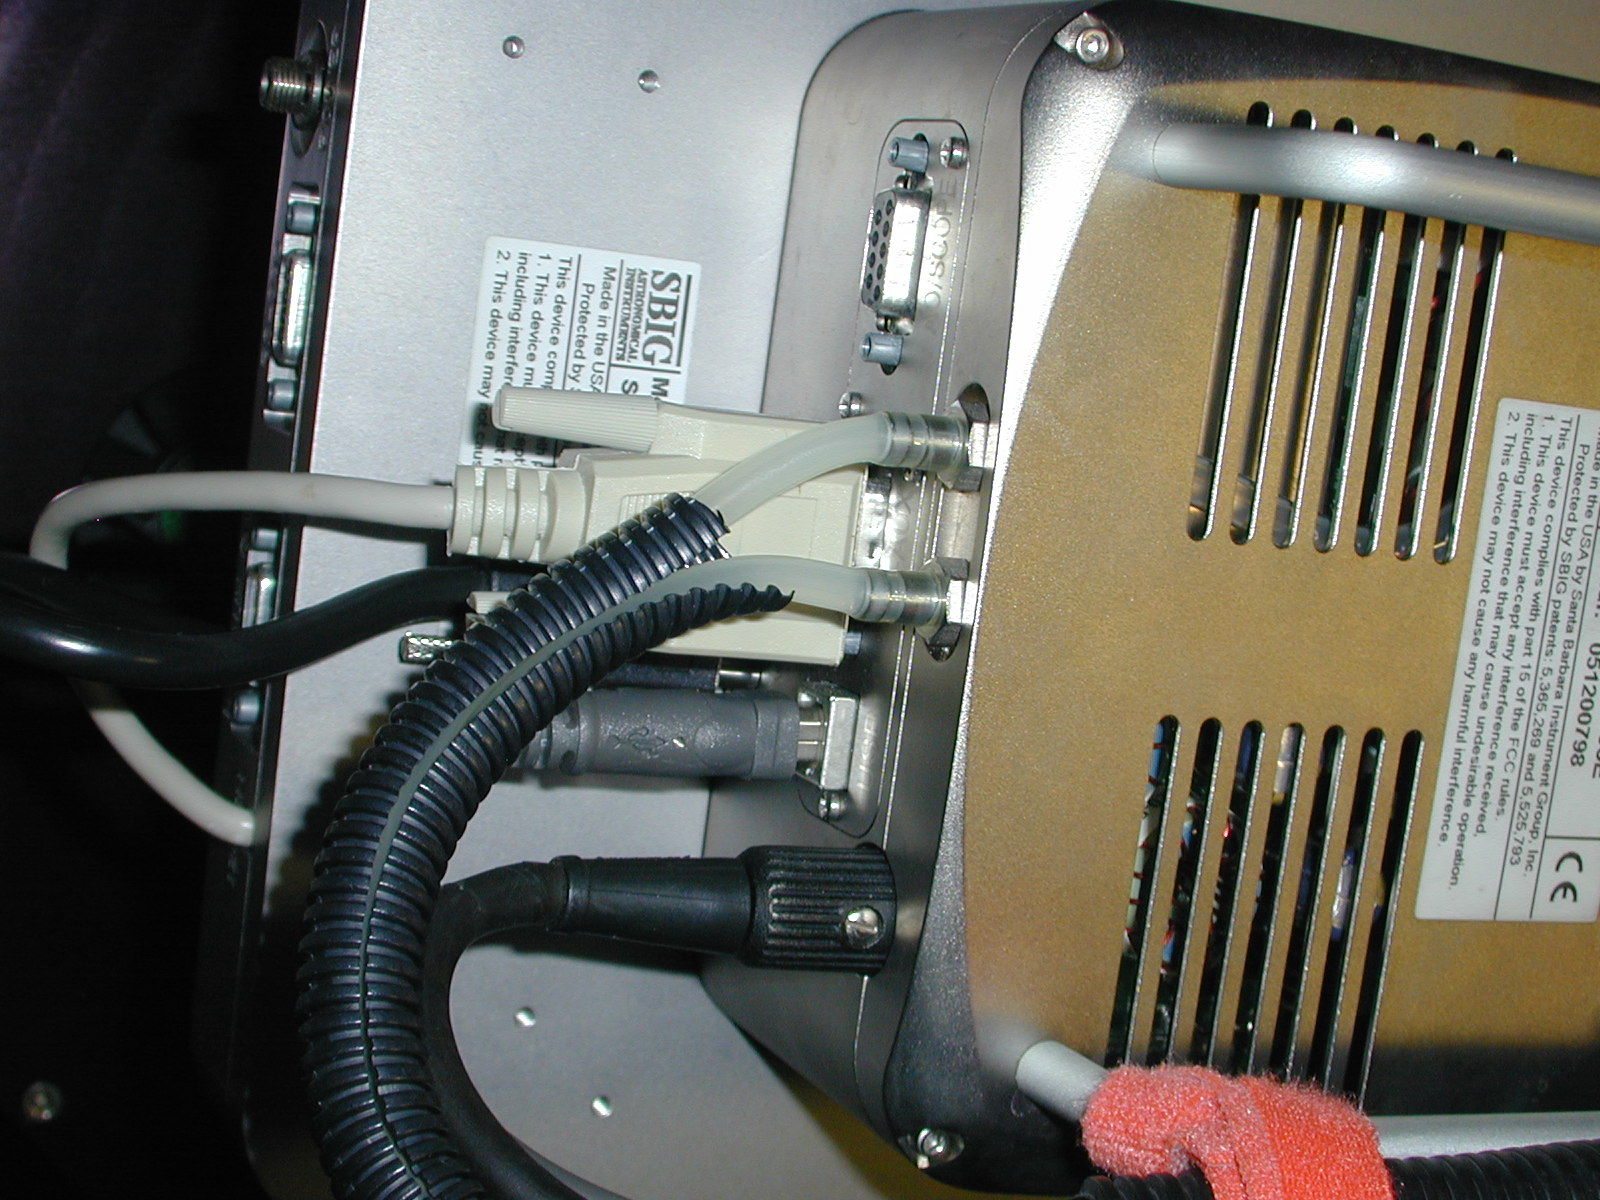
As Joe Mize pointed out on his website, the SBIG quick disconnects only have a 1/16" opening and this restricts the water flow through the entire system. The 1/4" lines fit on the hose barbs nice and tight. This extra 1/16" opening allows the water to move freely out and back to the chiller. I plan to put clamps on them when I find the right size. The Auto harness keeps the condensation contained so it doesn't drip on anything below. | 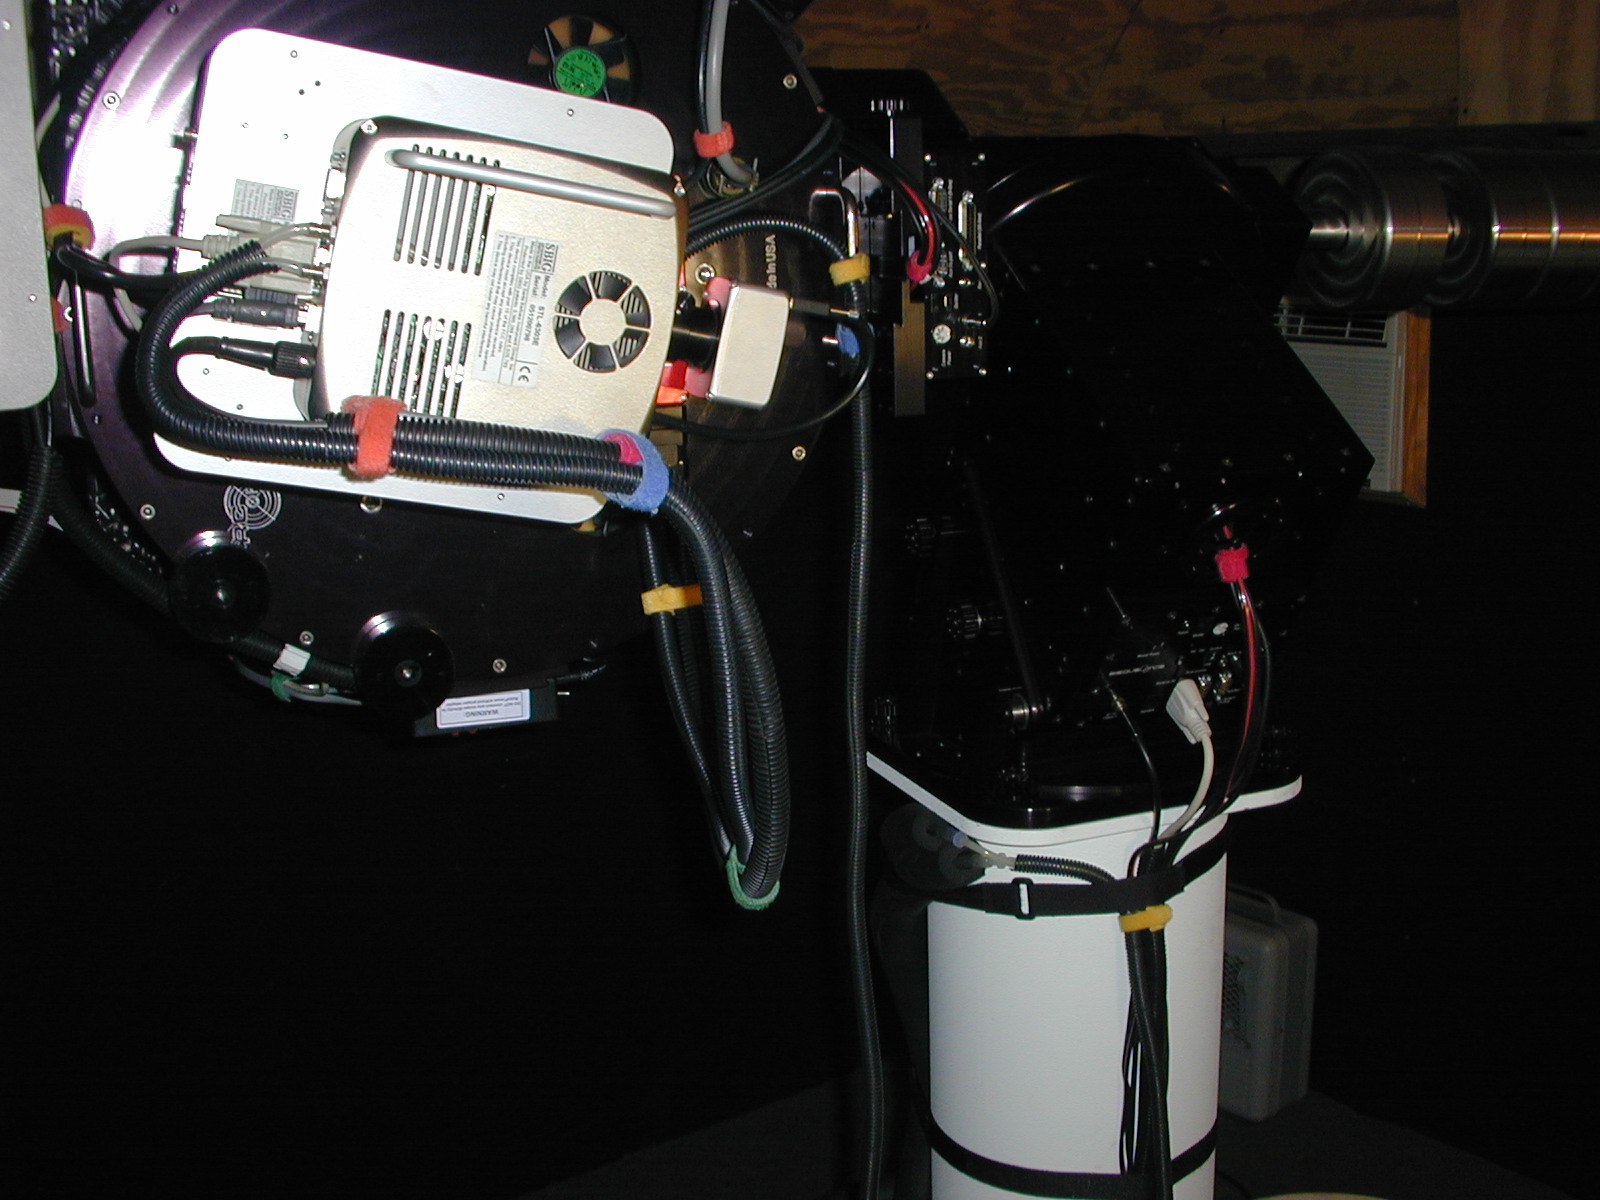
|
I leave a large loop that hangs from the pier and connects to the back of the OTA. From there I just follow my power and data cables over to the camera. This leaves plenty of slack for slewing to any location and a nice loop that doesn't tangle when I rotate the camera. |
With the system being a "closed" system, I no longer need to haul water or ice out to the observatory. The pumps and the chiller are connected to two outlets on my Web Power switch. This lets me cut either the pumps on without the chiller or with it. I chose the standard model Chiller as its specs said it could drop an 80 gallon tank by 10 degrees F. With only 4 gallons of water in my entire system, it can cool the water to 50F even when the outside temp is 86F. My initial testing shows that I can get the camera to a lower temp by turning off the fan since this is just moving hotter air across the heat sink in the camera. All my STL cameras have the 3 heaters for the front camera window installed and they are running whenever the cameras are powered up. Since having them installed by SBIG, I have never experienced a damp camera window even on nights when I run in 90+% humidity. The main three components were purchased from BE Cooling and a Grand total spent on this project : Chiller $350.00, ViaAqua filter $65.00, MaxiJet Reservoir $49.99, Insulation $20.00....... Total invested = $484.99 not bad to be able to cool to -25C in the dead of the summer !!!!!!!