
|
|
|
|
Siding to match the main house is added. This is like a giant jigsaw puzzle. All lines in the siding must match up when closed or "I'll never hear the end of it!" | 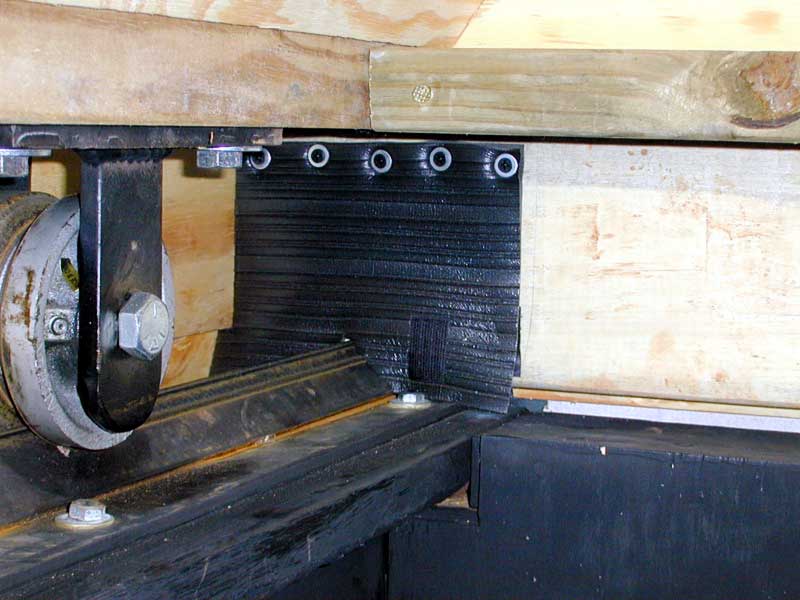
|
Over each of the rails, a slot had to be cut to allow the roof to pass over the stops as it rolls off. These holes were covered with thick rubber that can be folded up and velcroed out of the way when rolling. |

|
To allow the roof to clear the scope, I designed a "door" that spans the west side. It is supported by 2 - 4 ft piano hinges and 2 - 1 ft piano hinges. I installed a seal at the bottom and top to keep out the weather. | 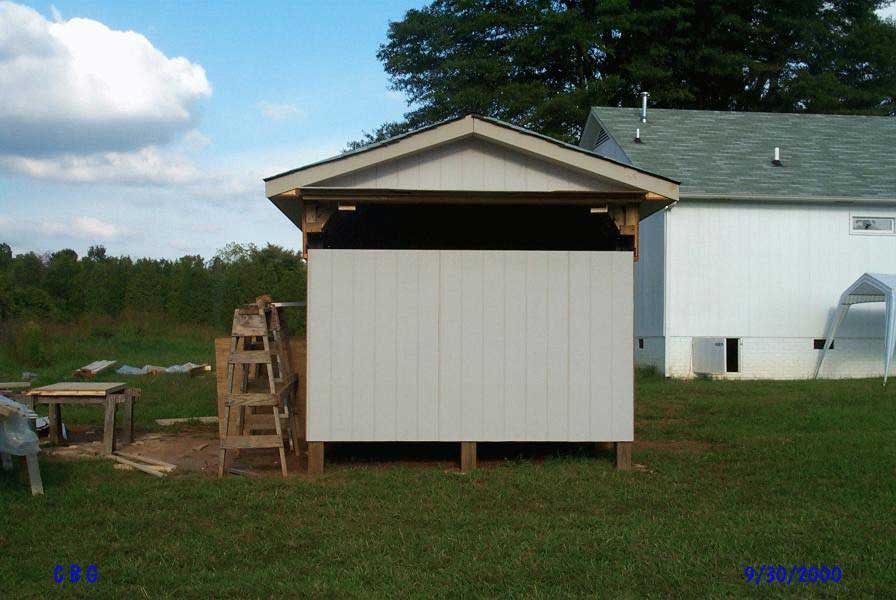
|
Here is a shot of the door in the open state. |
|
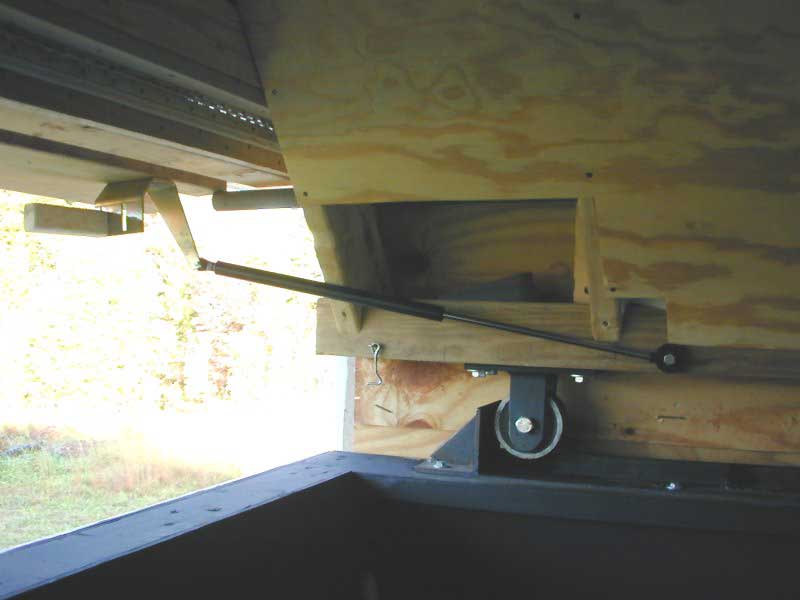
This door (10 ft long) was much heavier than I thought, so to help open and hold it up, I used some gas shocks from an old MRI machine. VWT Inc to the rescue again. If Vernon can't make it, he can find it ! | 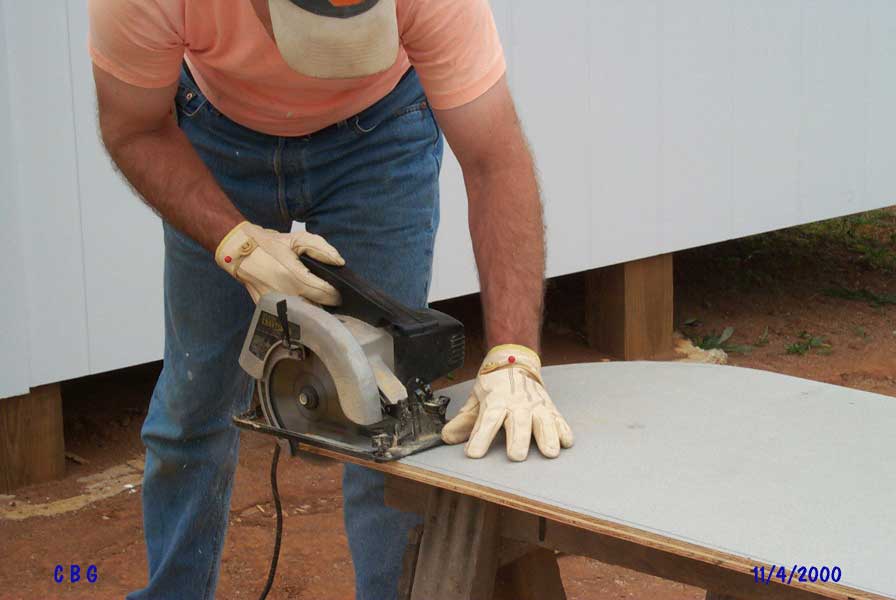
|
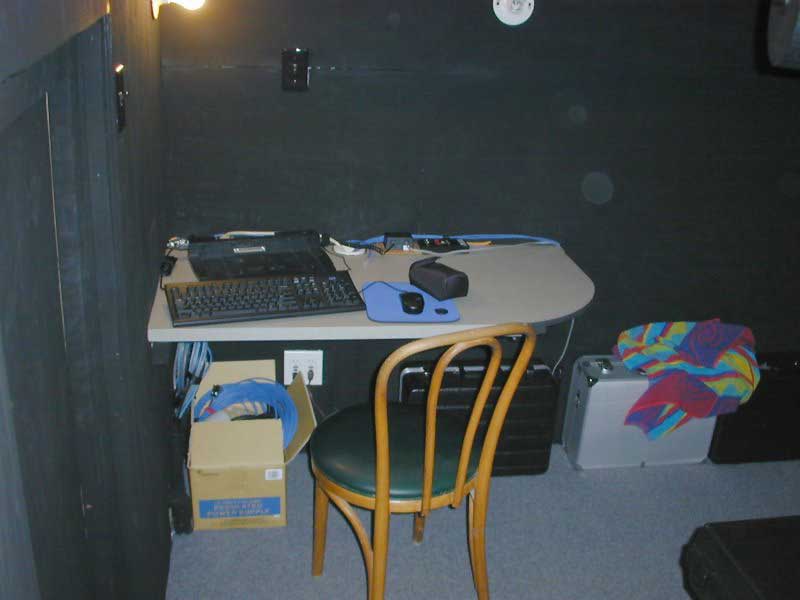
A left over counter top from the kitchen remodeling (I can't throw anything away) and my desktop starts to take shape. 1,2,3,4,5 yep, all fingers are still here. |

|
Desktop installed and the inside is painted flat black to help confuse the stray light. You can see the hole in the back center, this is where the scope wiring will come out. | 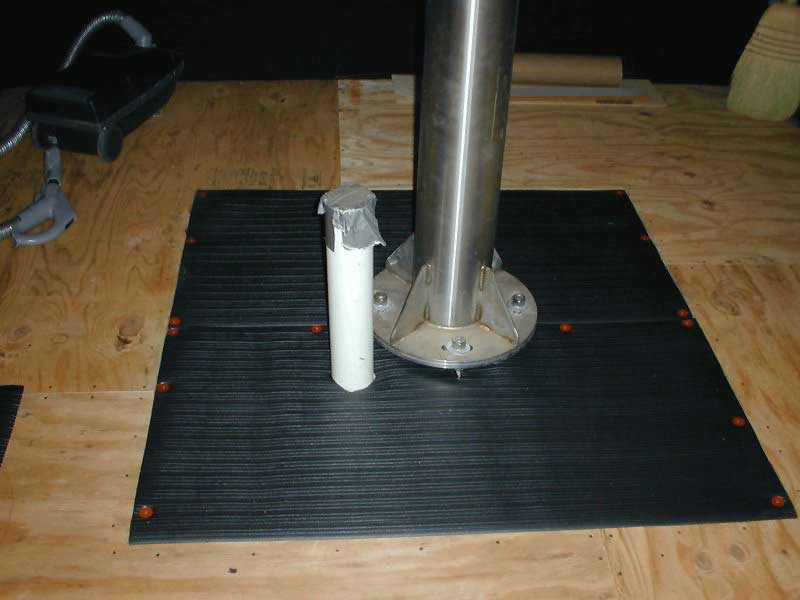
|
A double thickness of the rubber foam pad and the concrete foot is now protected from any damage caused by a falling eyepiece. |
|
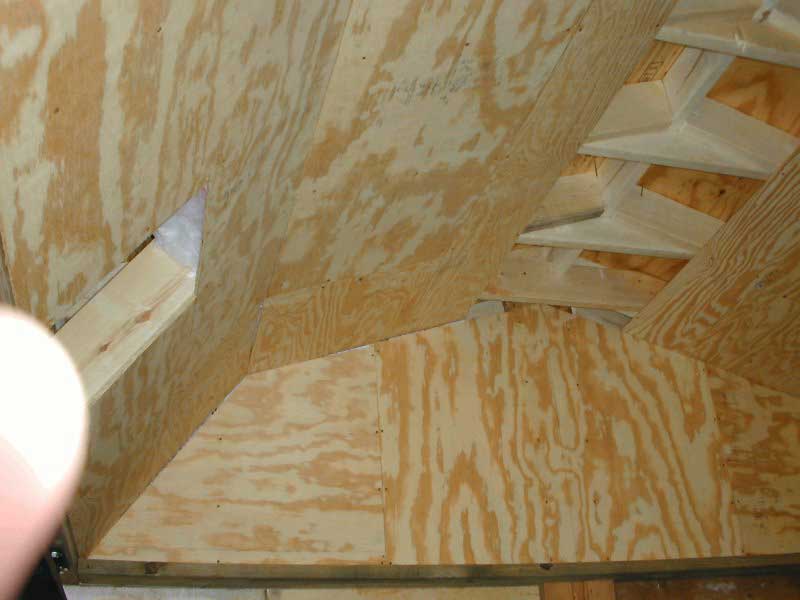
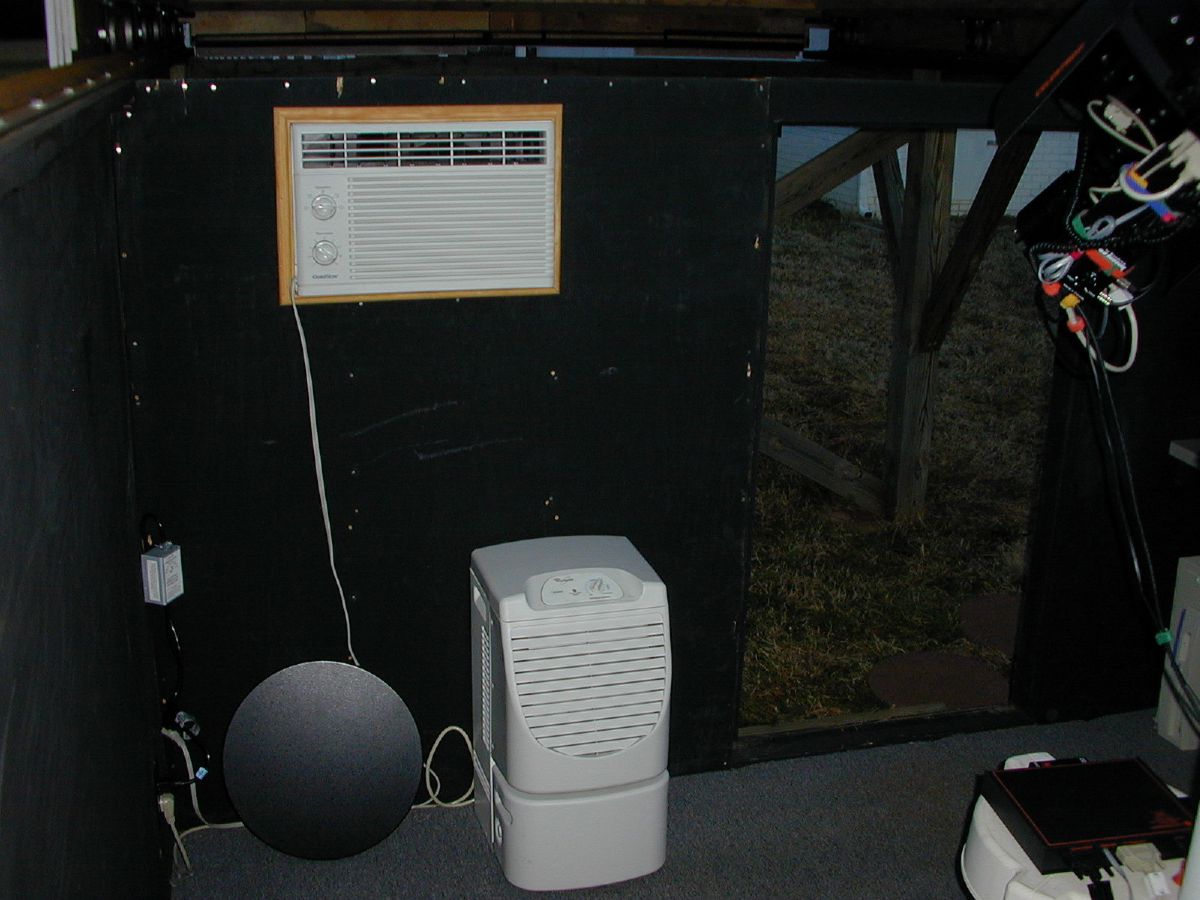
1/4" plywood was used to cover the walls and the inside roof. I also fully insulated the walls and the roof to help keep the temp more even to protect the equipment. I added a small space heater for the winter and a dehumidifier for the summer. | 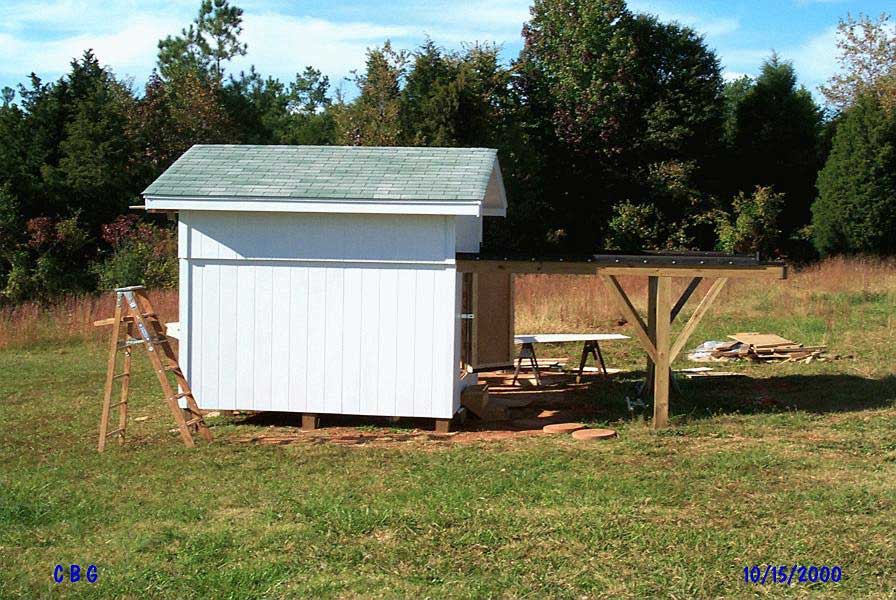
|
Painted to match the house, I learned that the roller system beats a brush any day. Just use the brush for those hard to reach corners. Caulking is a definite must and helps to seal those not so tight fitting joints. |
|
Added carpet, hey ! we're not barbarians here, and transferred the cases and computer gear from the main house. I added both a regular 75 watt light, and a 40 watt red light. The 75 is used while I setup and for taking flat fields. | 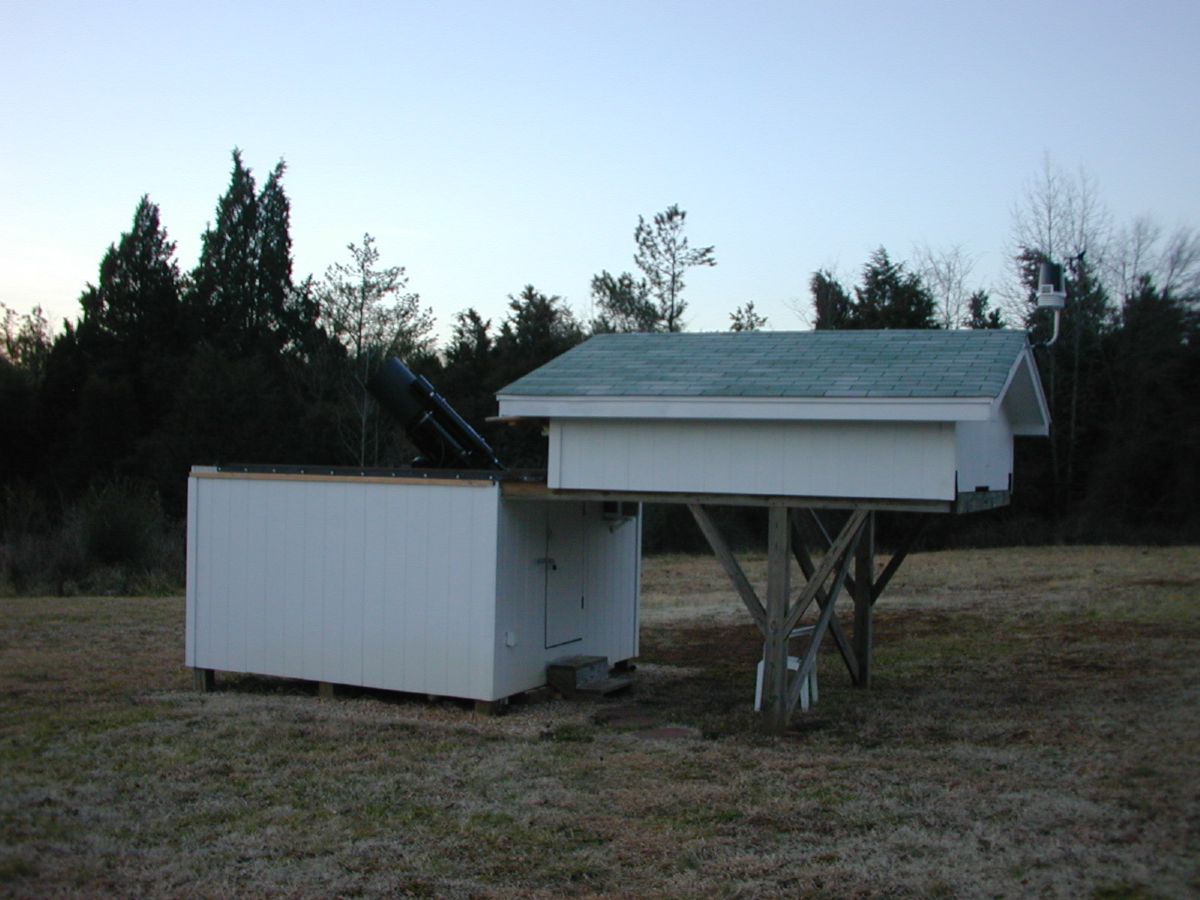
|
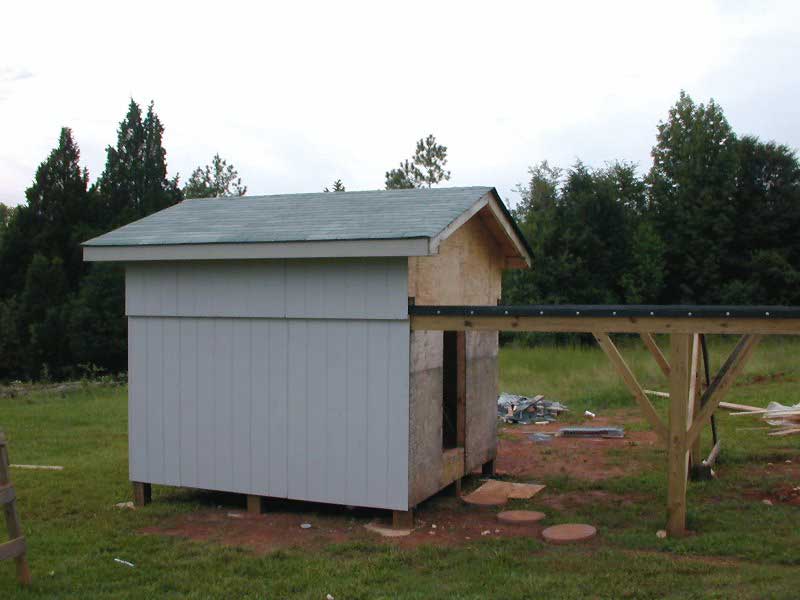
Scope is installed and in the "Home" position. When polaris came out, I was right on. It takes 5 min. to setup, and 5 min. to close up. |
|
I added a dehumidifier to help keep the equipment and observatory dry, and a small 5000 BTU window air conditioner. Both automatically come on if either the inside temperature rises above 80°F, or the humidity get above 40%. It has been 105°F outside and the observatory stays about 79°. | 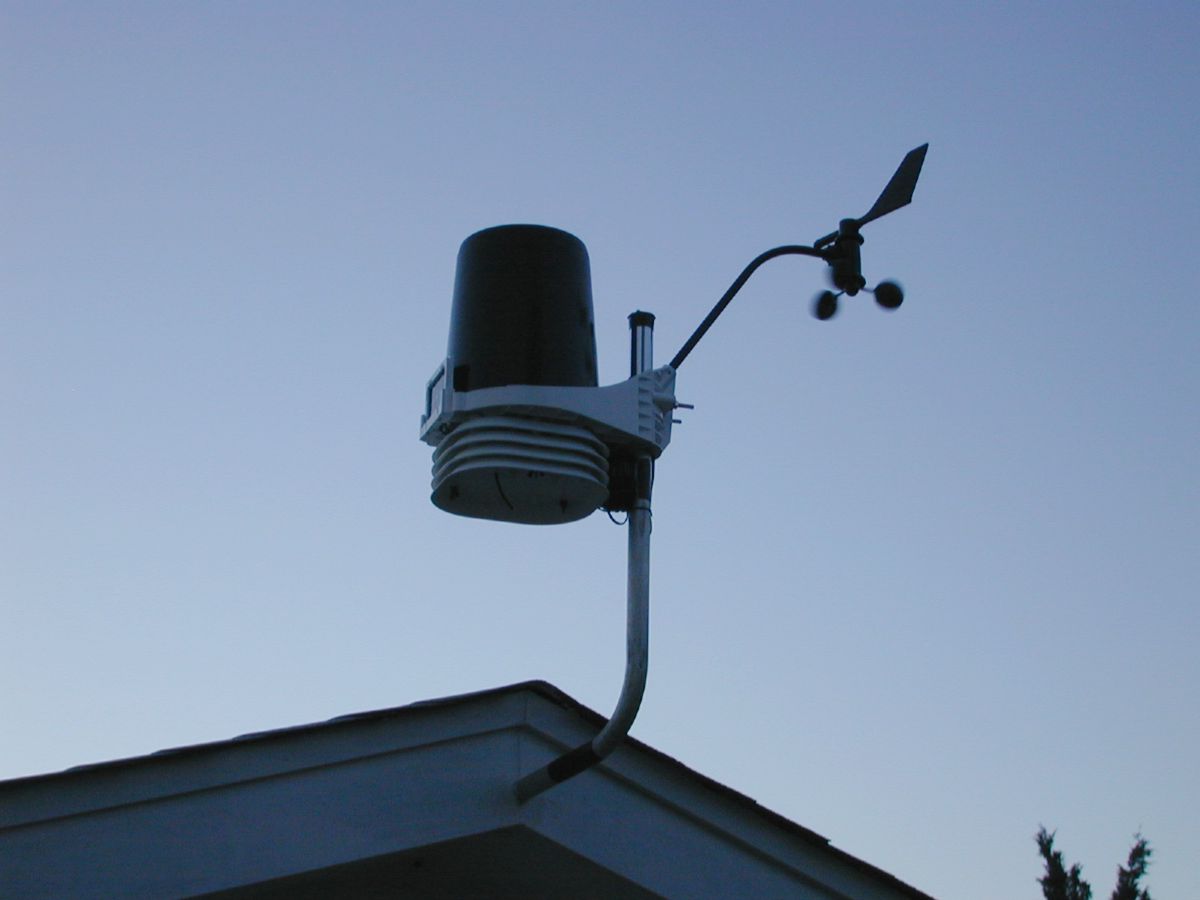
|
One of my latest additions has been the Davis Vantage Pro Wireless Weather Station. It sends current weather information to this website and keeps me informed while I'm inside running in the remote mode. Check out the local weather icon on the menu bar. |
| ................ "UPDATE 07-17-05" ................ Motorized Roof is now installed |
|||
|
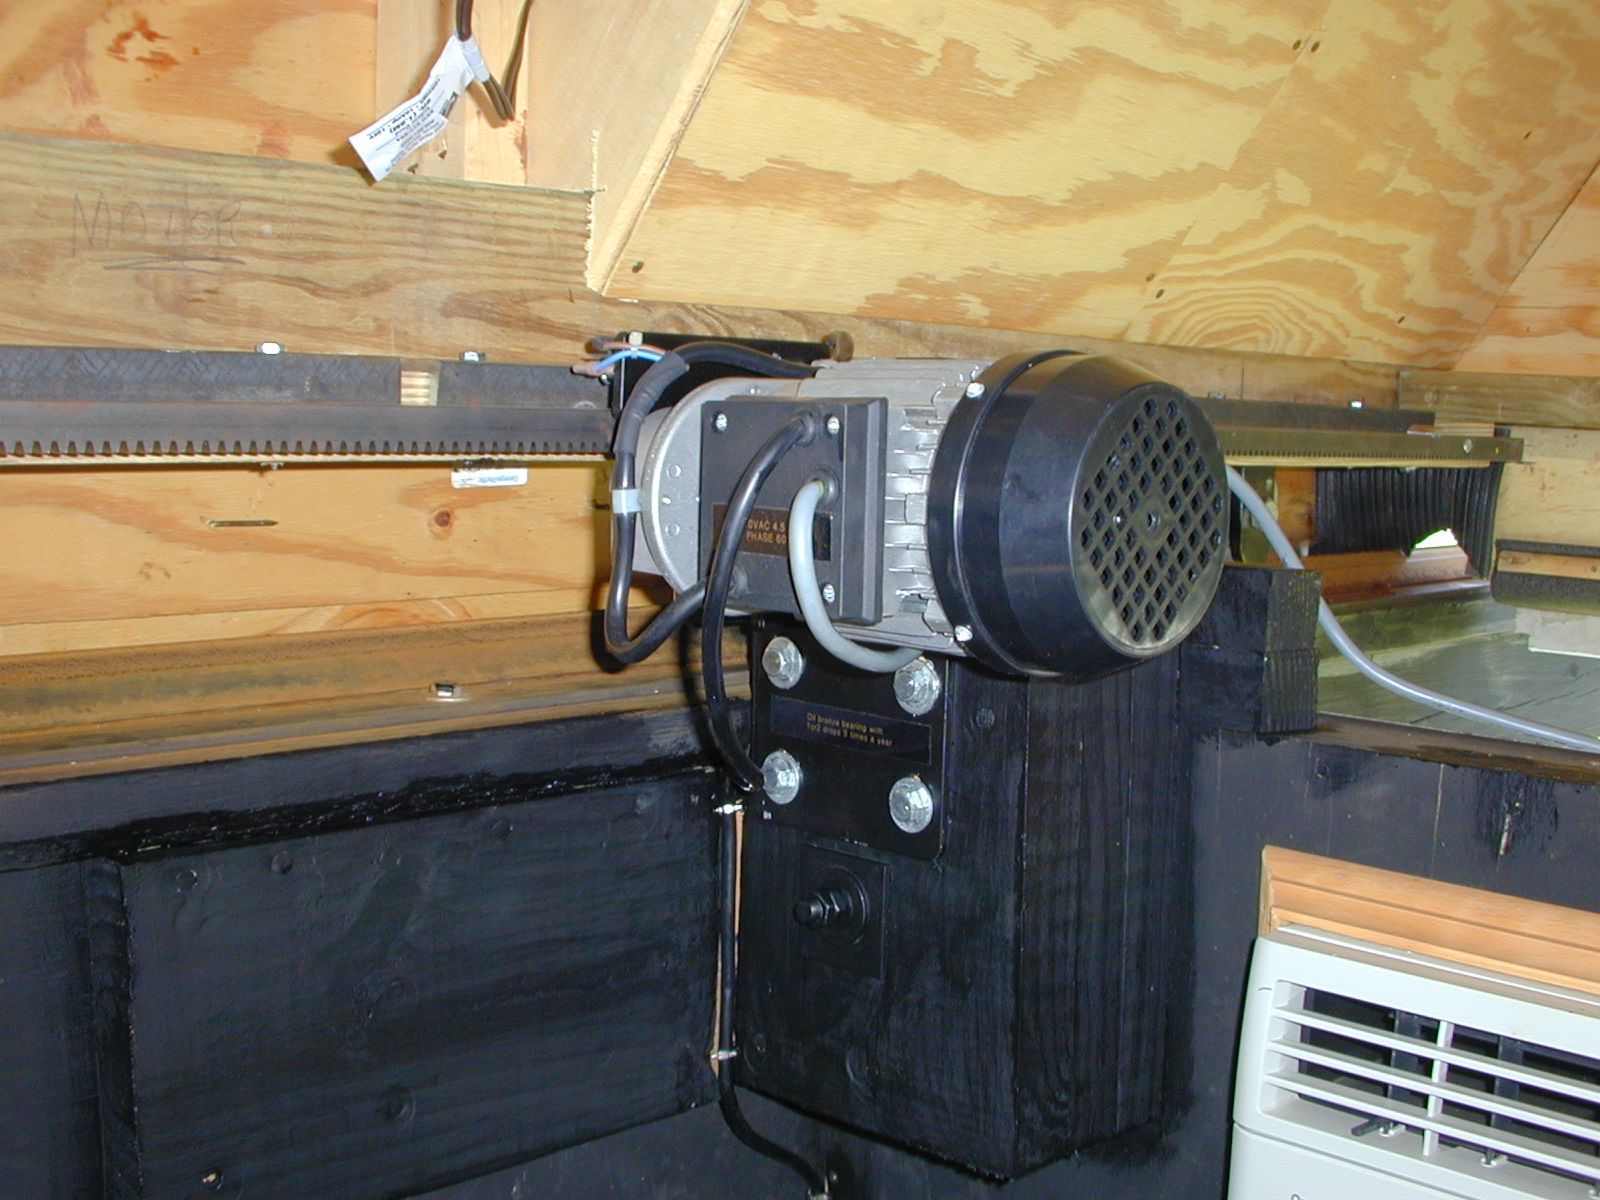
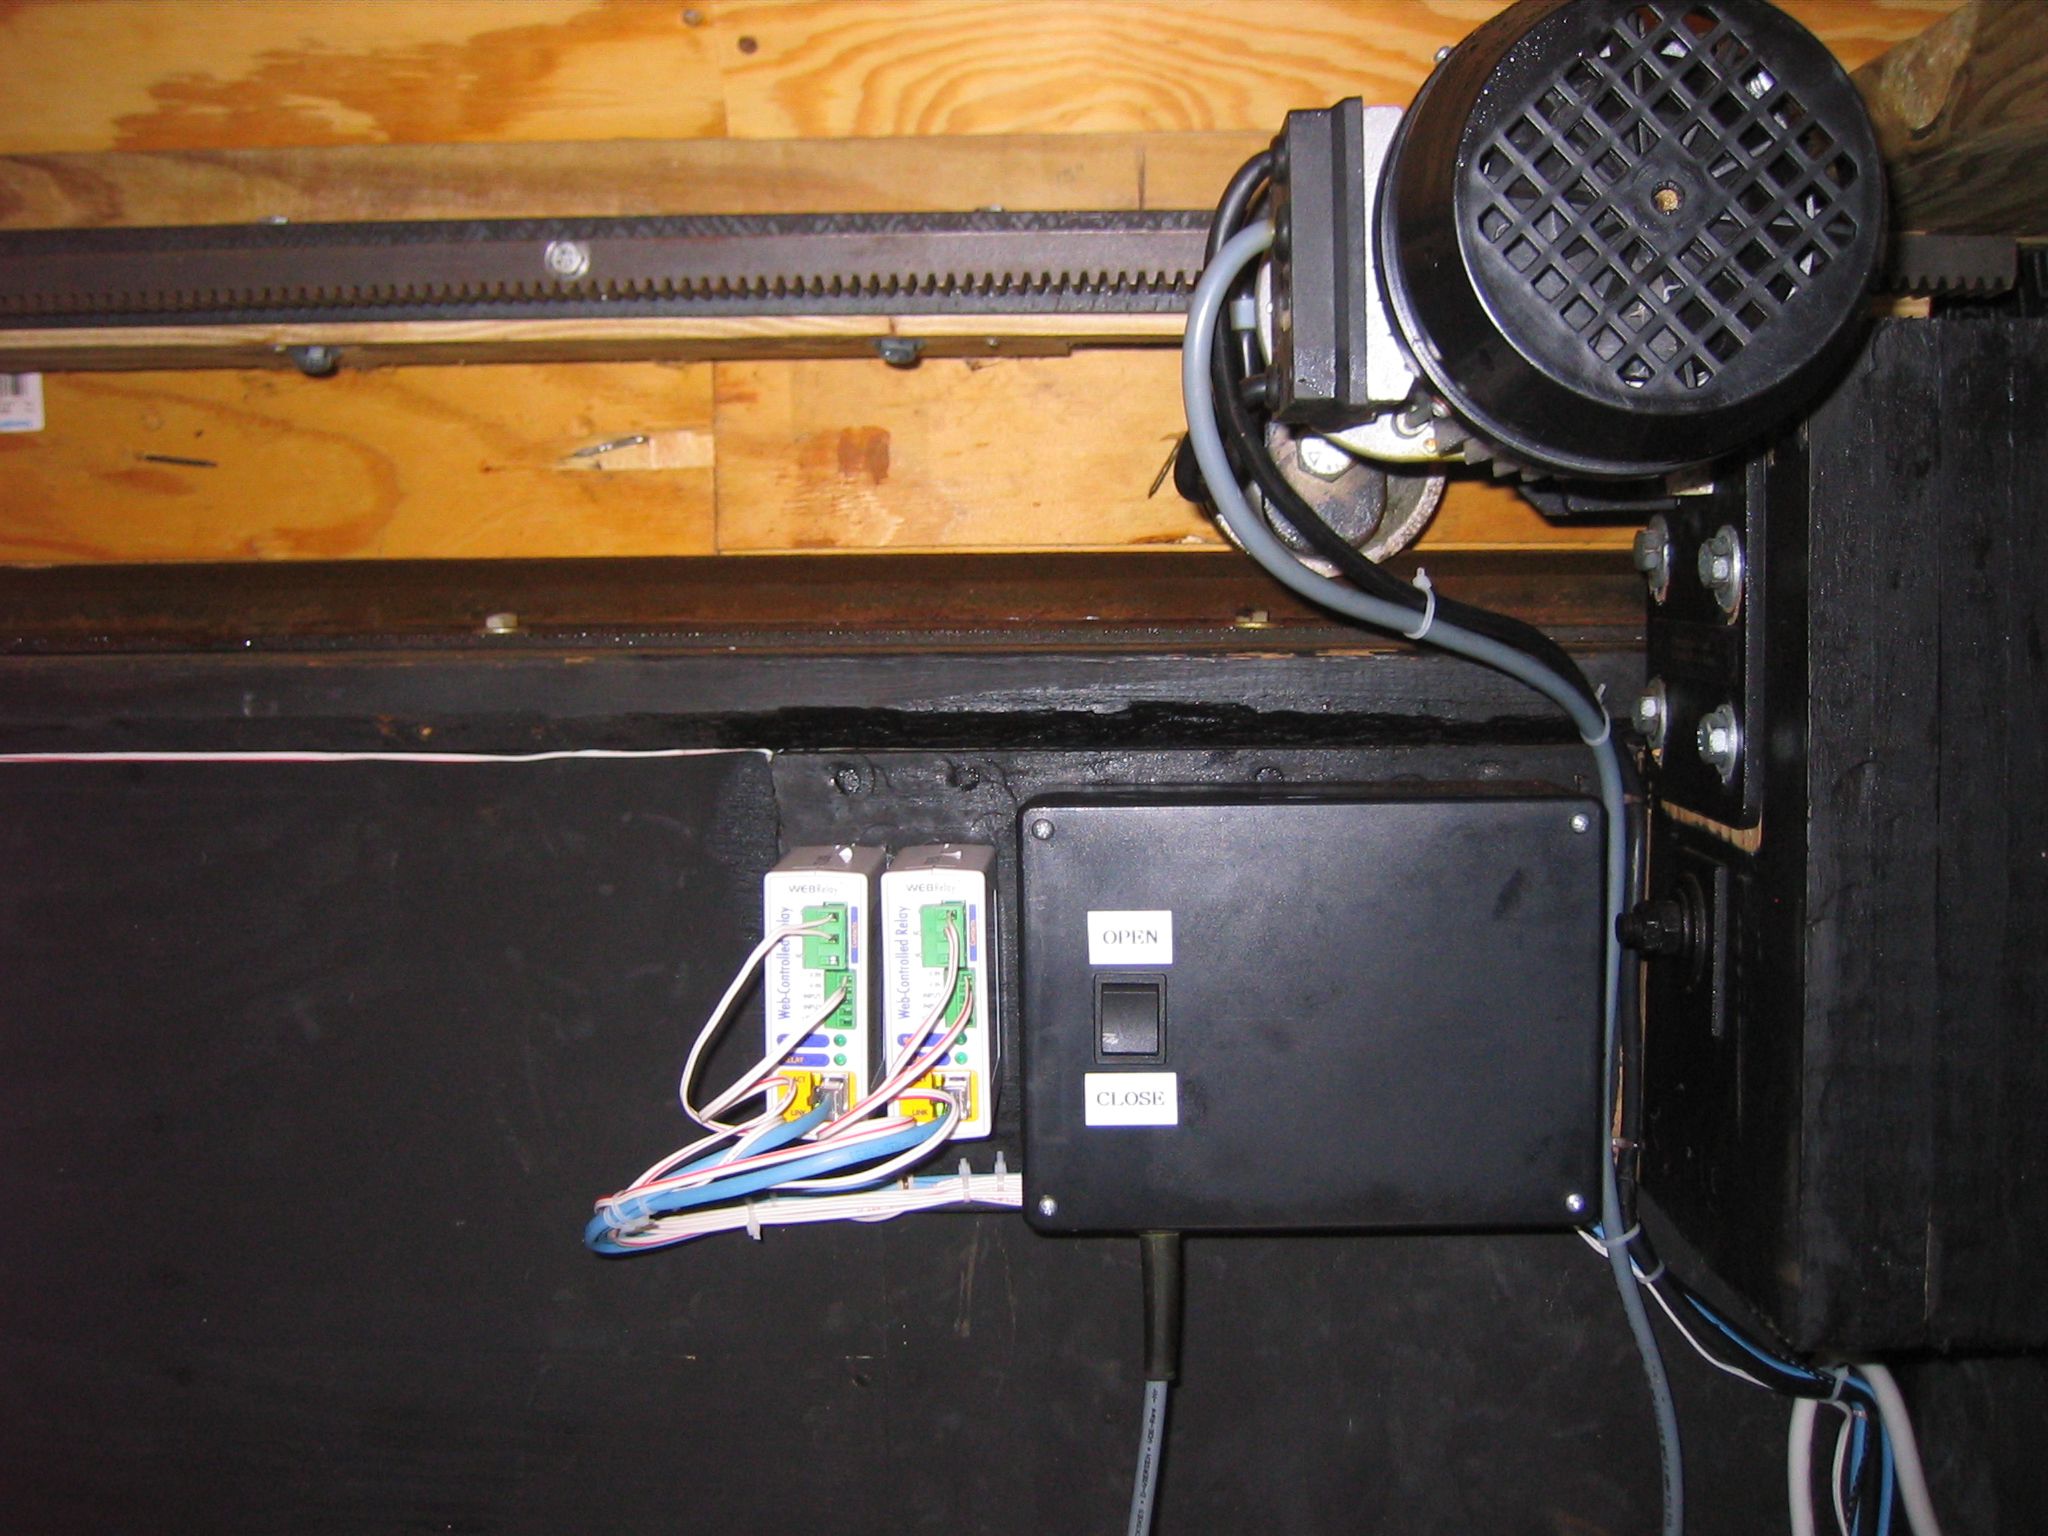
The new motor and track was acquired from Scott Horstman of Backyard Observatories. | 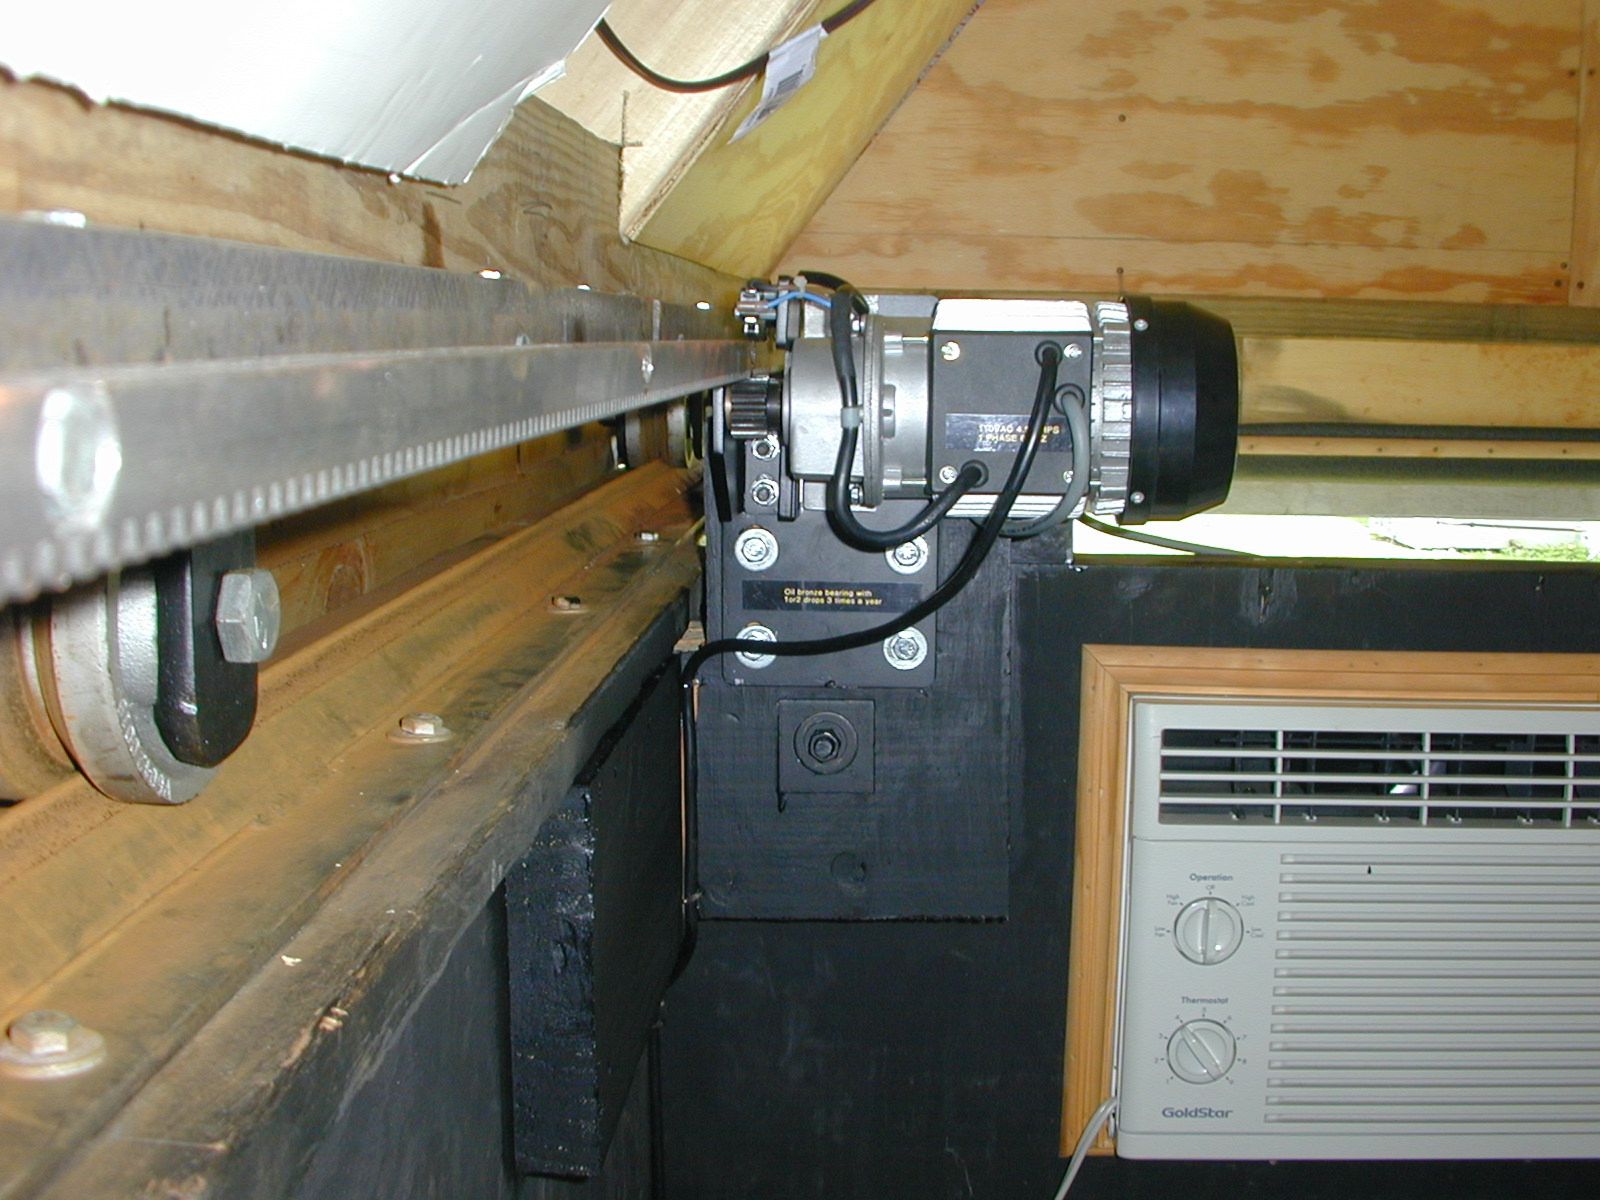
|
The motor is mounted to 3 - 2x6s that make a secure platform that is bolted to the rear wall. |
|
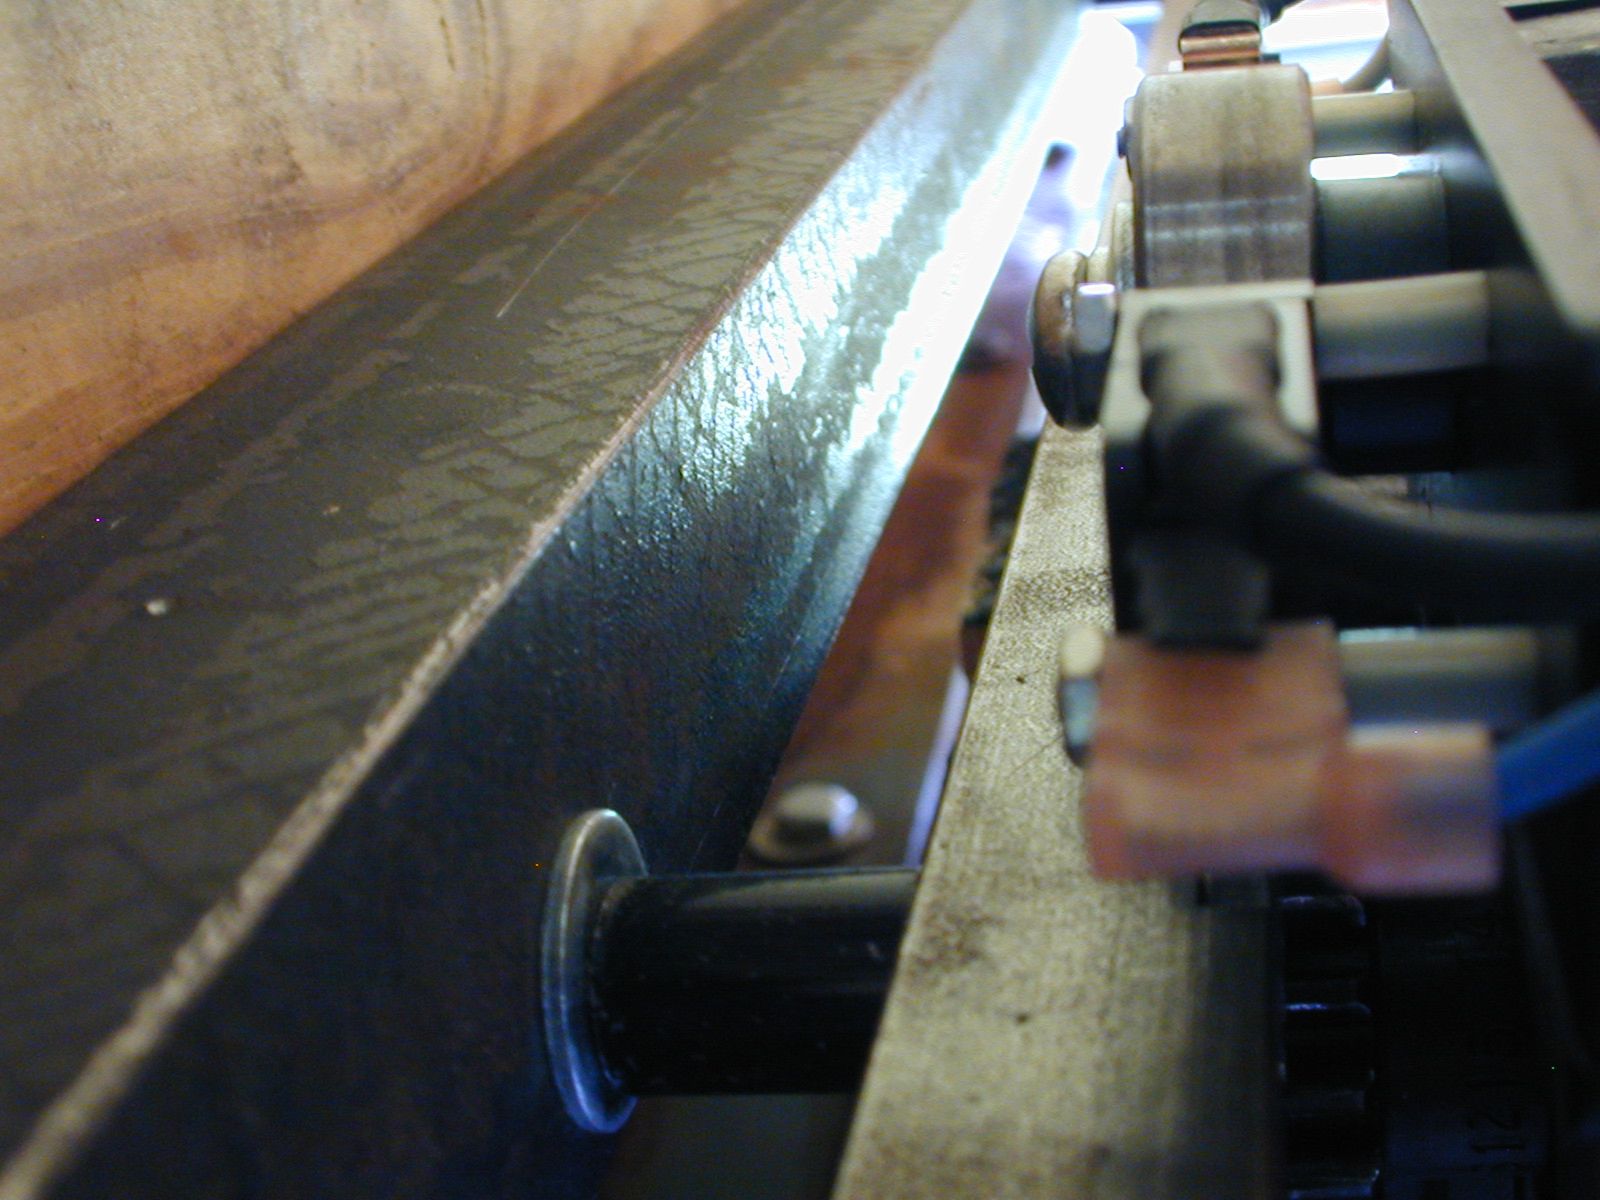
The track extends the length of the observatory and is bolted to the movable roof. | 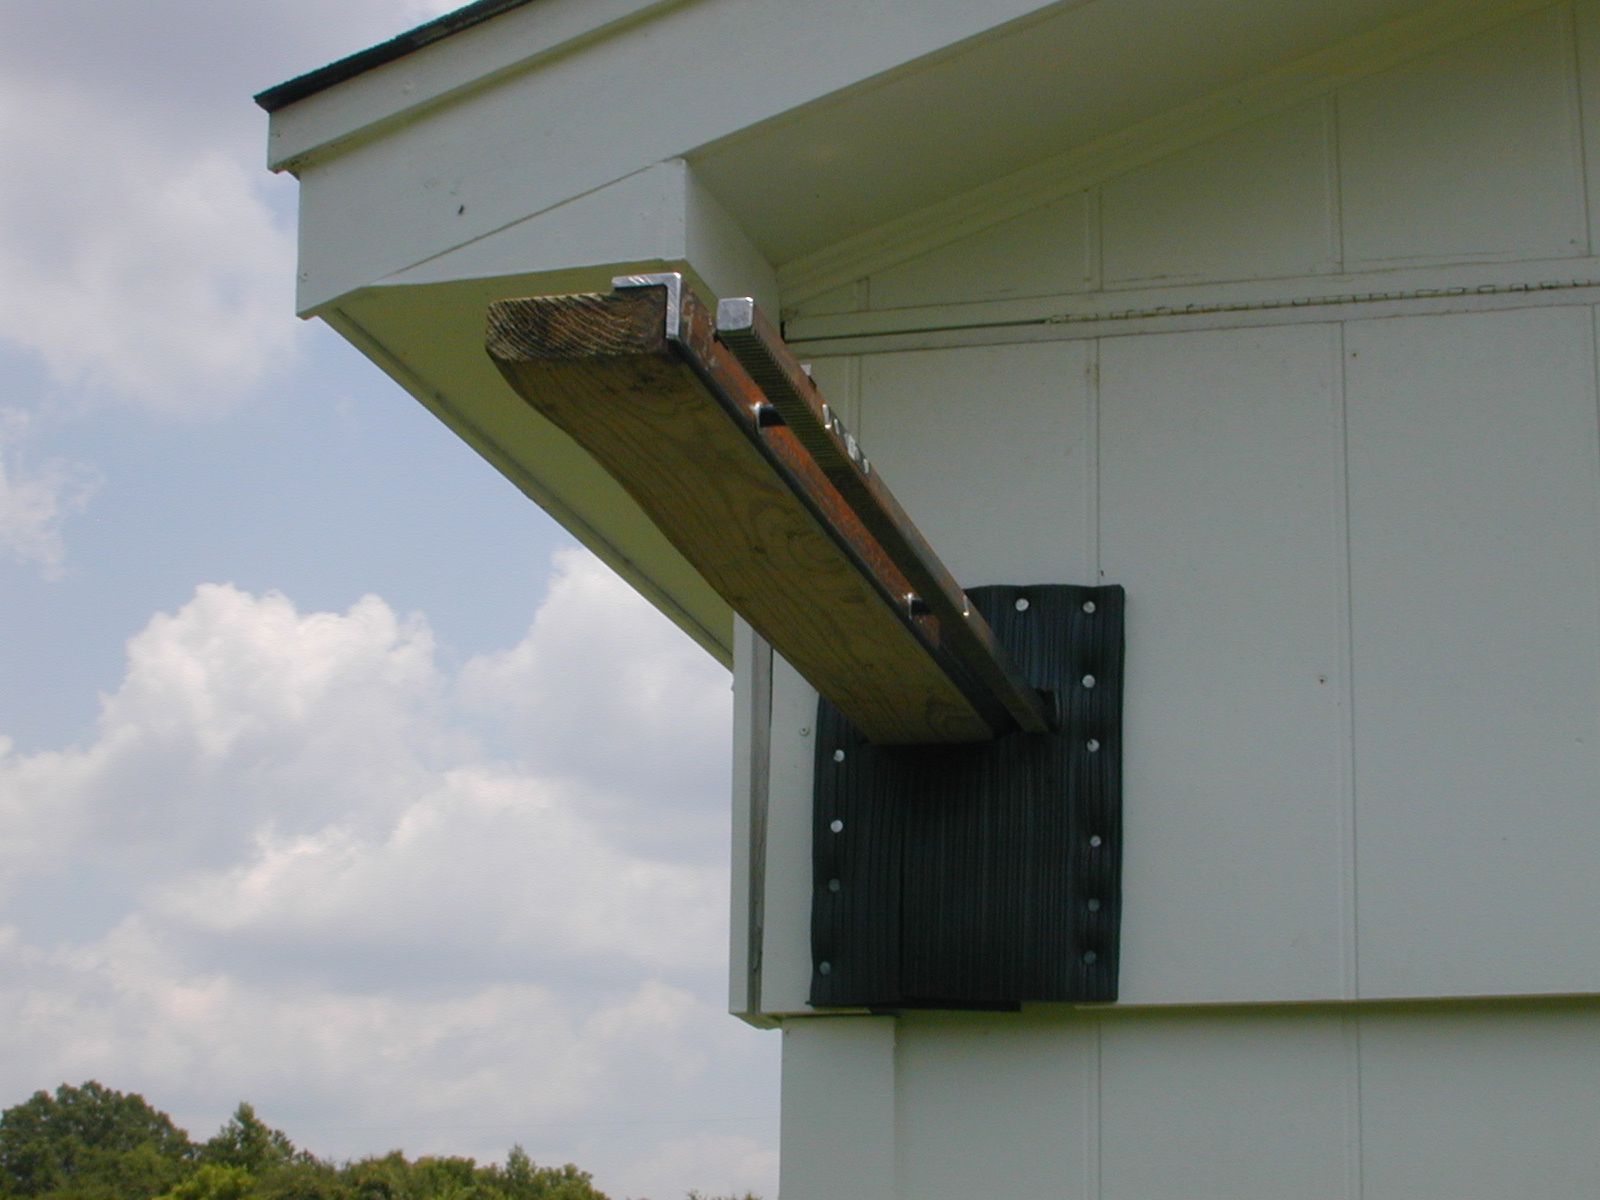
|
Because I roll my roof off further back than just the 10 ft size of the roof, I needed to extend the track beyond the front by 3 additional feet. | 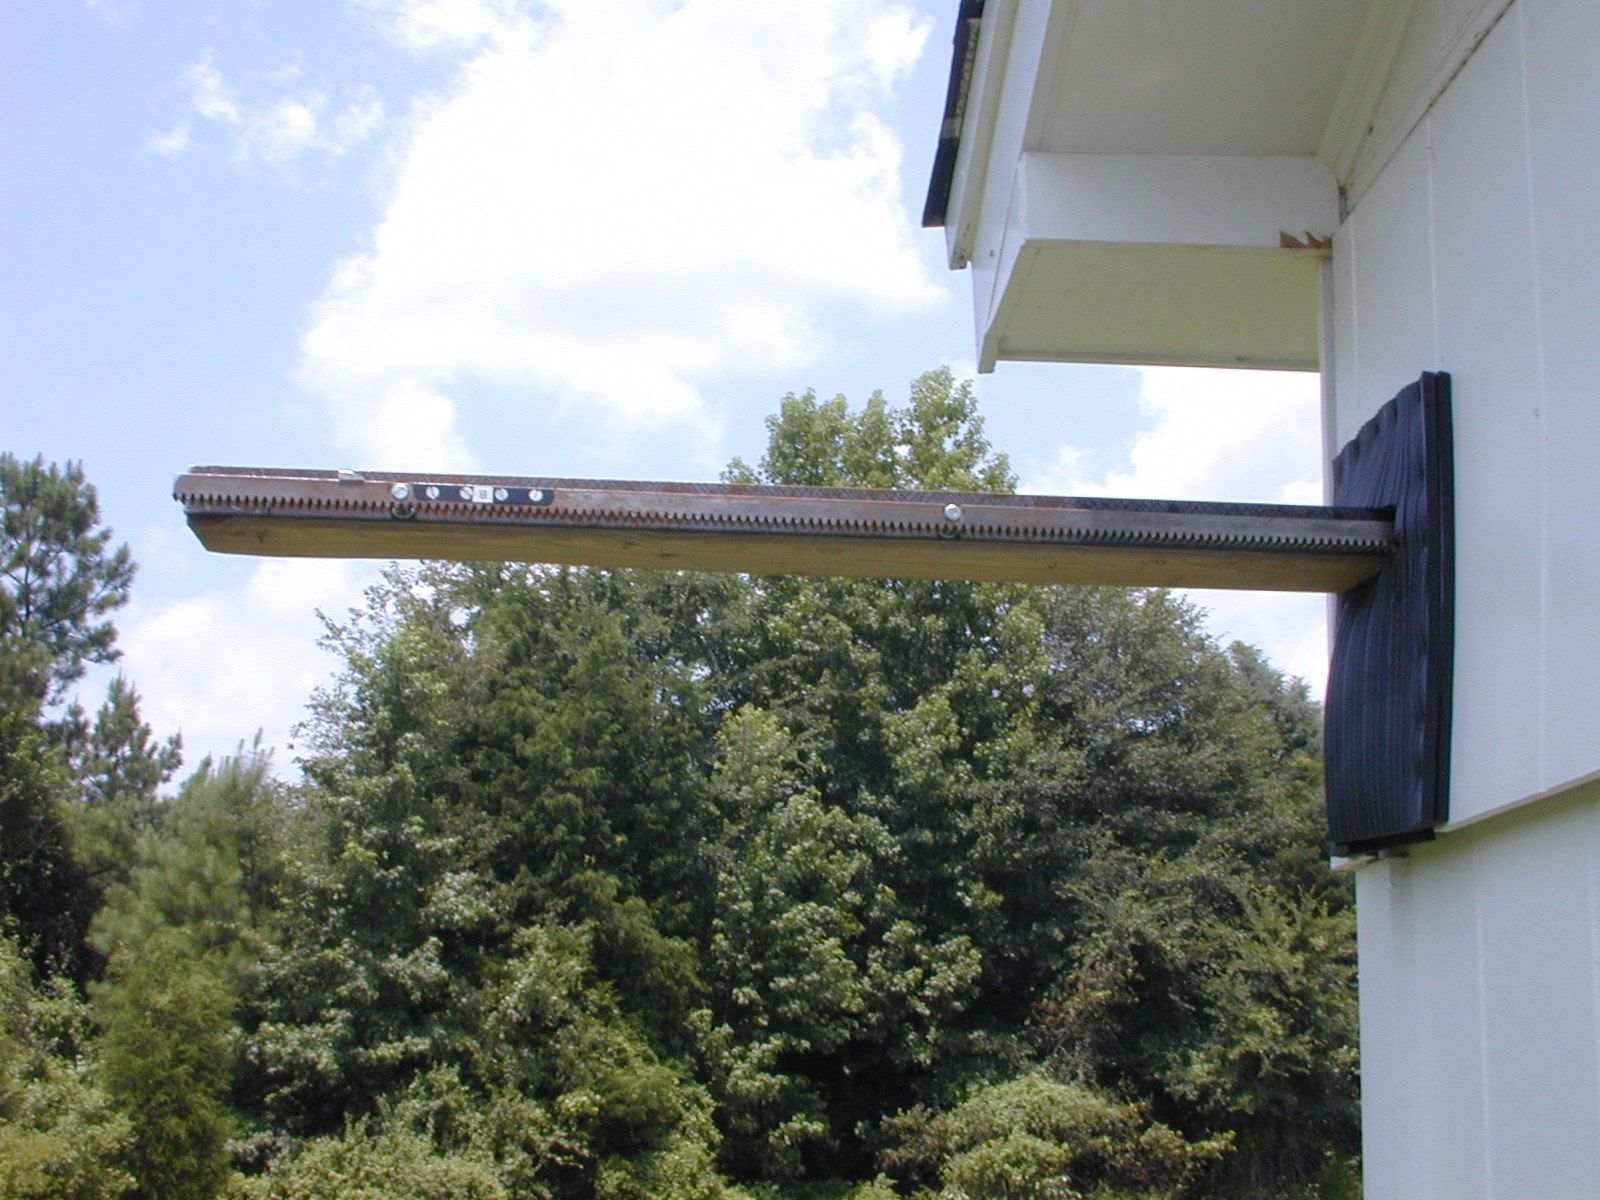
|
I made a self sealing flap to keep the weather out. | 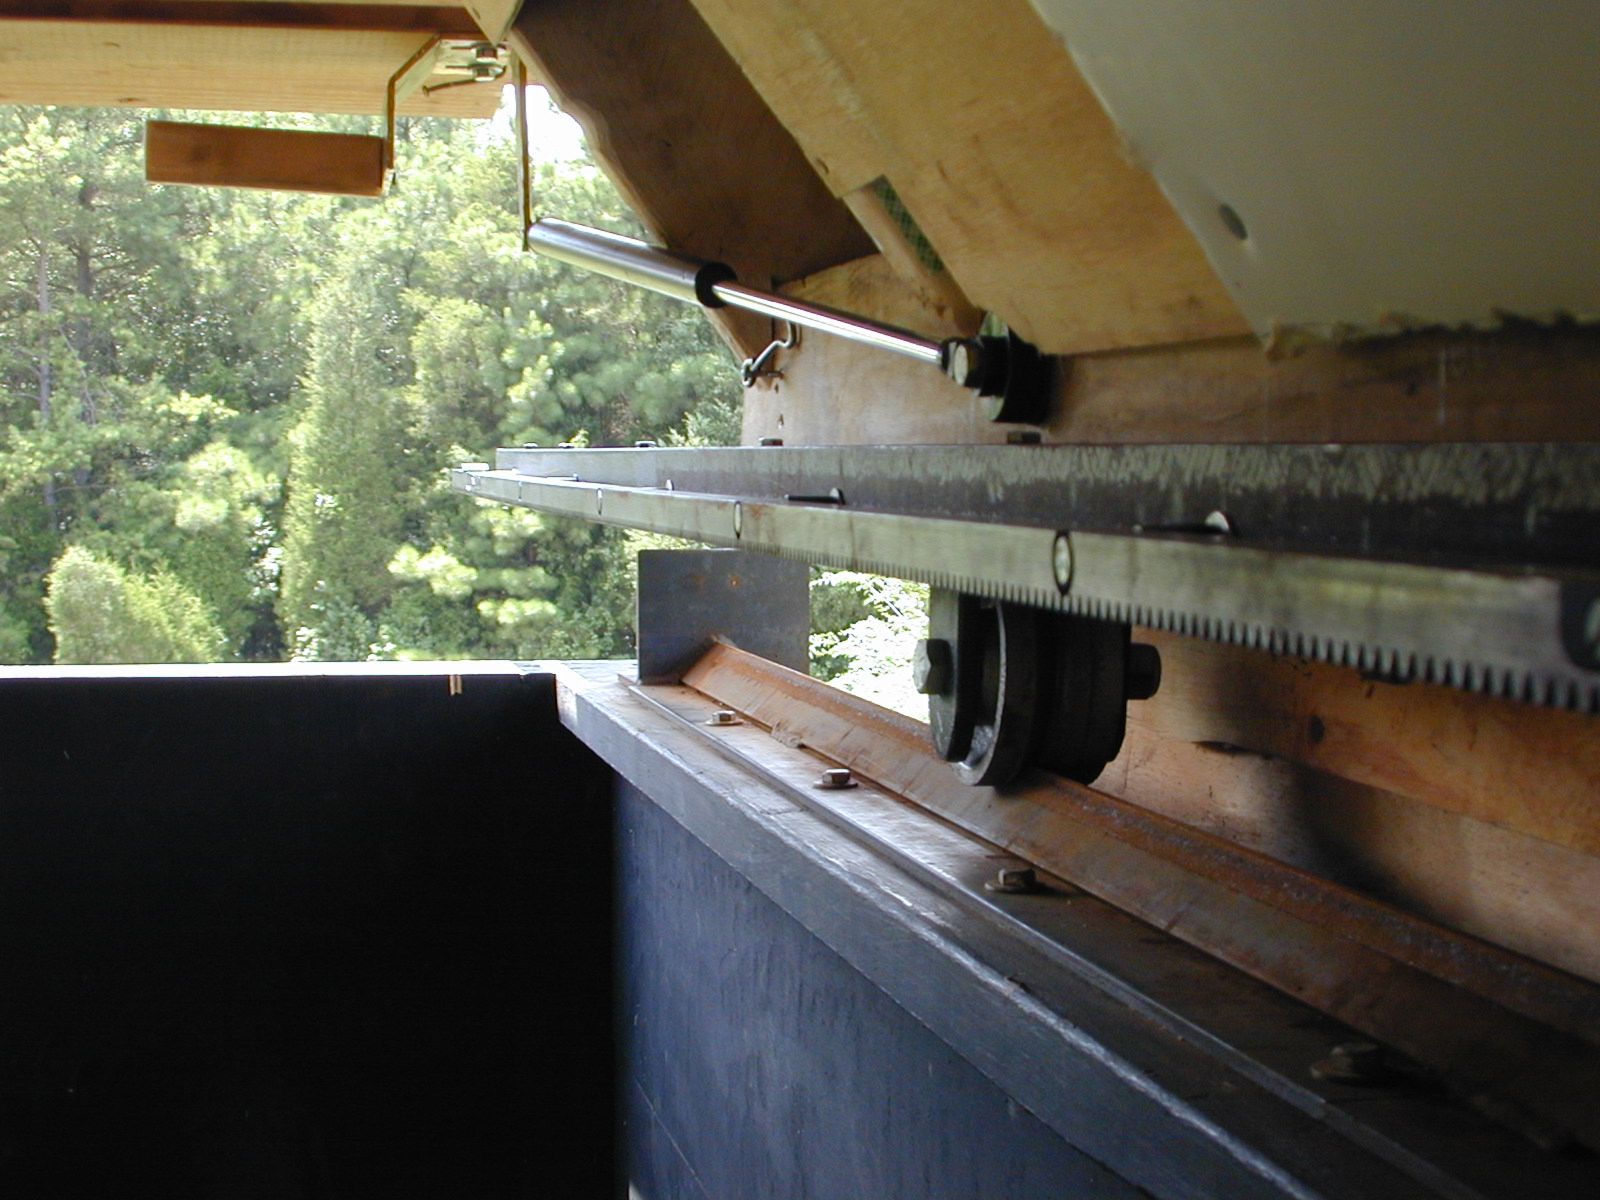
|
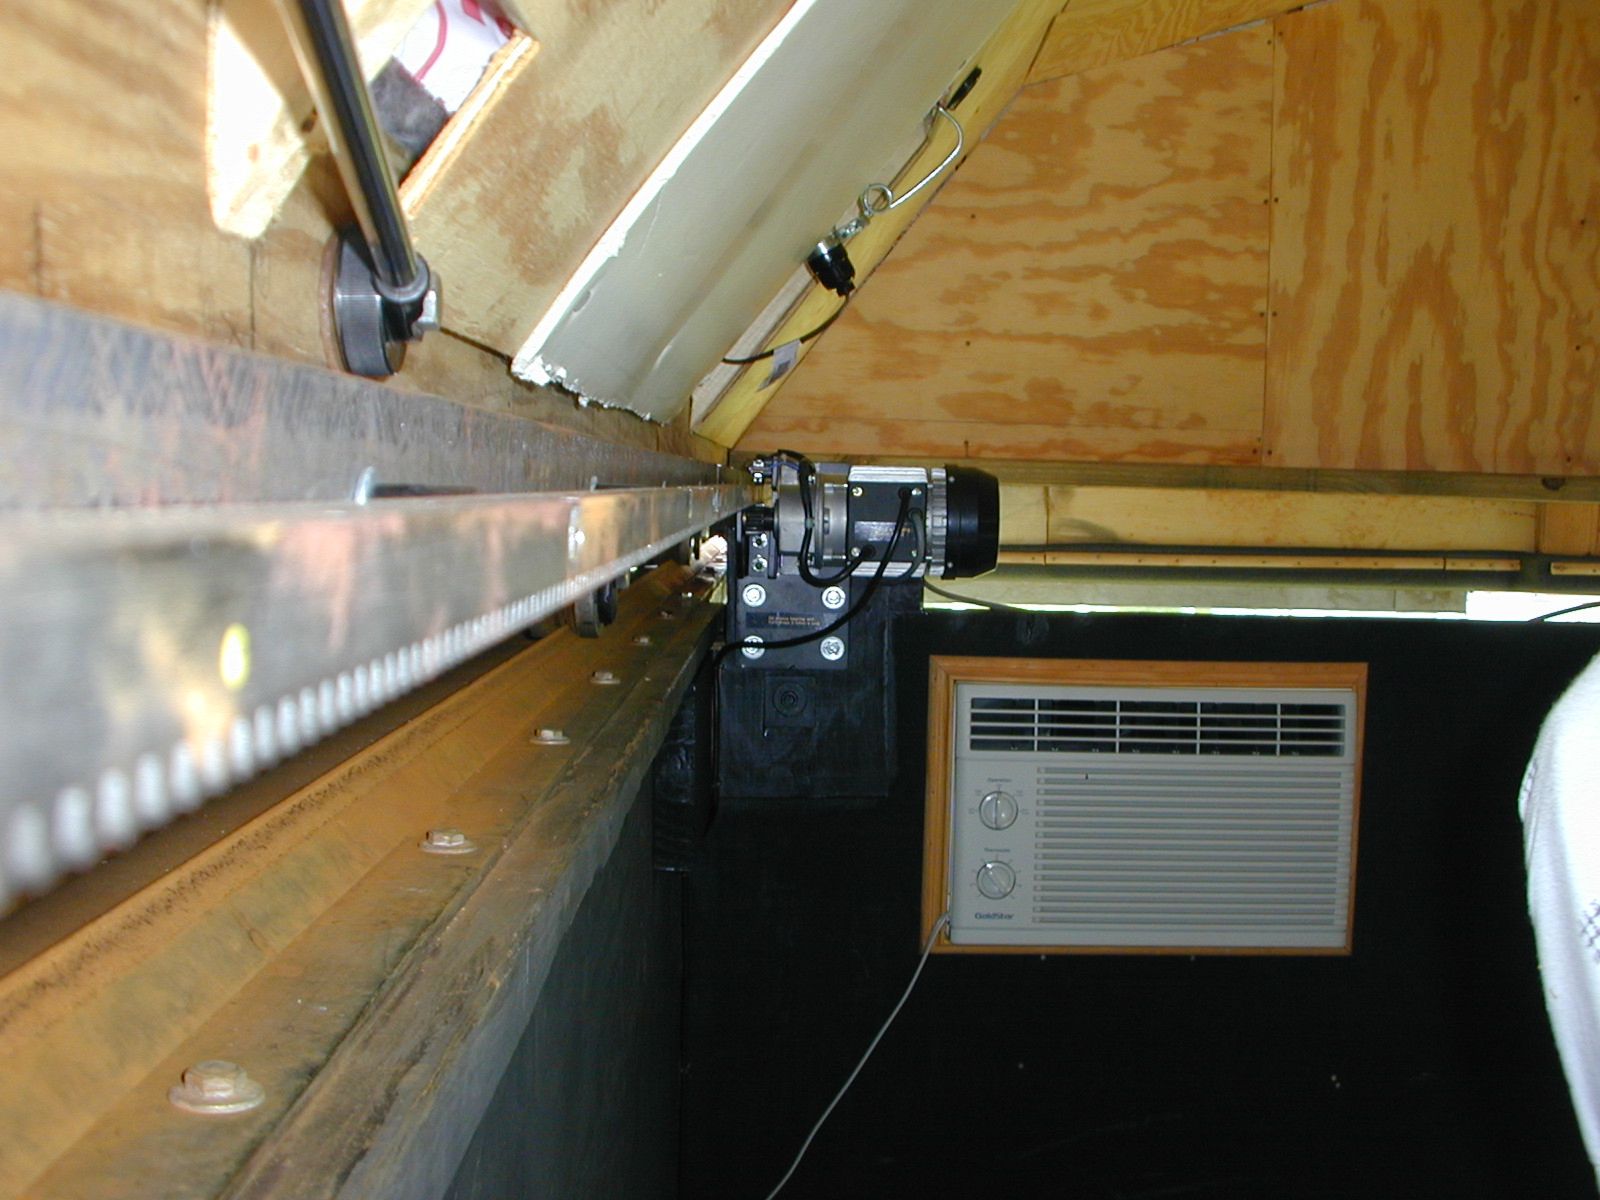
With the front "door" open everything is clean and the roof moves off effortlessly. |
|
Since I tend to over engineer things, the track is bolted to a piece of angle iron, that is bolted to a custom fit 2x4, that is bolted to my roof supports that hold the rollers. | 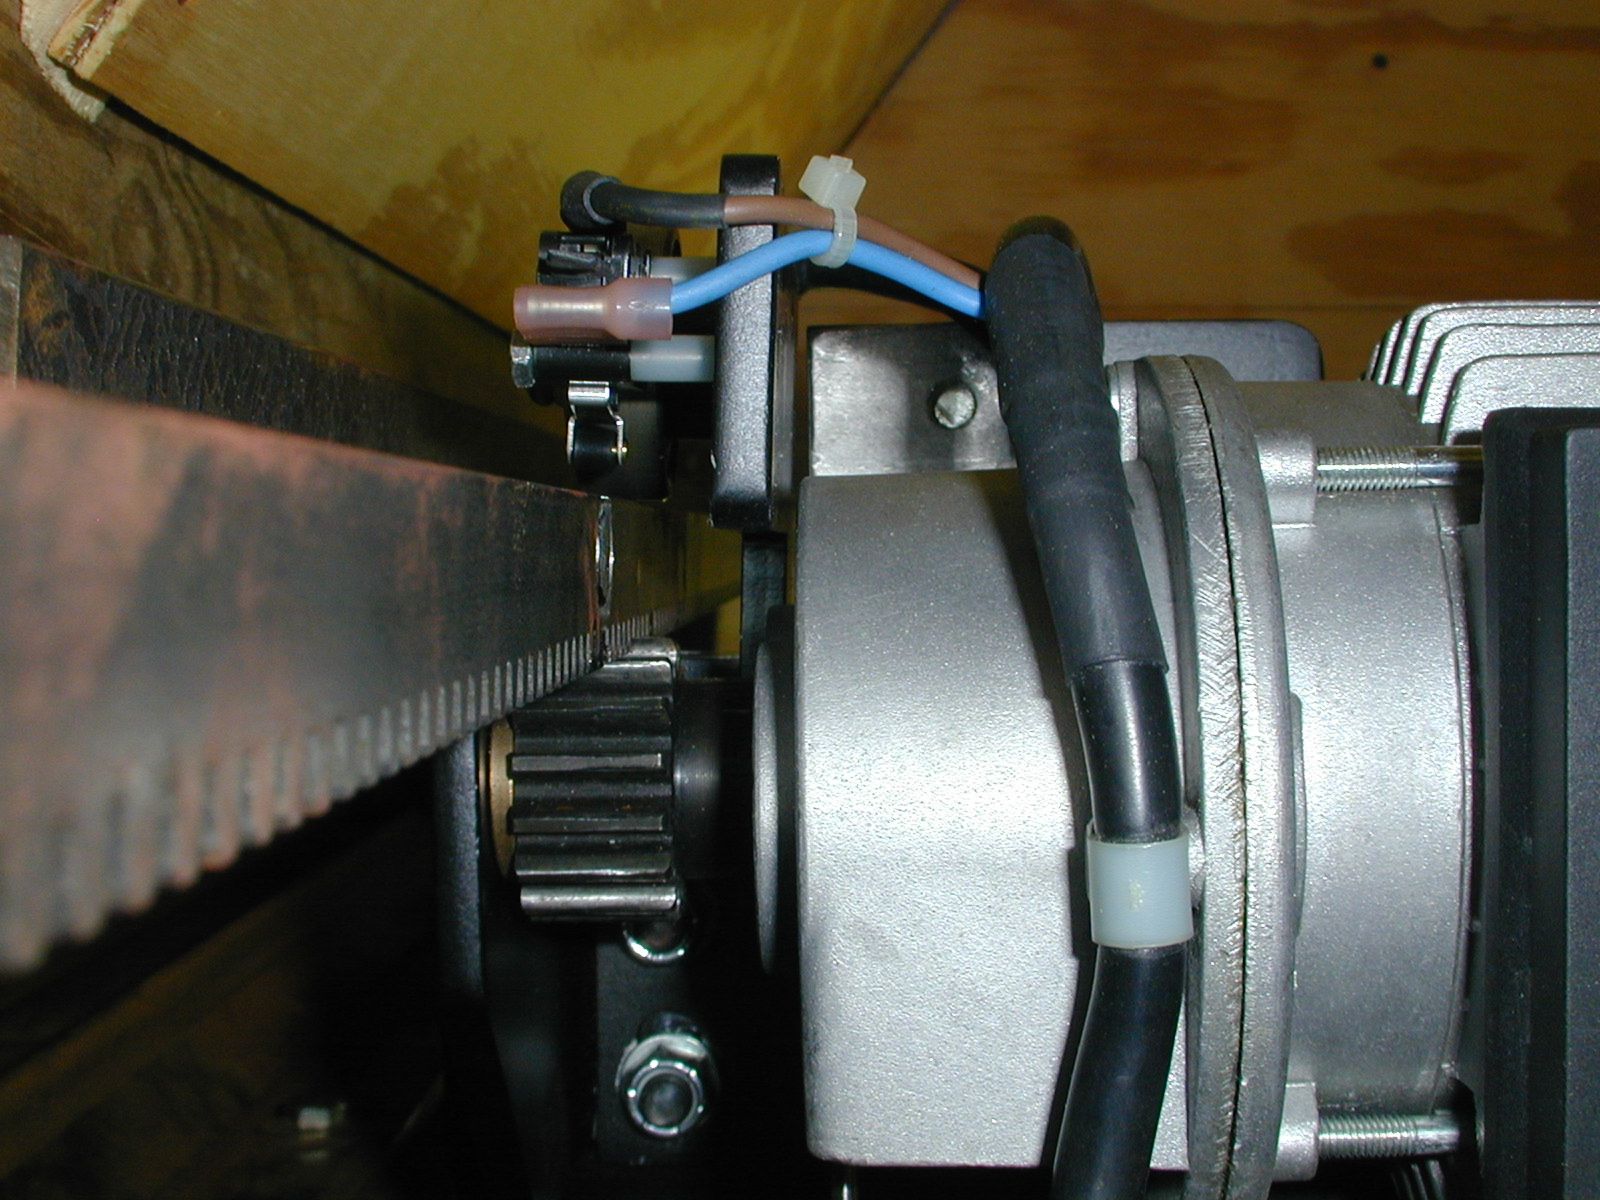
|
The motor version that I got has the limit switches installed and will automatically cut off when it reaches the perfect opened and closed position. IMHO, well worth the few extra dollars to have them installed. |
| ................ "UPDATE 07-23-07" ................ Boltwood Cloud Sensor II added |
|||

|
I added a Boltwood Cloud Sensor II and installed a new support so I moved the Davis Advantage Pro there as well. | 
|
This is me taken by my brave wife standing on a long ladder. |
| ................ "UPDATE 01-09-08" ................ Automatic Roof Open/Close added |
|||
|
This is my automated roof open/close electronics. I used the existing rocker switch and remounted it in the new box. Added a few Radio Shack relays to handle the current and used two Web Relay switches to energize the open or close circuit. I can send a signal over the ethernet network to the web controller in the Web Relay, it triggers for a set amount of time and turns on the Radio Shack relays that switch on the motor. | 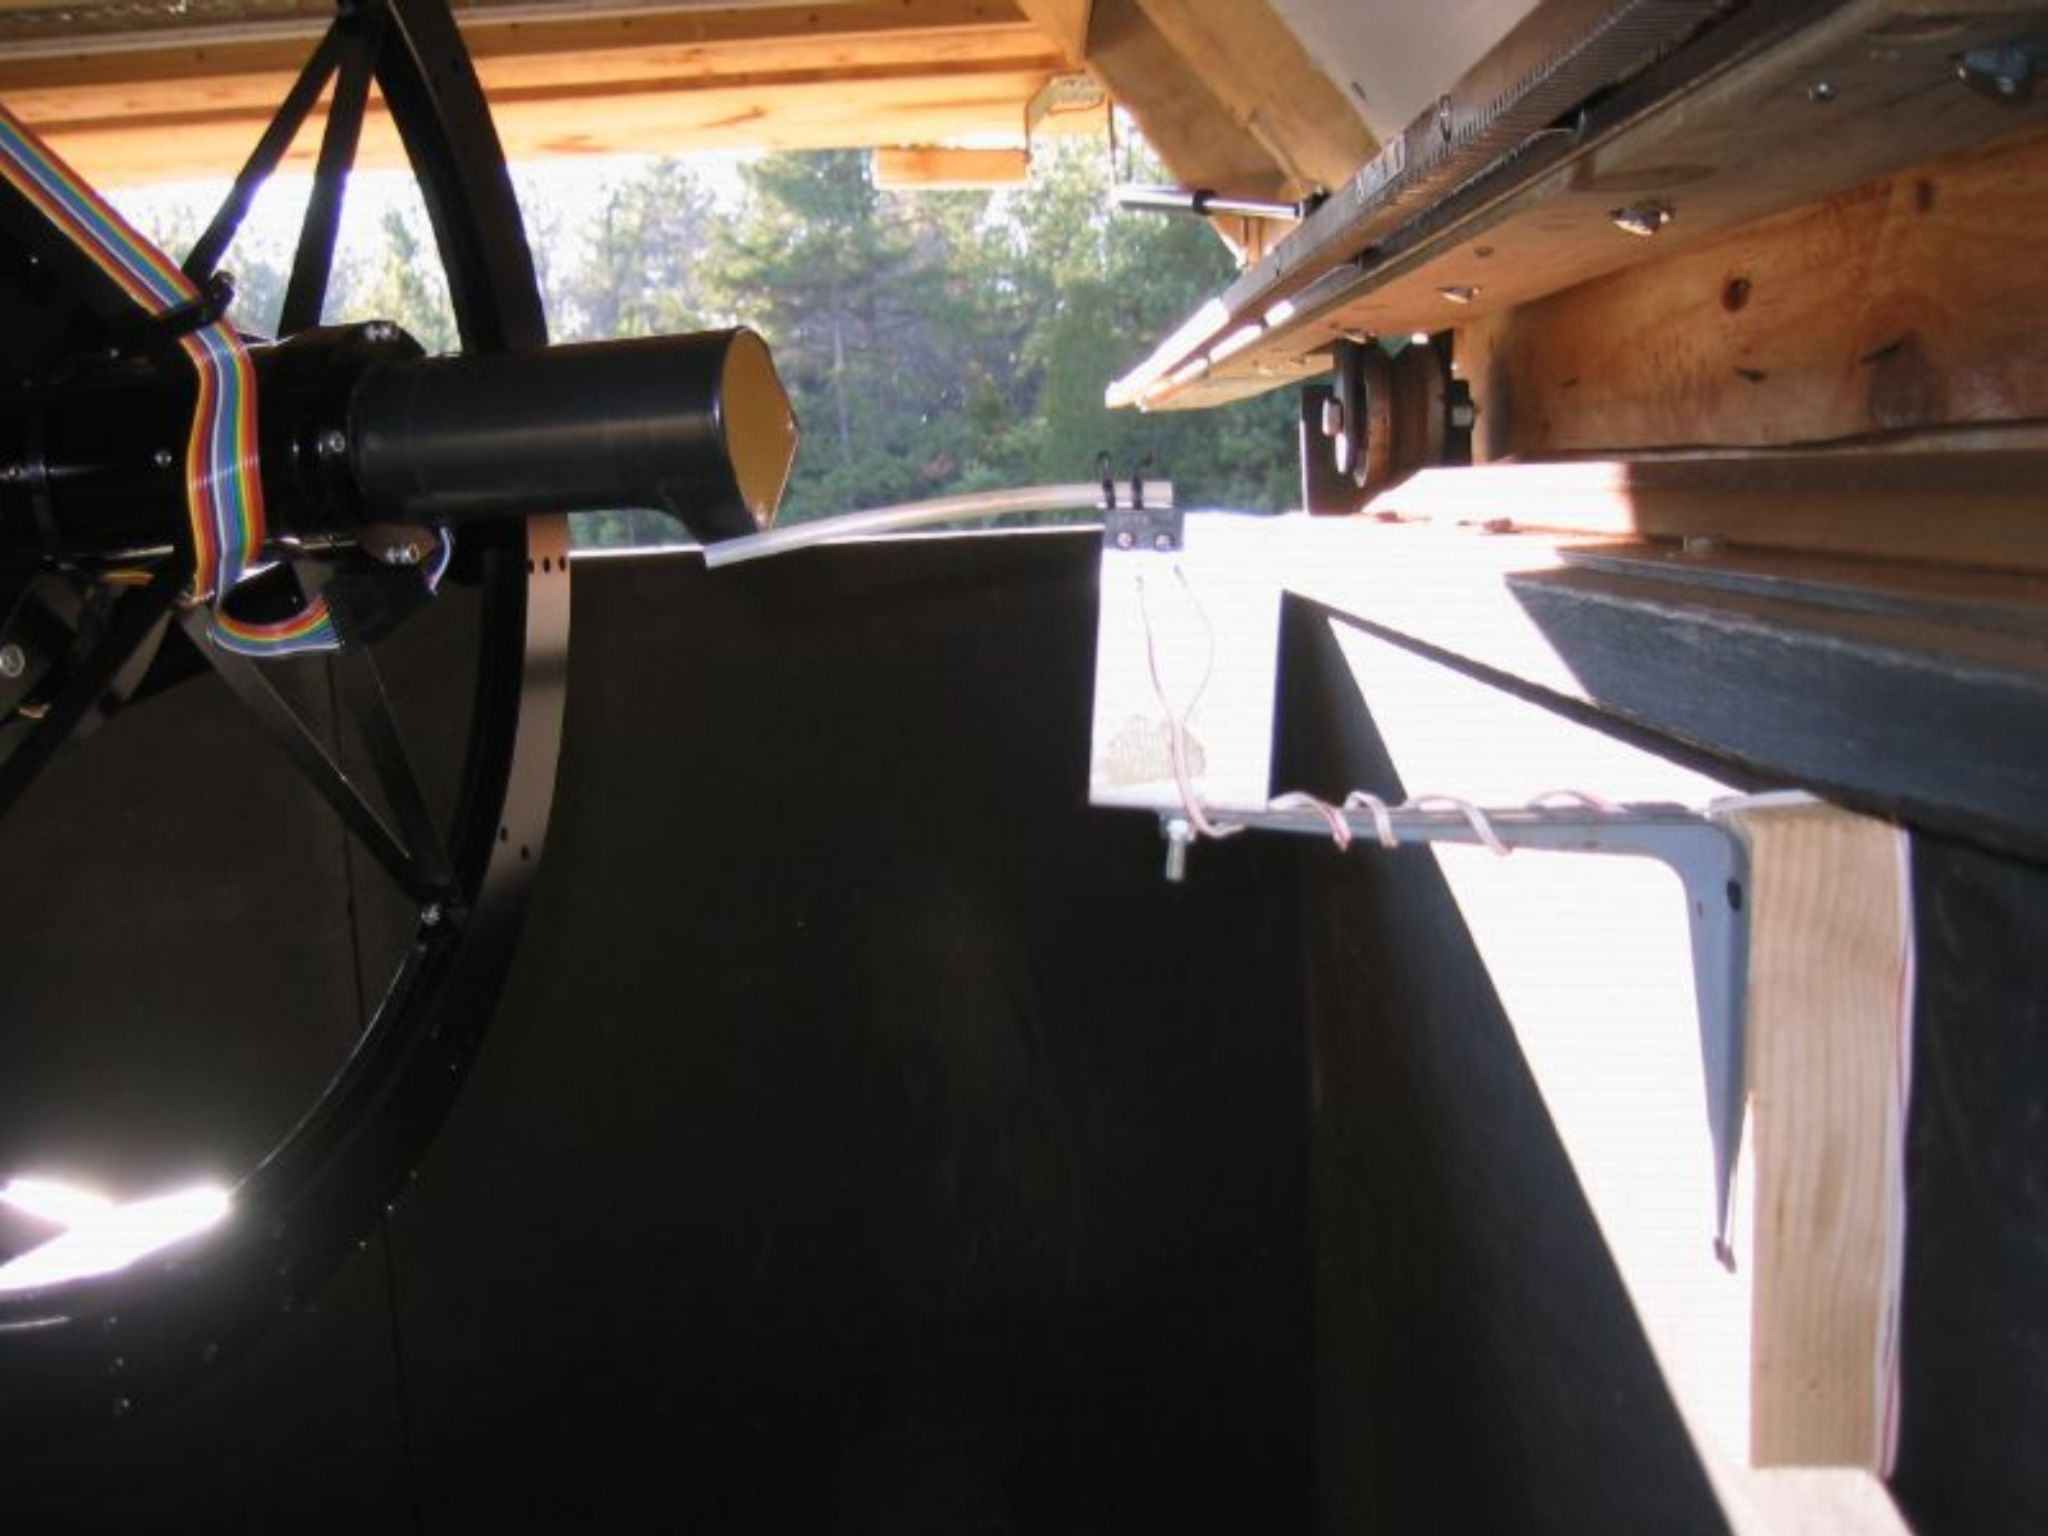
|
This is my "prototype" safety switch. When the mount is parked it allows the relays to close and start the motor. If the mountis not in the parked position, the motor will not open or close the roof. |