
|
|
|
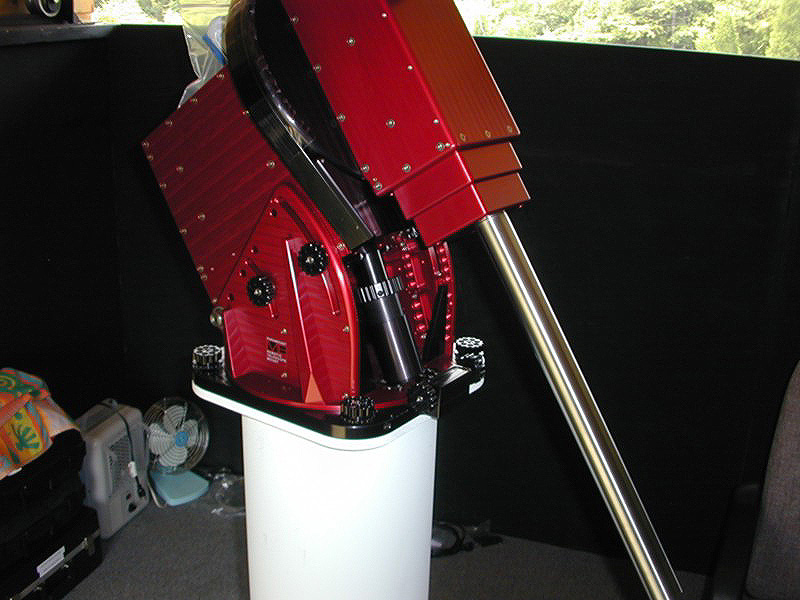
On Friday July 5th 2002, I received my long awaited Paramount GT-1100ME®, Software Bisque's® 3rd generation Robotic Equatorial Mount. With the pier patiently waiting in the Observatory, I started the assembly on Saturday morning. The following are some pictures of the process. This is quite a piece of engineering and art rolled into one.
|
Step 1, put the mount on the pier facing north ! | 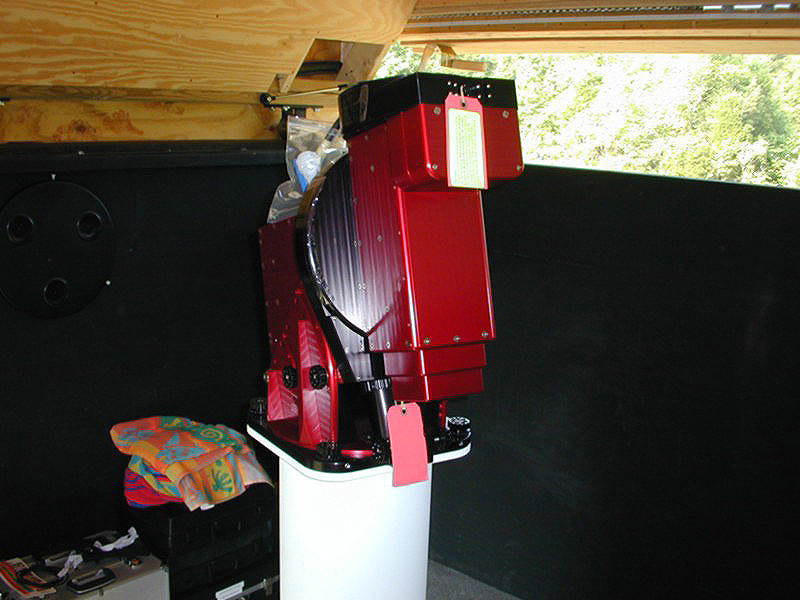
|
The Paramount is an extremely well engineered mount. The finish is smooth and the CNC machining makes everything fit like a glove. |
|
A good side view of the wedge and the "through the mount" OEM cabling. | 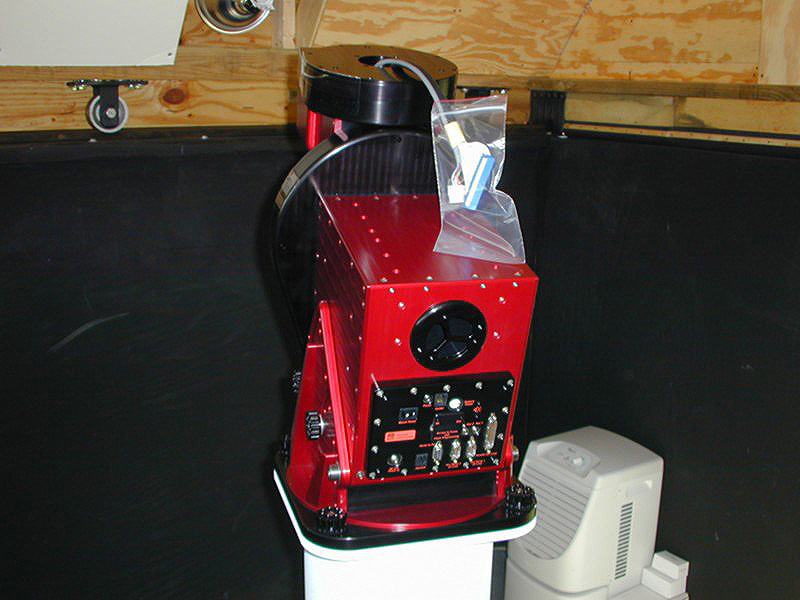
|
A view of the base input panel and the access hole for running additional cabling up to the DEC plate. |
|
The counterweight bar is now installed. | 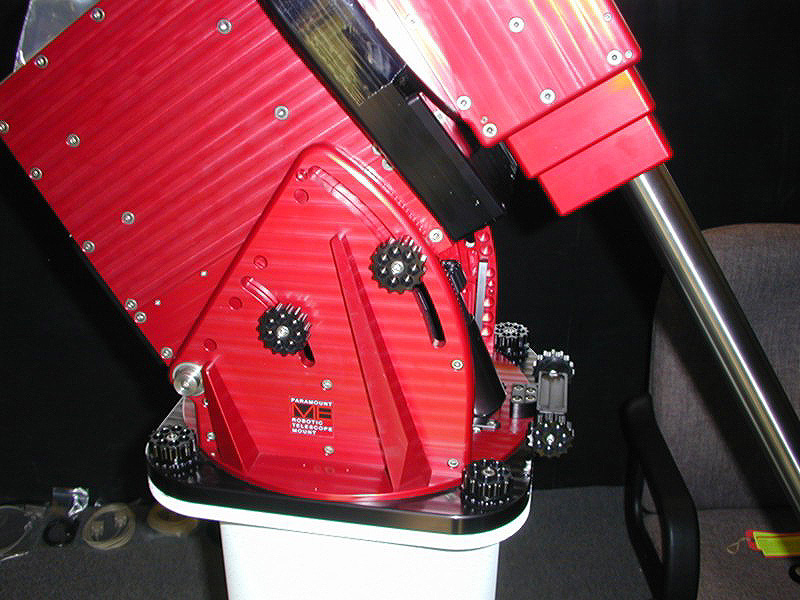
|
The initial latitude adjustment is "dialed" in. It is set a little higher than actual so the adjustment to polar align will be lowering the mount. |
|
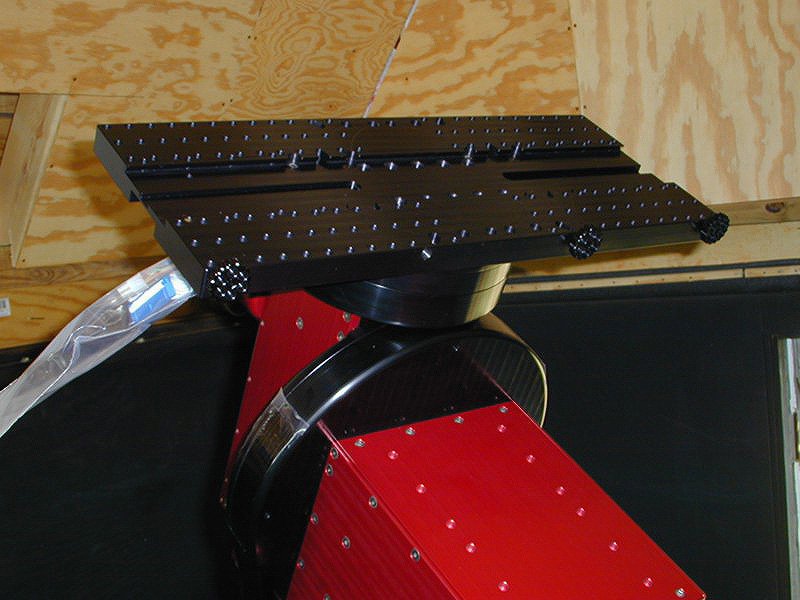
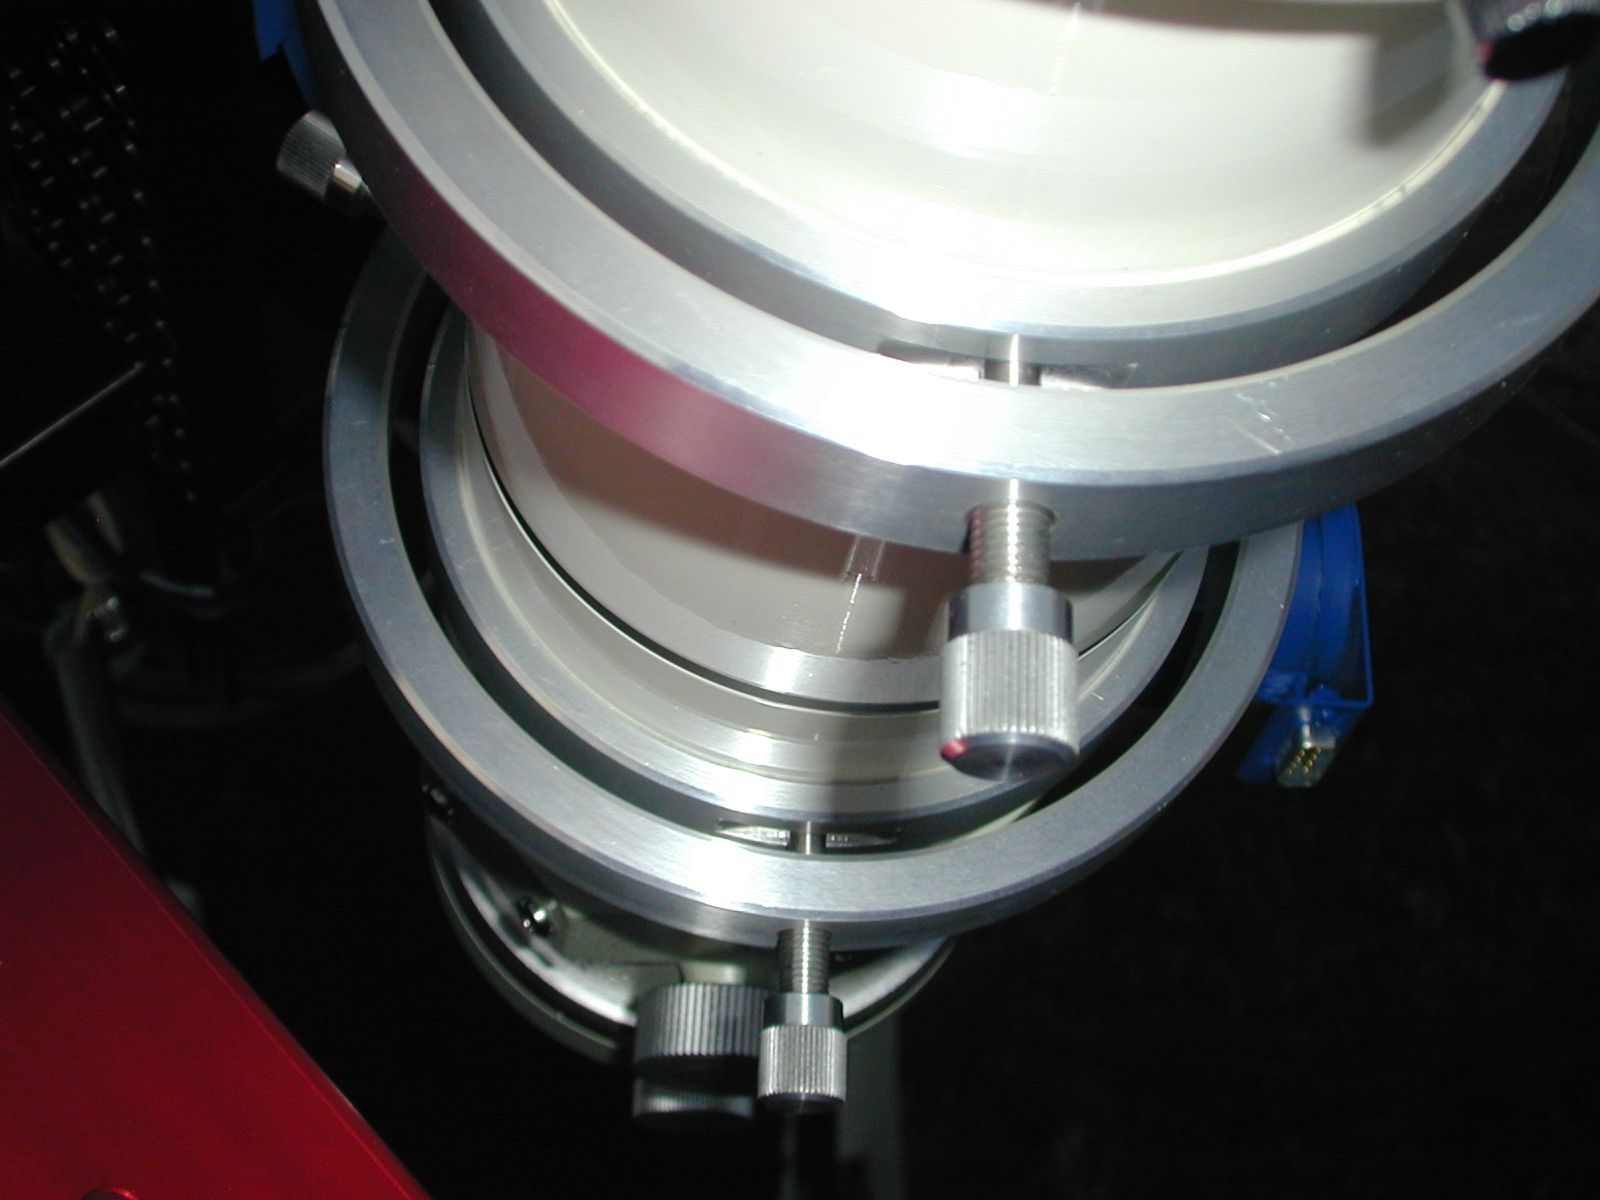
The "Versa-Plate" has been installed on the DEC axis. | 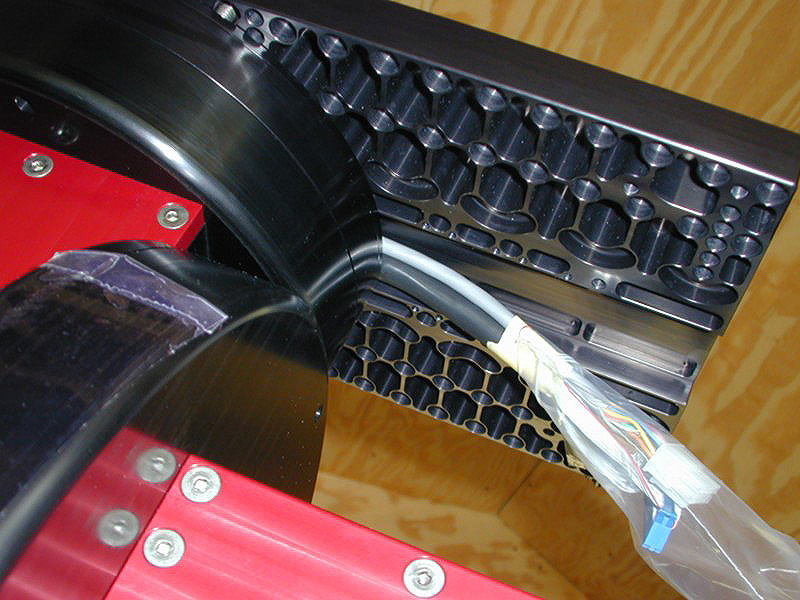
|
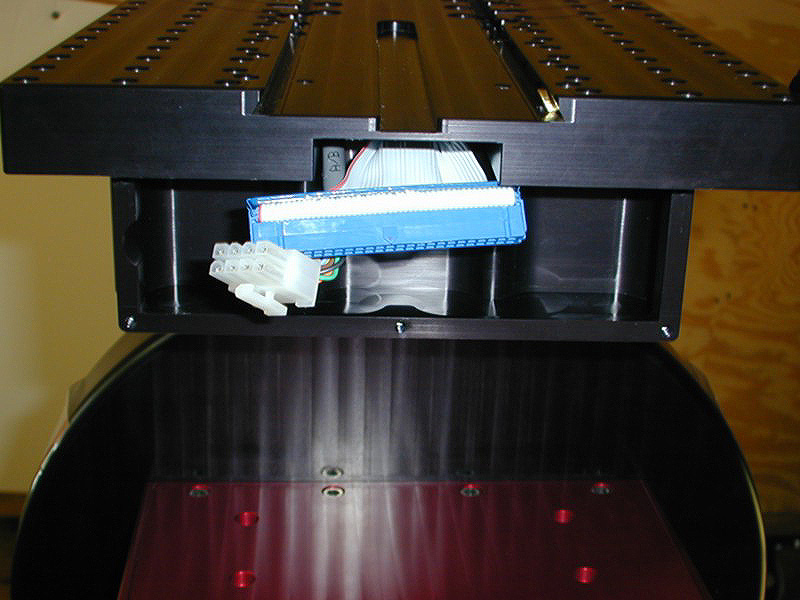
Here is a picture from underneath the Versa-Plate showing the channel that the cabling fits in. |
|
Another view of the Versa-Plate as it is oriented for attaching the top instrument panel. | 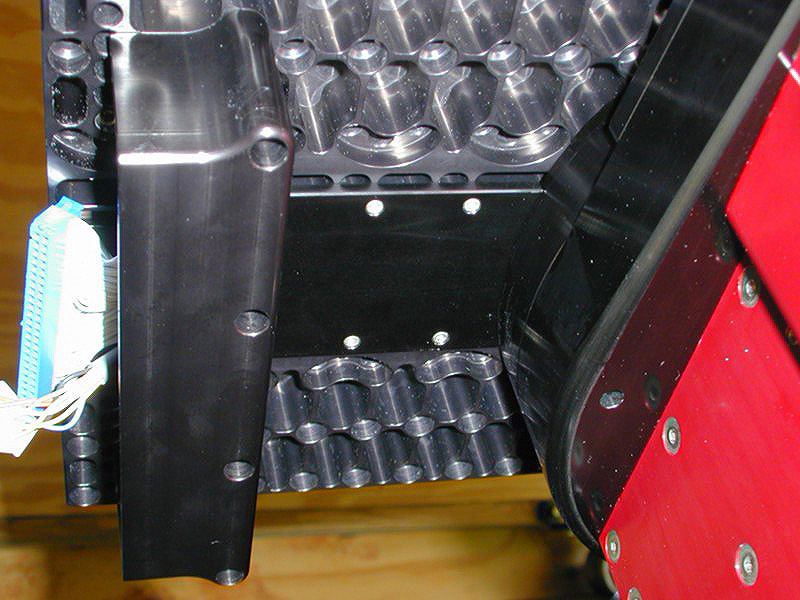
|
Here the cabling channel cover plate has been installed and the instrument panel case is also attached to the Versa-Plate. |
|
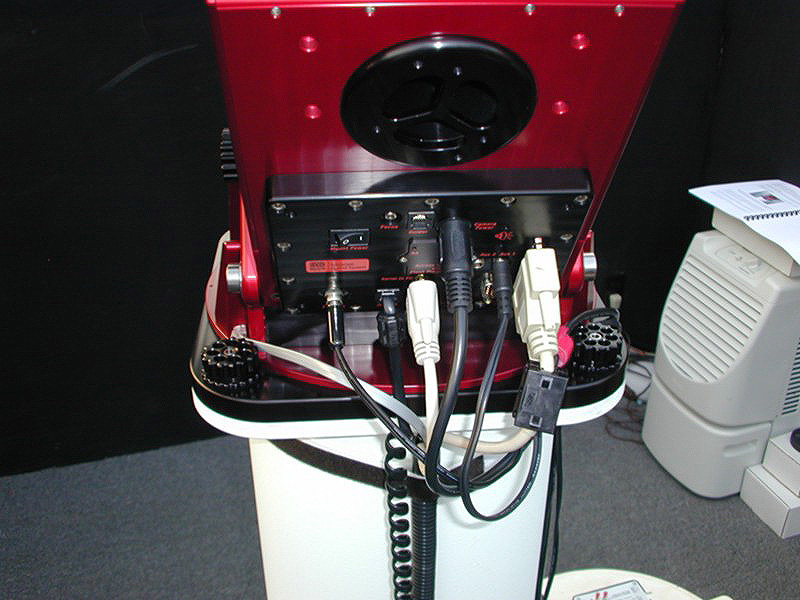
A view of the connectors for the instrument panel. | 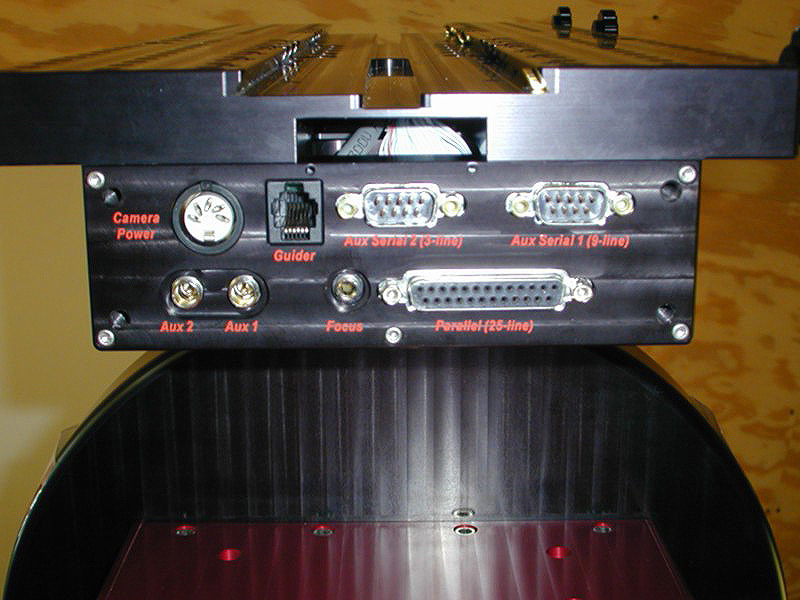
|
Installed instrument panel. |
|
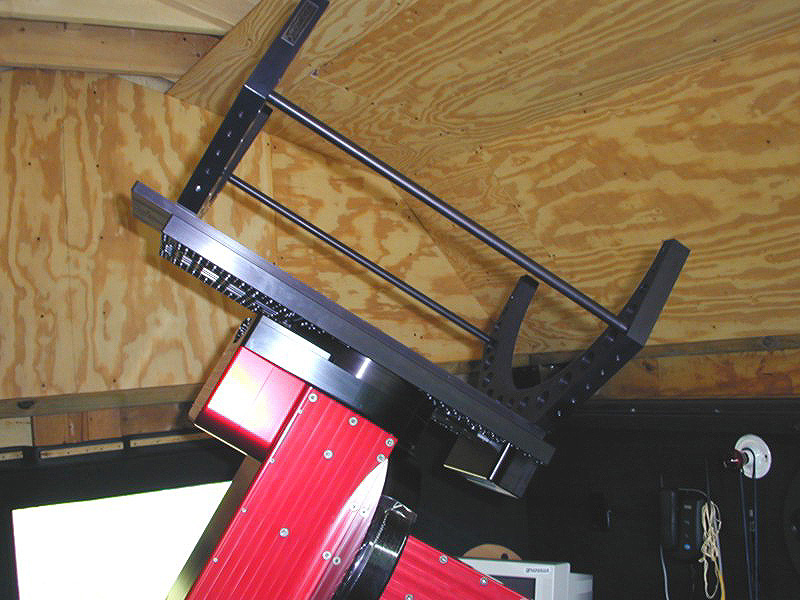
The C14 will be attached to the mount with Andy Homeyer's "Scope Cradle". A C14 SCT is definitely "tail heavy", so I set the cradle a good bit forward to compensate. | 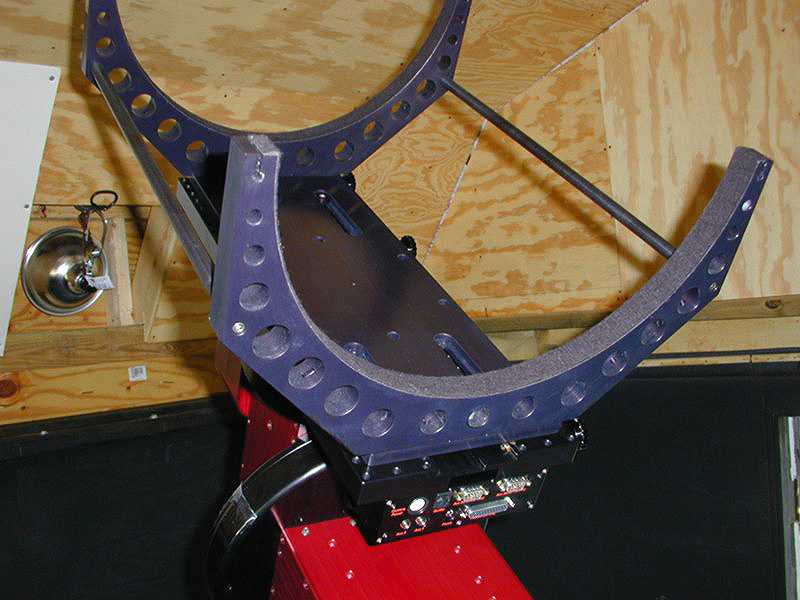
|
The cradle is designed to attach to the Paramount's Versa-Plate with virtually unlimited adjustment for balance. Here you can see the slots that permit that adjustment. |
|
Once the C14 is positioned in the cradle, it is "rock solid". No flexure will be seen with this setup. The view from the back of the C14 shows the cradle construction. | 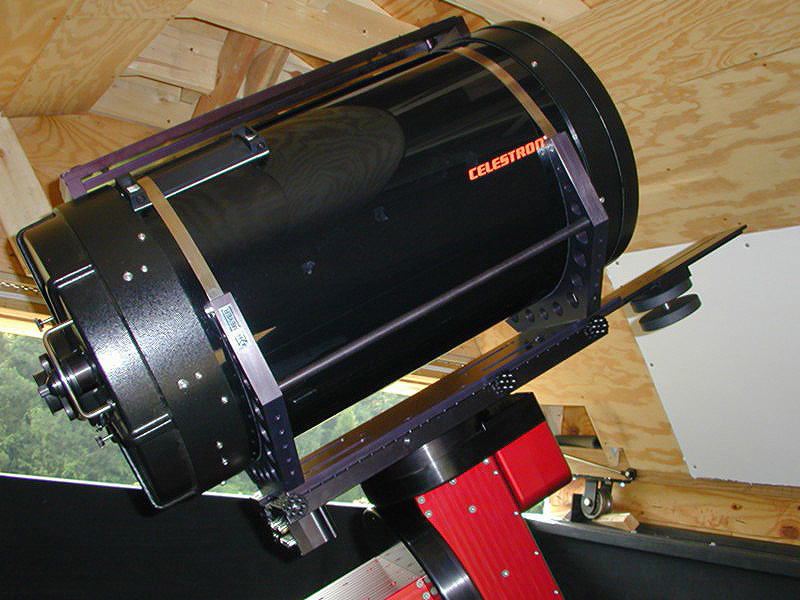
|
The C14 has been mounted and the stainless steel straps have it held securely in place. |
|
I sent Andy a Losmandy 15" dovetail bar and he mounted it to the front of the cradle. This way I can adjust my DEC axis balance very easily as the weight changes at the back of the scope. | 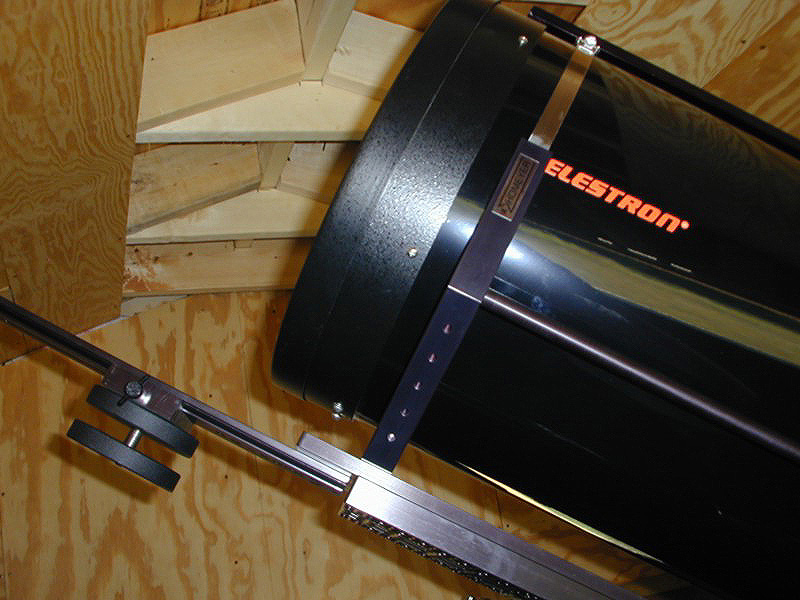
|
A view of the front strap and the counterweight assembly. The straps are lined with hard felt so they will not scratch or mar the C14's finish. |
|
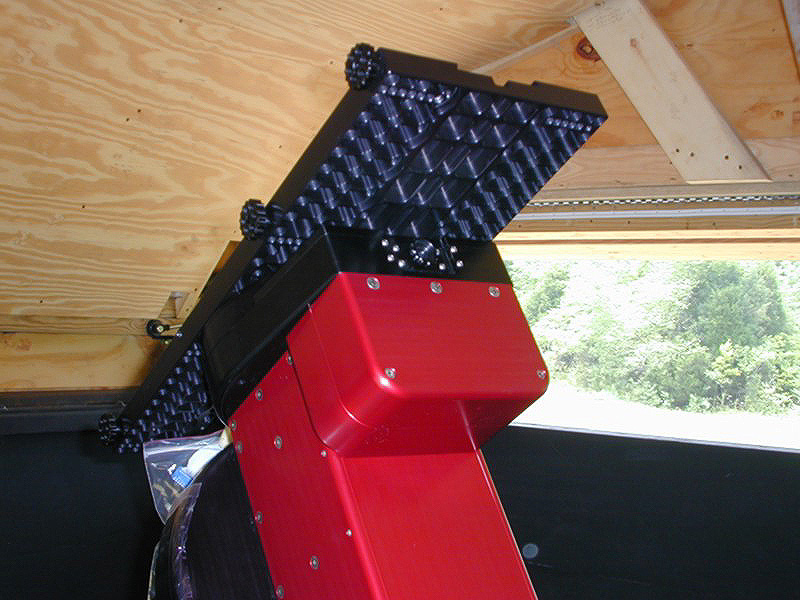
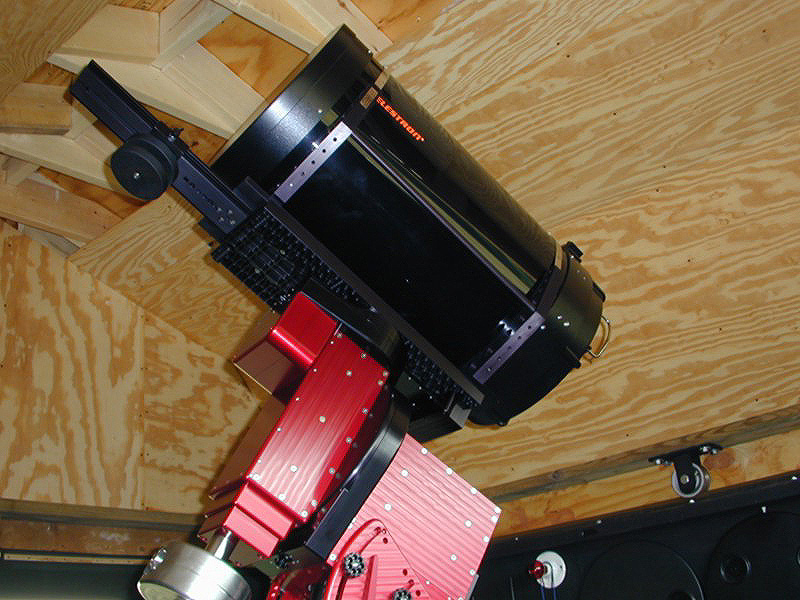
The more parts I assembled, the bigger it became. This mount is very large. | 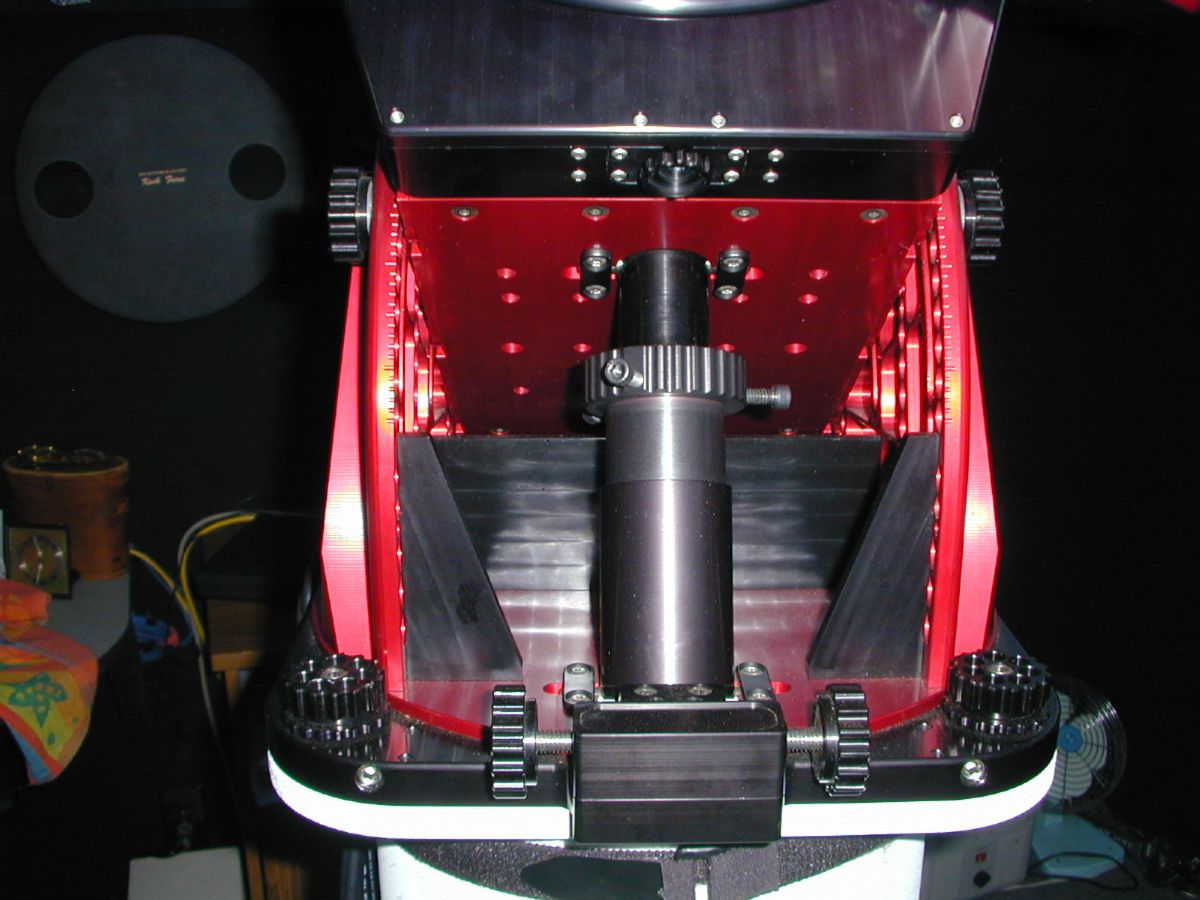
|
Here is a close-up of the Elevation and Azimuth adjusters. You can make adjustments to this mount and when you tighten the locks, there is no movement to throw off your alignment. |
|
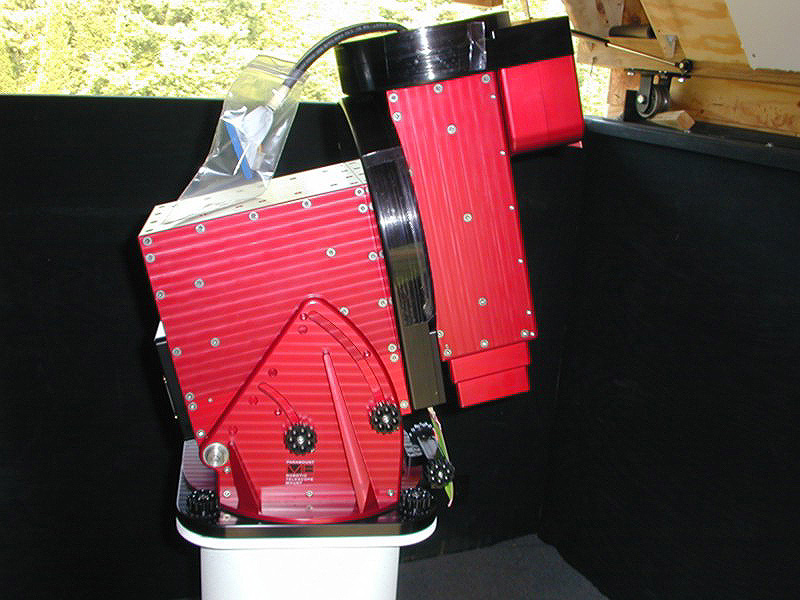
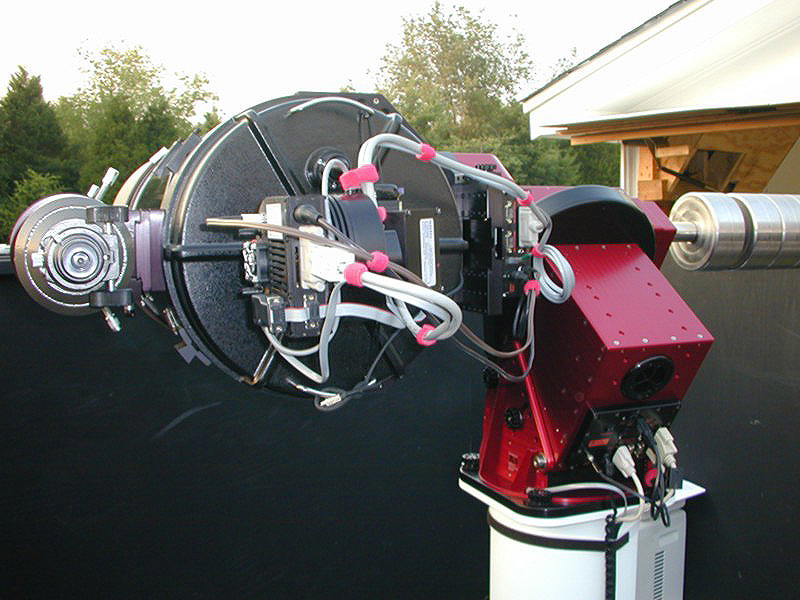
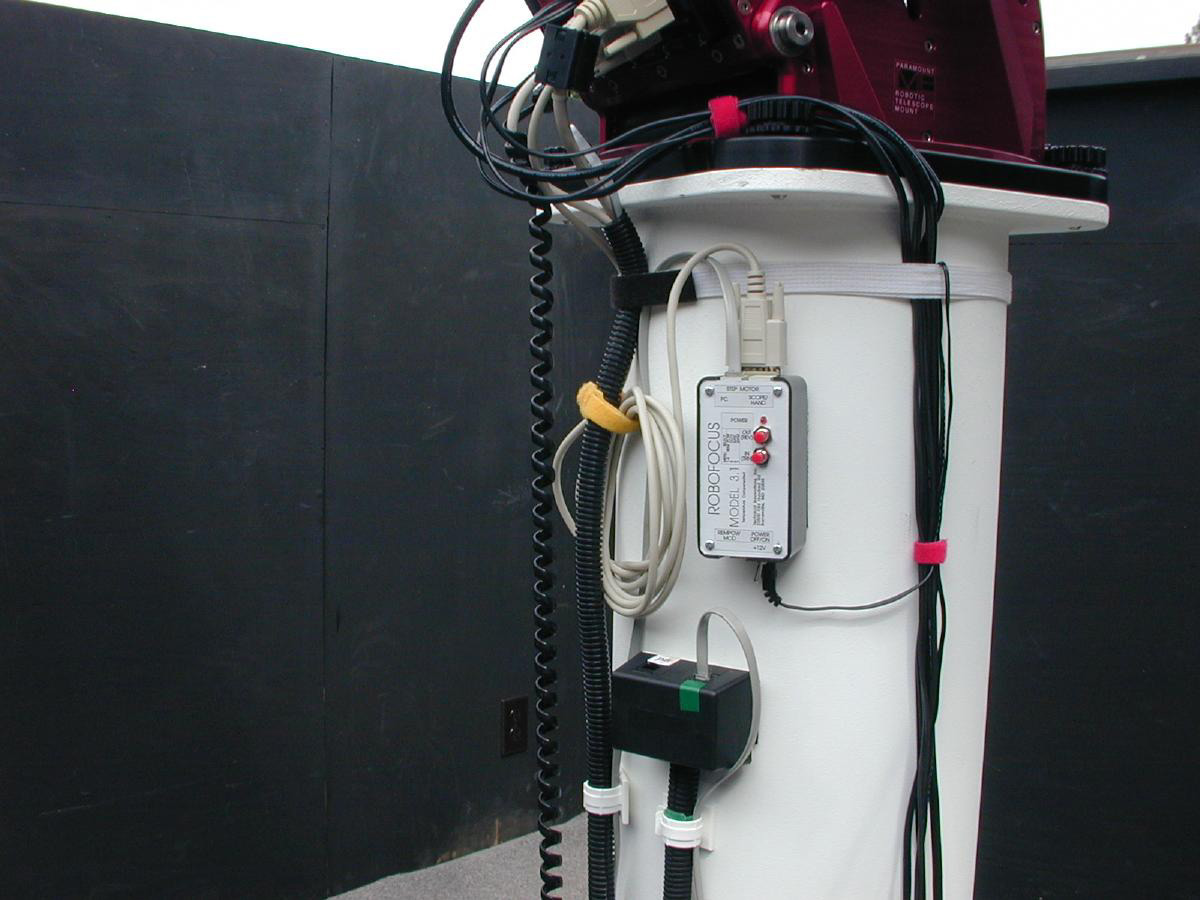
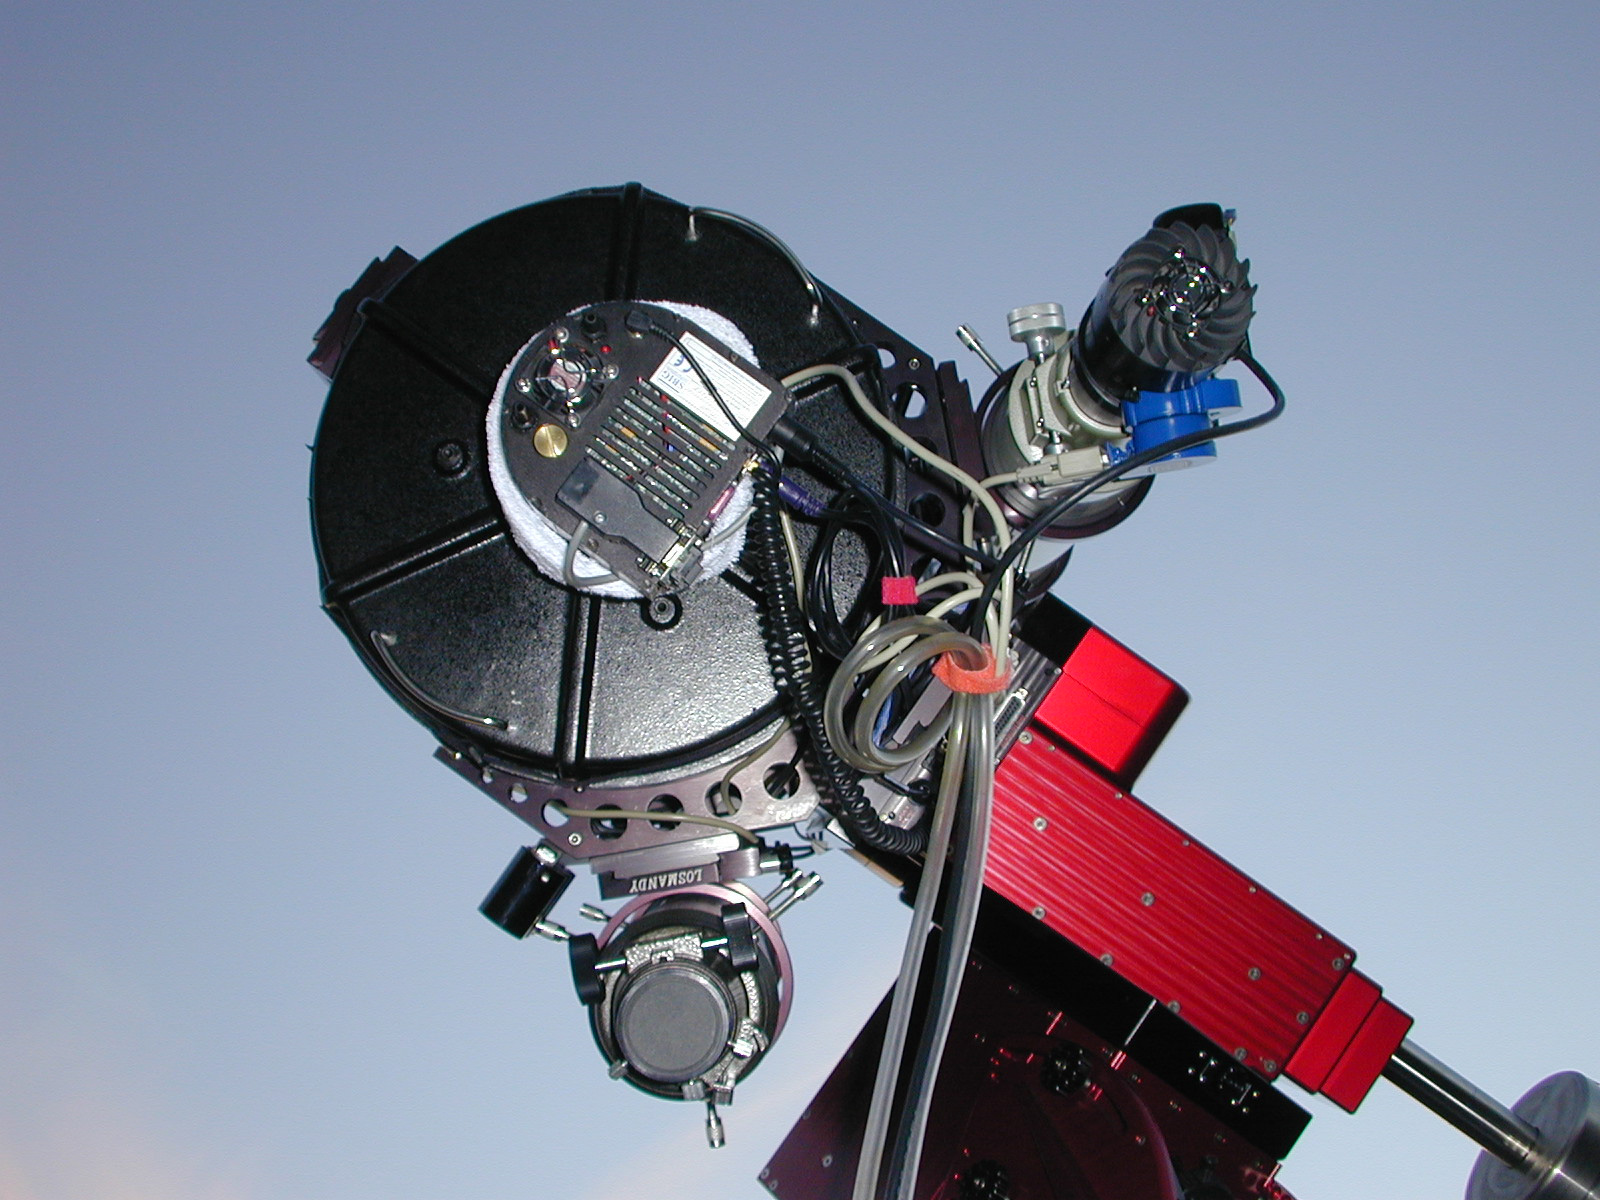
As seen here, camera power (and secondary cooler power), parallel data cable, serial cable to the ROBOFocus on the NGF-S, all are fed through the mount. No more dangling cables to effect balance or get caught on things !!! | 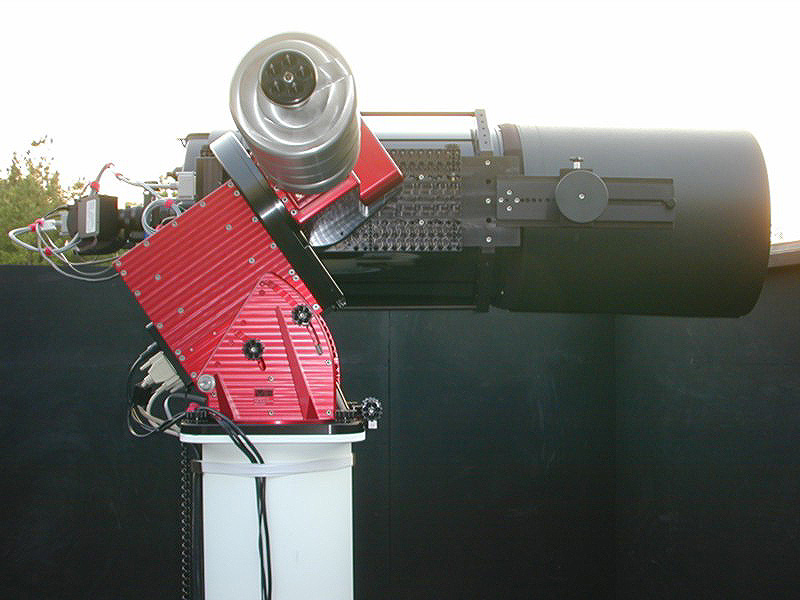
|
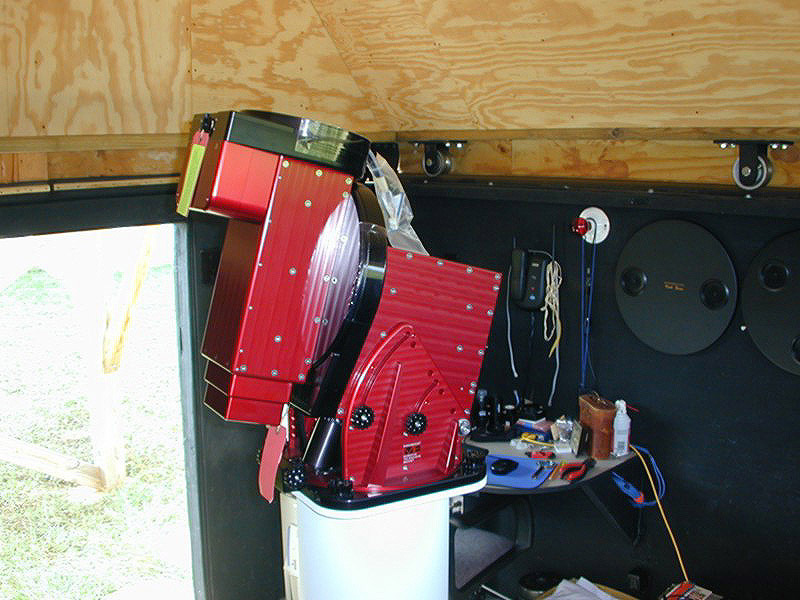
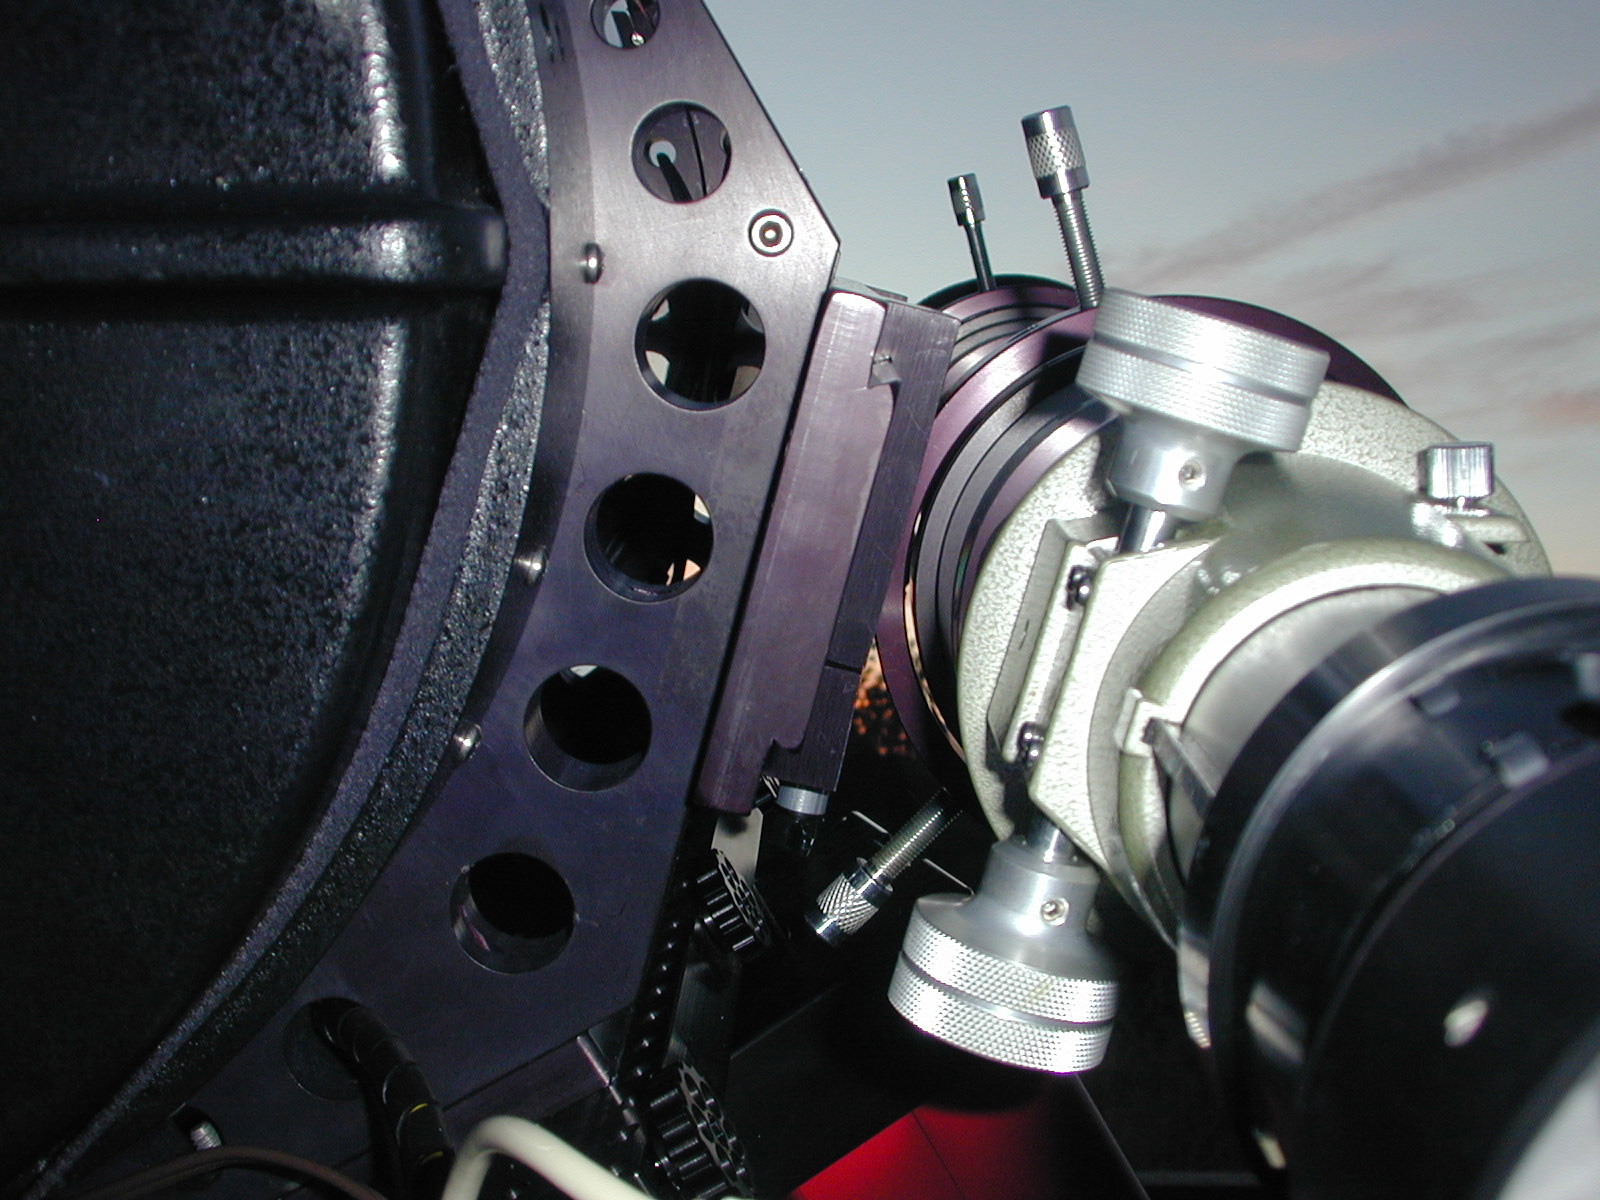
Almost ready for first light. The dewshield is on, and the AO-7/CFW-8A/ST-8E combo has been mounted and aligned. |
|
A Celestron SP-C102 has been added and you can easily see that there are no cables that connect to the lower panel. This is one of the great conveniences for fully robotic control. No fear of tangles or wraps. | 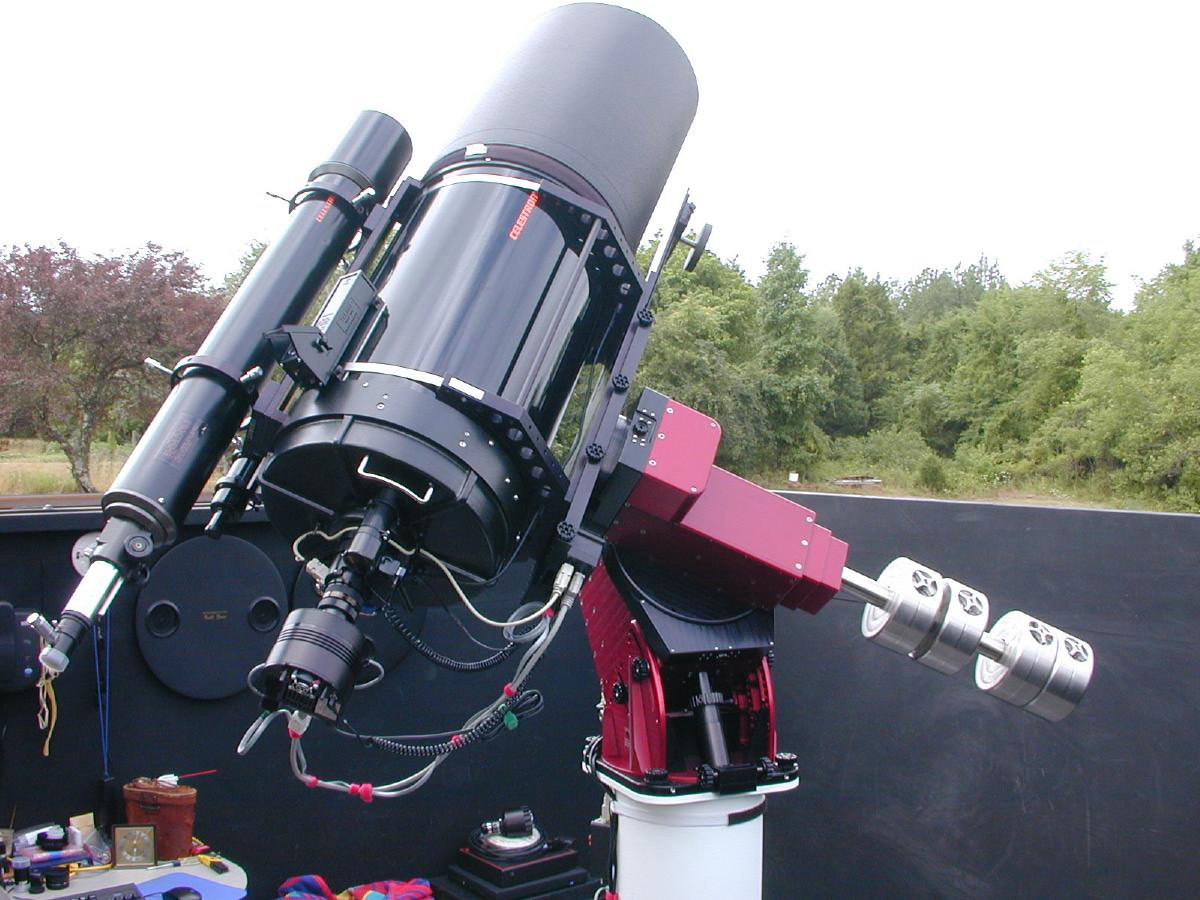
|
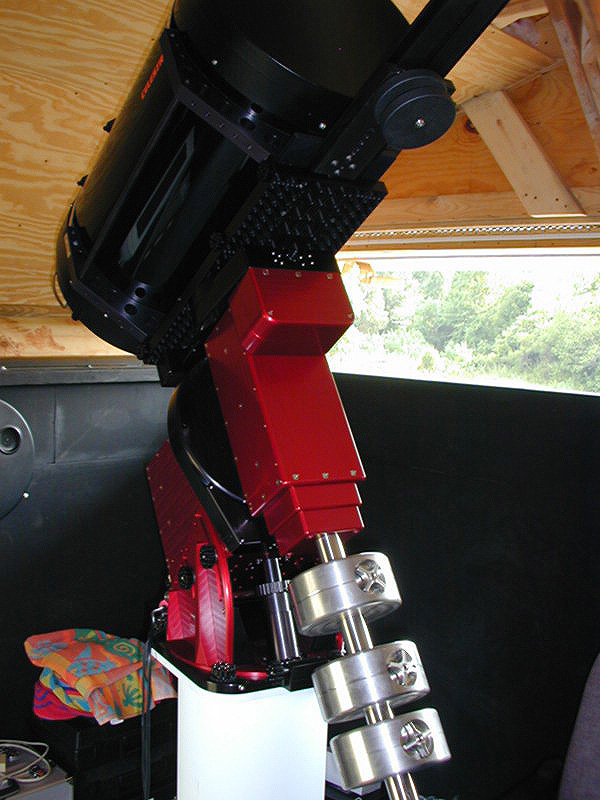
The mount is in the "Home" position. For this configuration, it takes 80 lbs of counterweight to balance everything. |
|
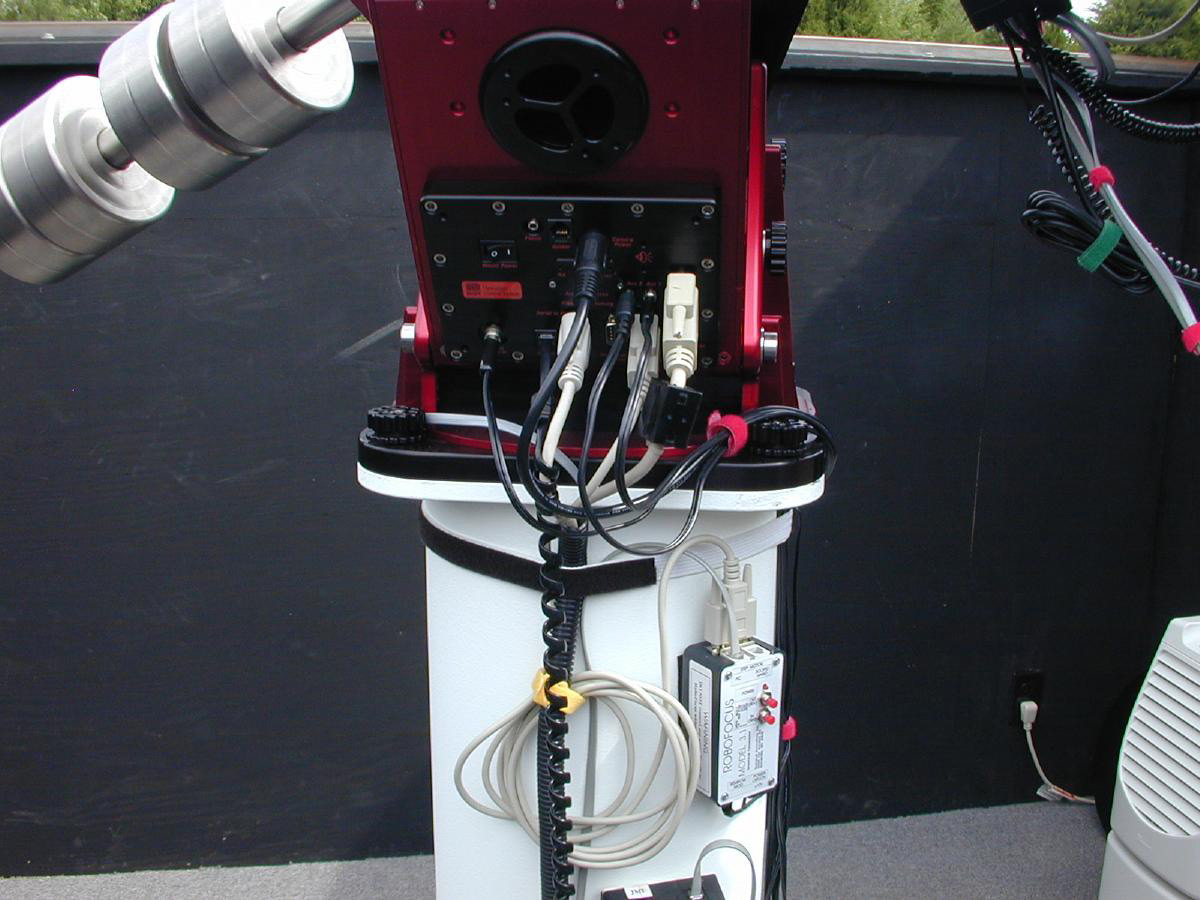
I mounted the RoBoFocus control unit down on the pier close to my chair. This way if I need a manual adjustment, or need to re-calibrate, it is easy to get to. | 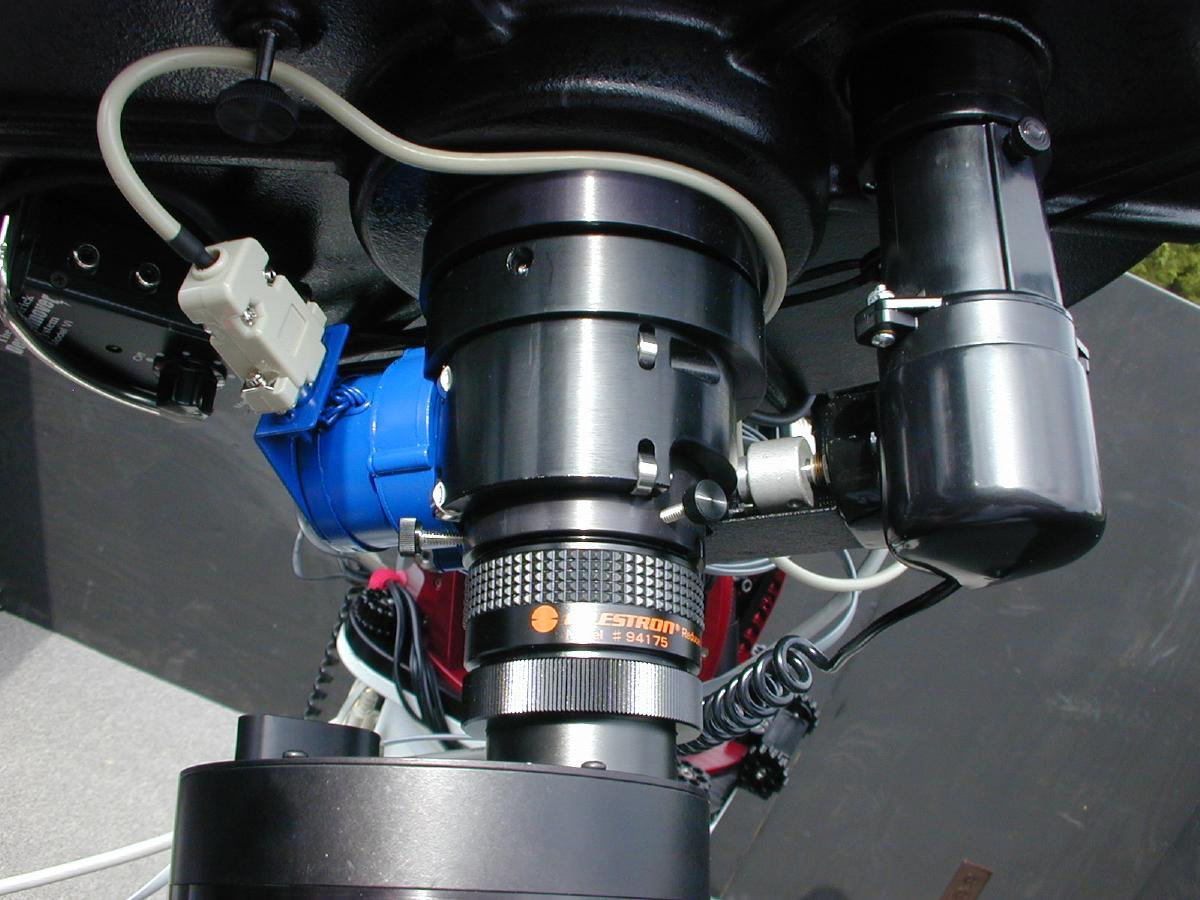
|
A close-up of the RoBoFocus modified JMI NGF-S. Next to it is my Motofocus on the main mirror knob. I control this with the telescope focus control in "TheSky". It is for rough focus of the mirror only. |
|
I have now used just about every available connection between the two instrument panels. I made special cables for my dew heaters and secondary power for the ST-8E to extend them through the existing connections. | 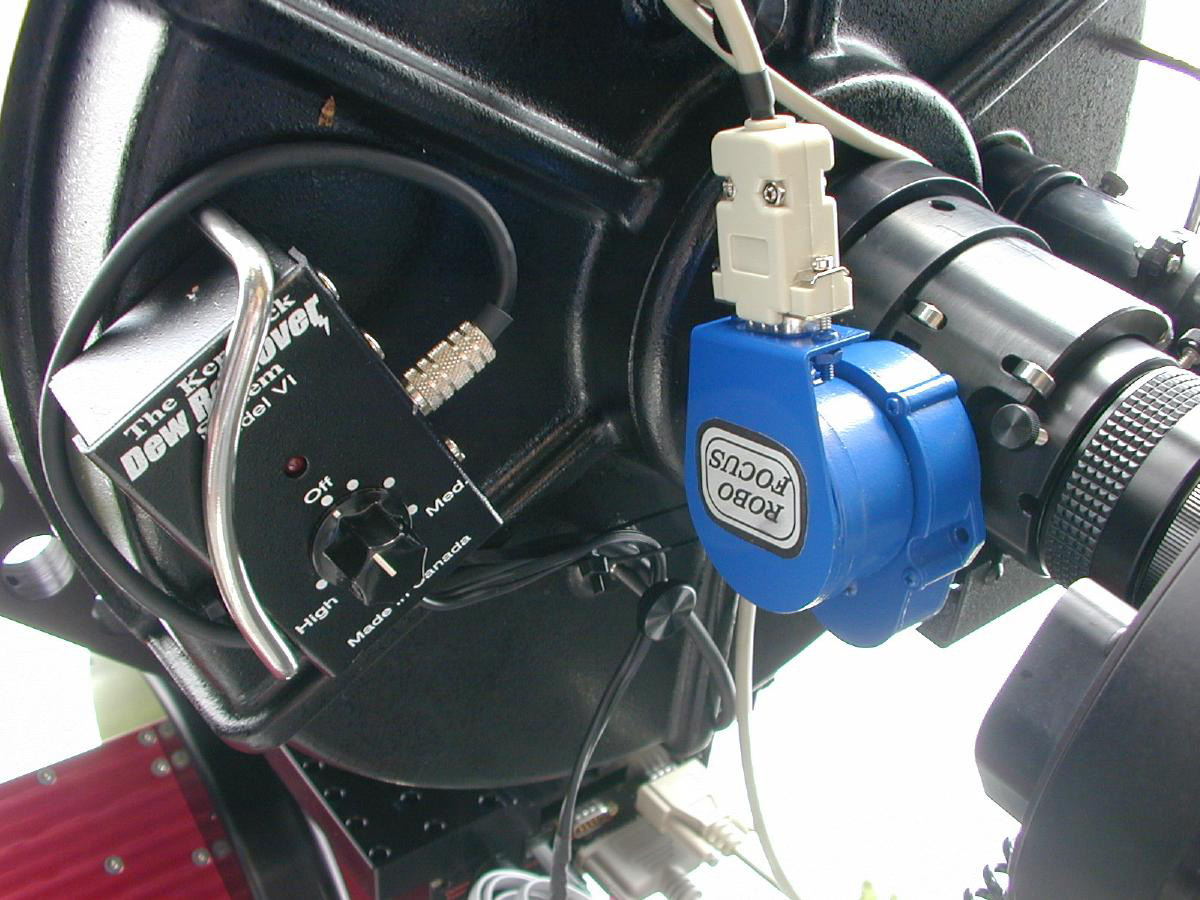
|
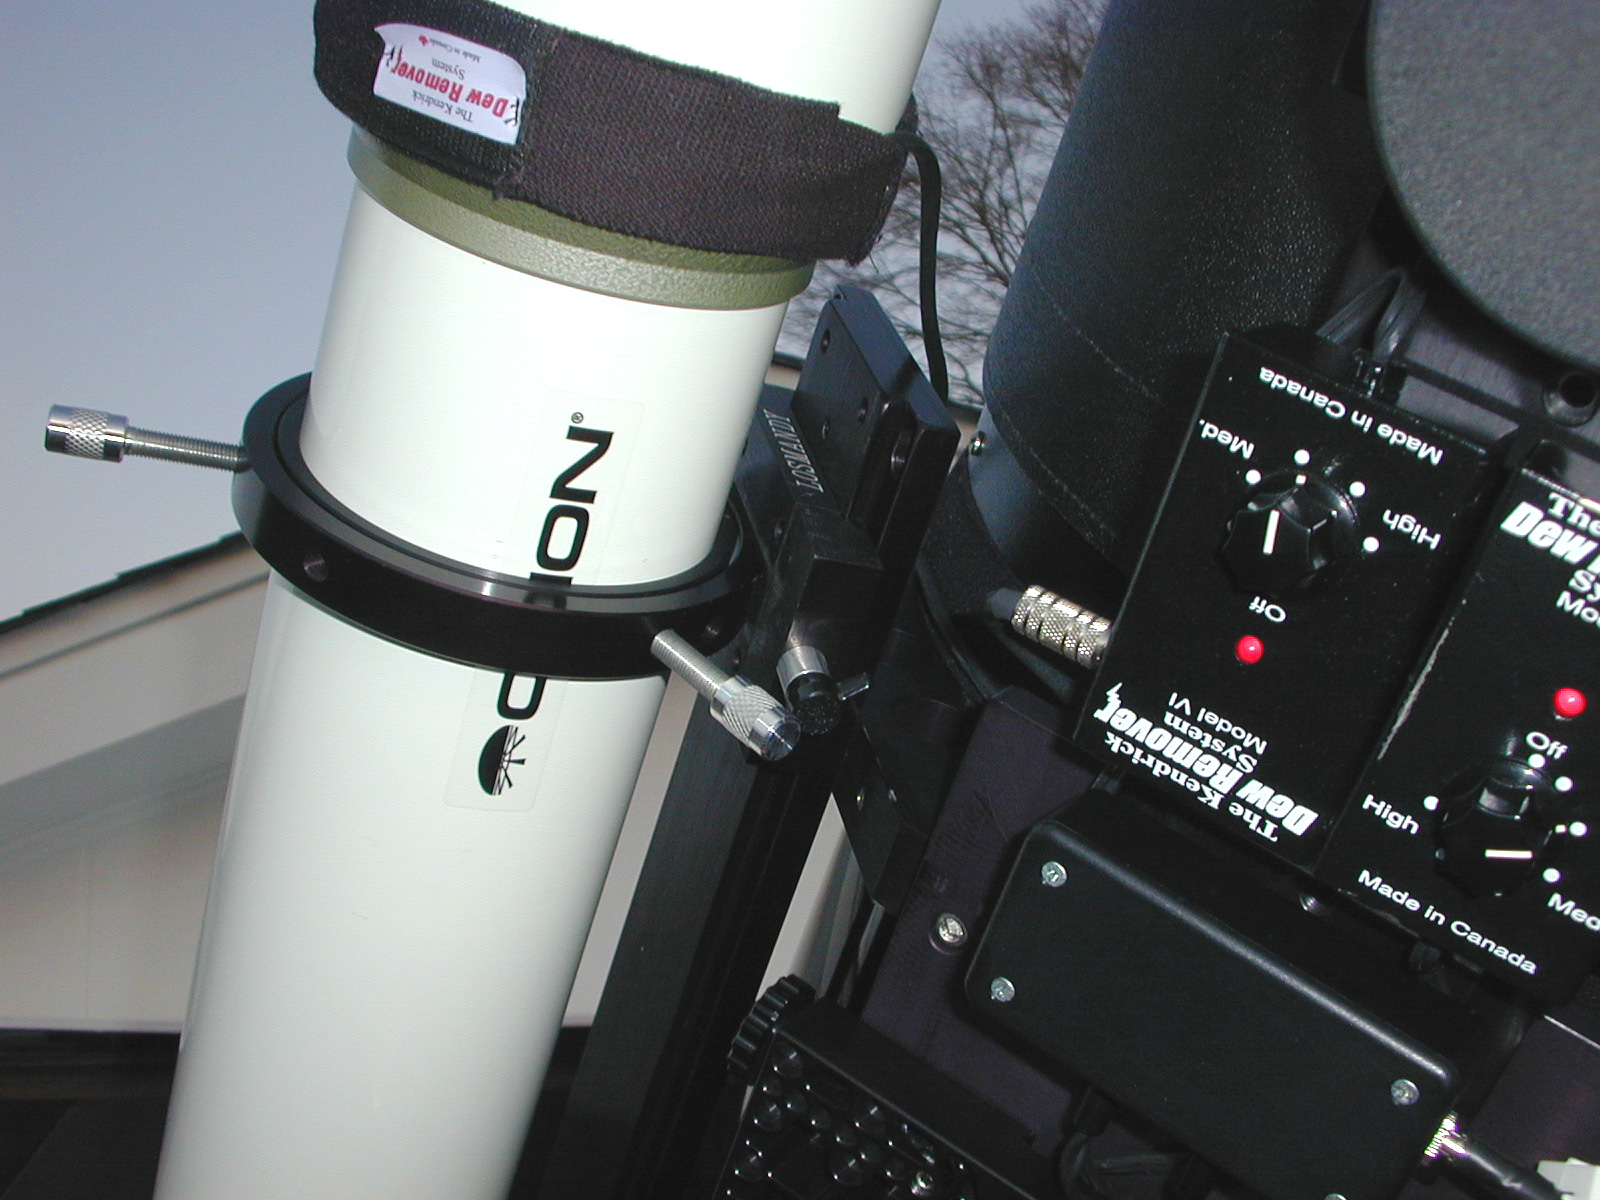
The Kendrick Dew Removal system controller fits perfectly in the C14's carrying handle. The optical train will be complete when I get the AO-7 back from SBIG. |
|
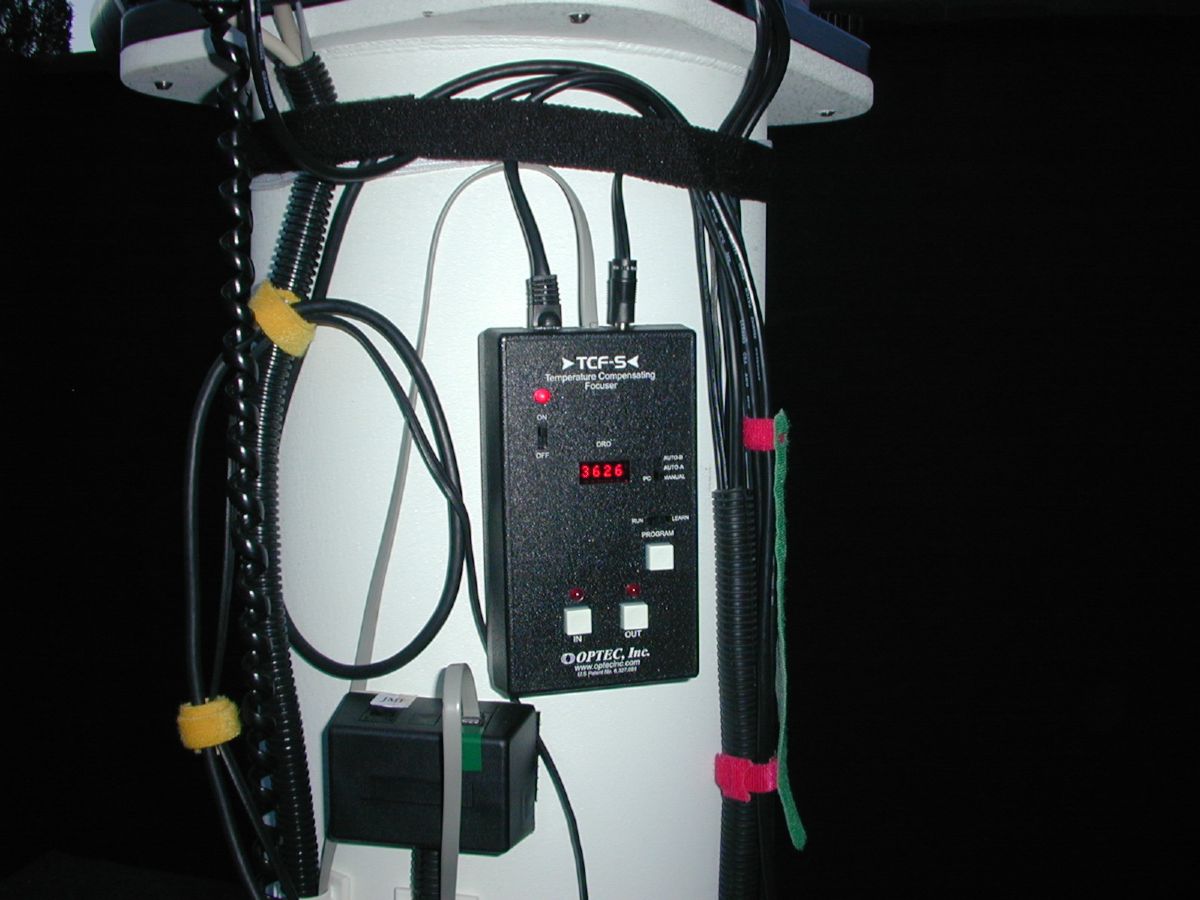
I have added an Optec TCF-S. Its' controller easily mounted in the same location where I had the RoBoFocus controller. | 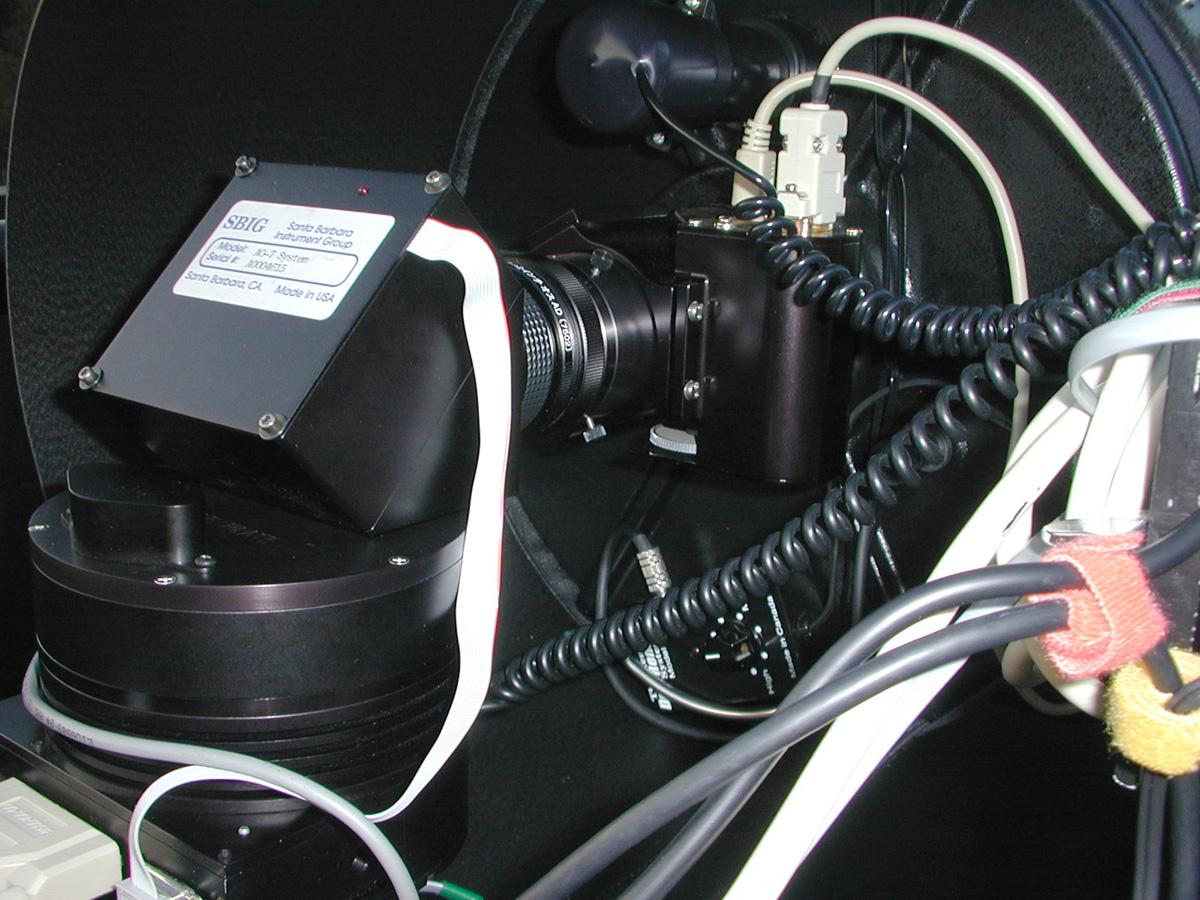
|
I have replaced the stock CFW-8 faceplate with Steve Mandell/John Smith's "Muscle Plate". This provides much greater support and is drilled and tapped to allow direct connection of an AO-7. I added a Optec TCF-S and Hutech LPS filter to the Optical train. The JMI/RoBoFocus is now used on my AP refractor. |
| ................ "UPDATE 02-19-04" ................ Software Bisque Mirror Locking Collar is now installed |
|||
|
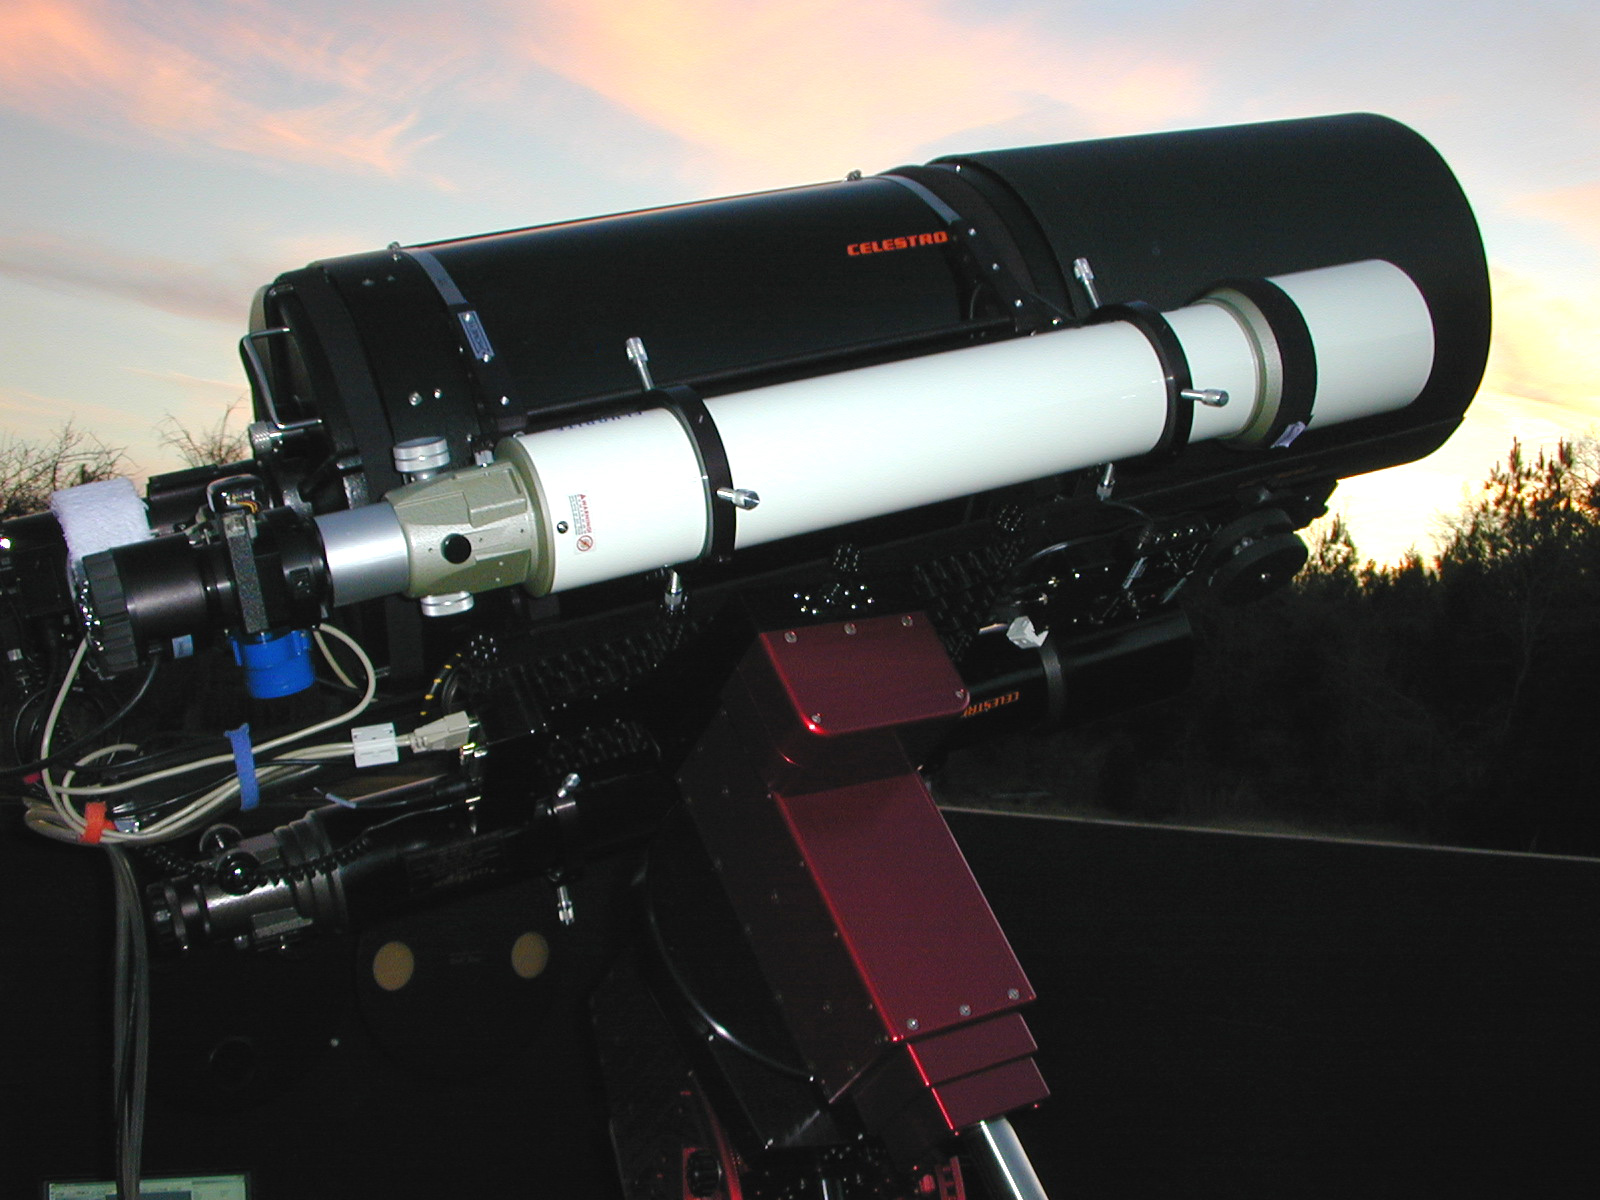
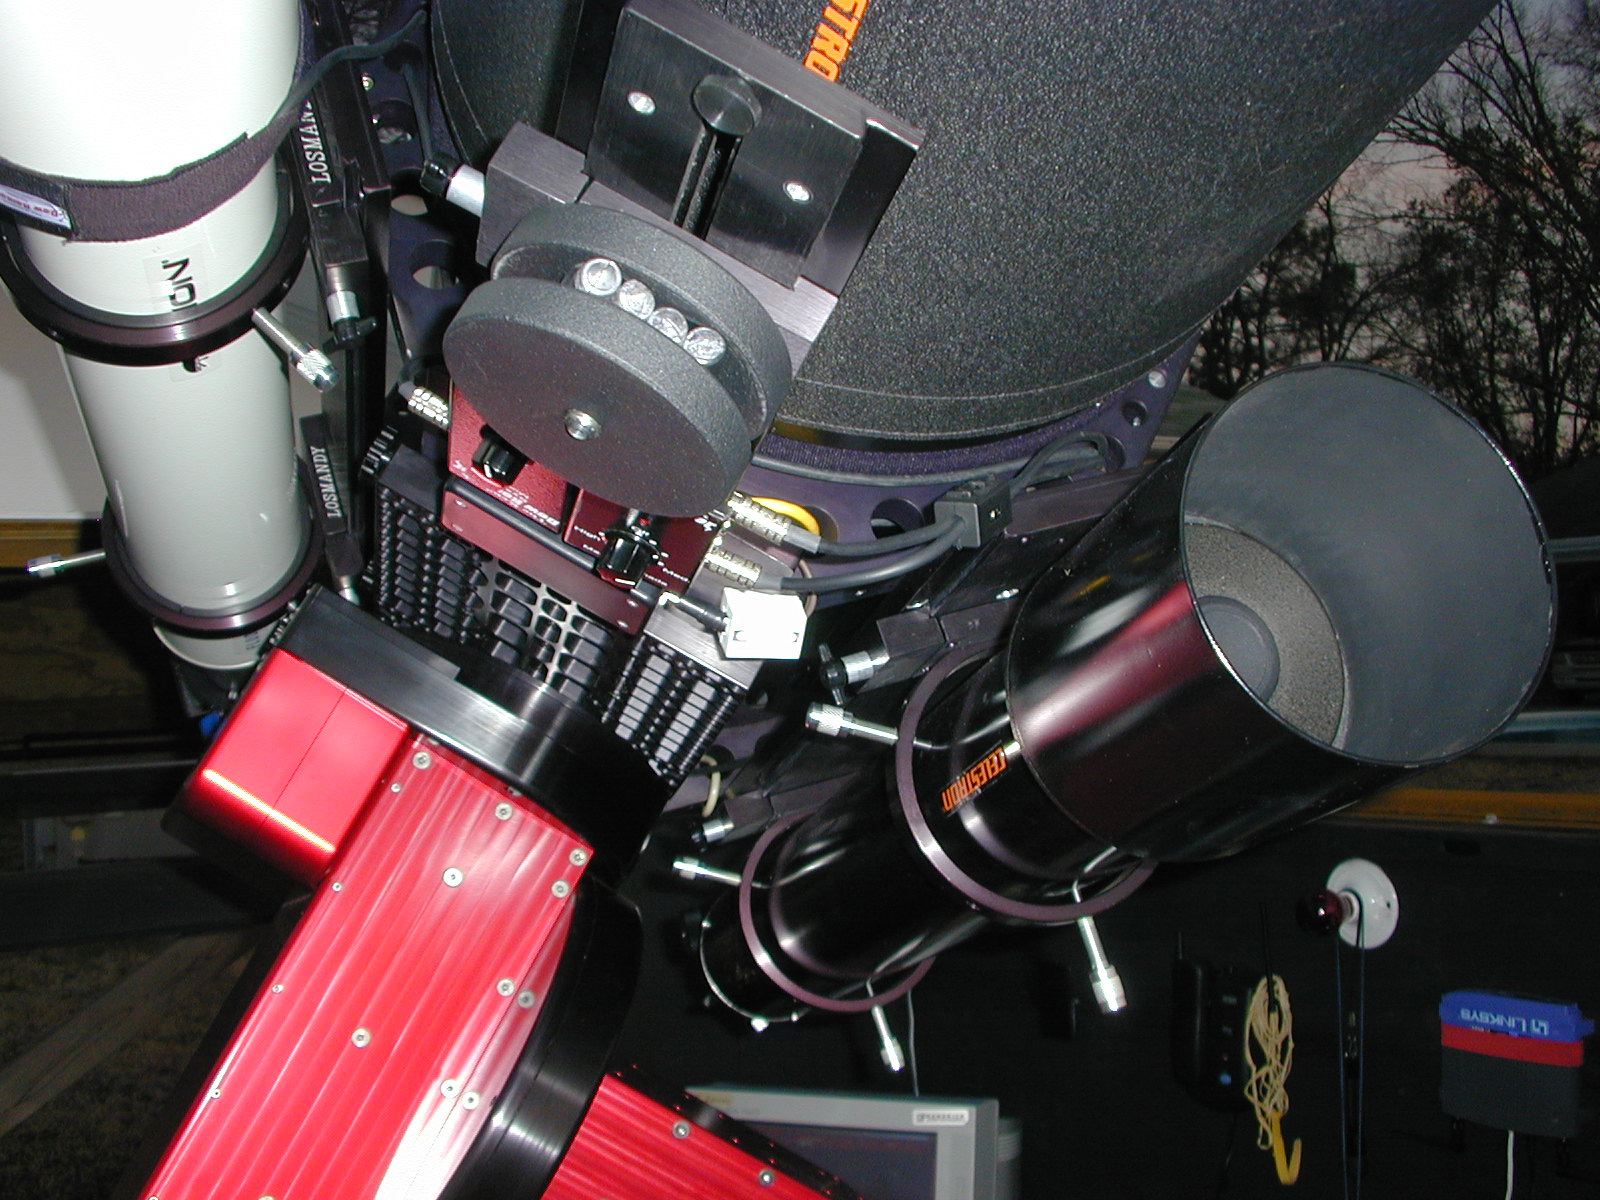
The C14 is back on the Paramount and I have added two refractors. One for guiding, and one for widefield imaging. The counterweights on the left keep the mount balanced. | 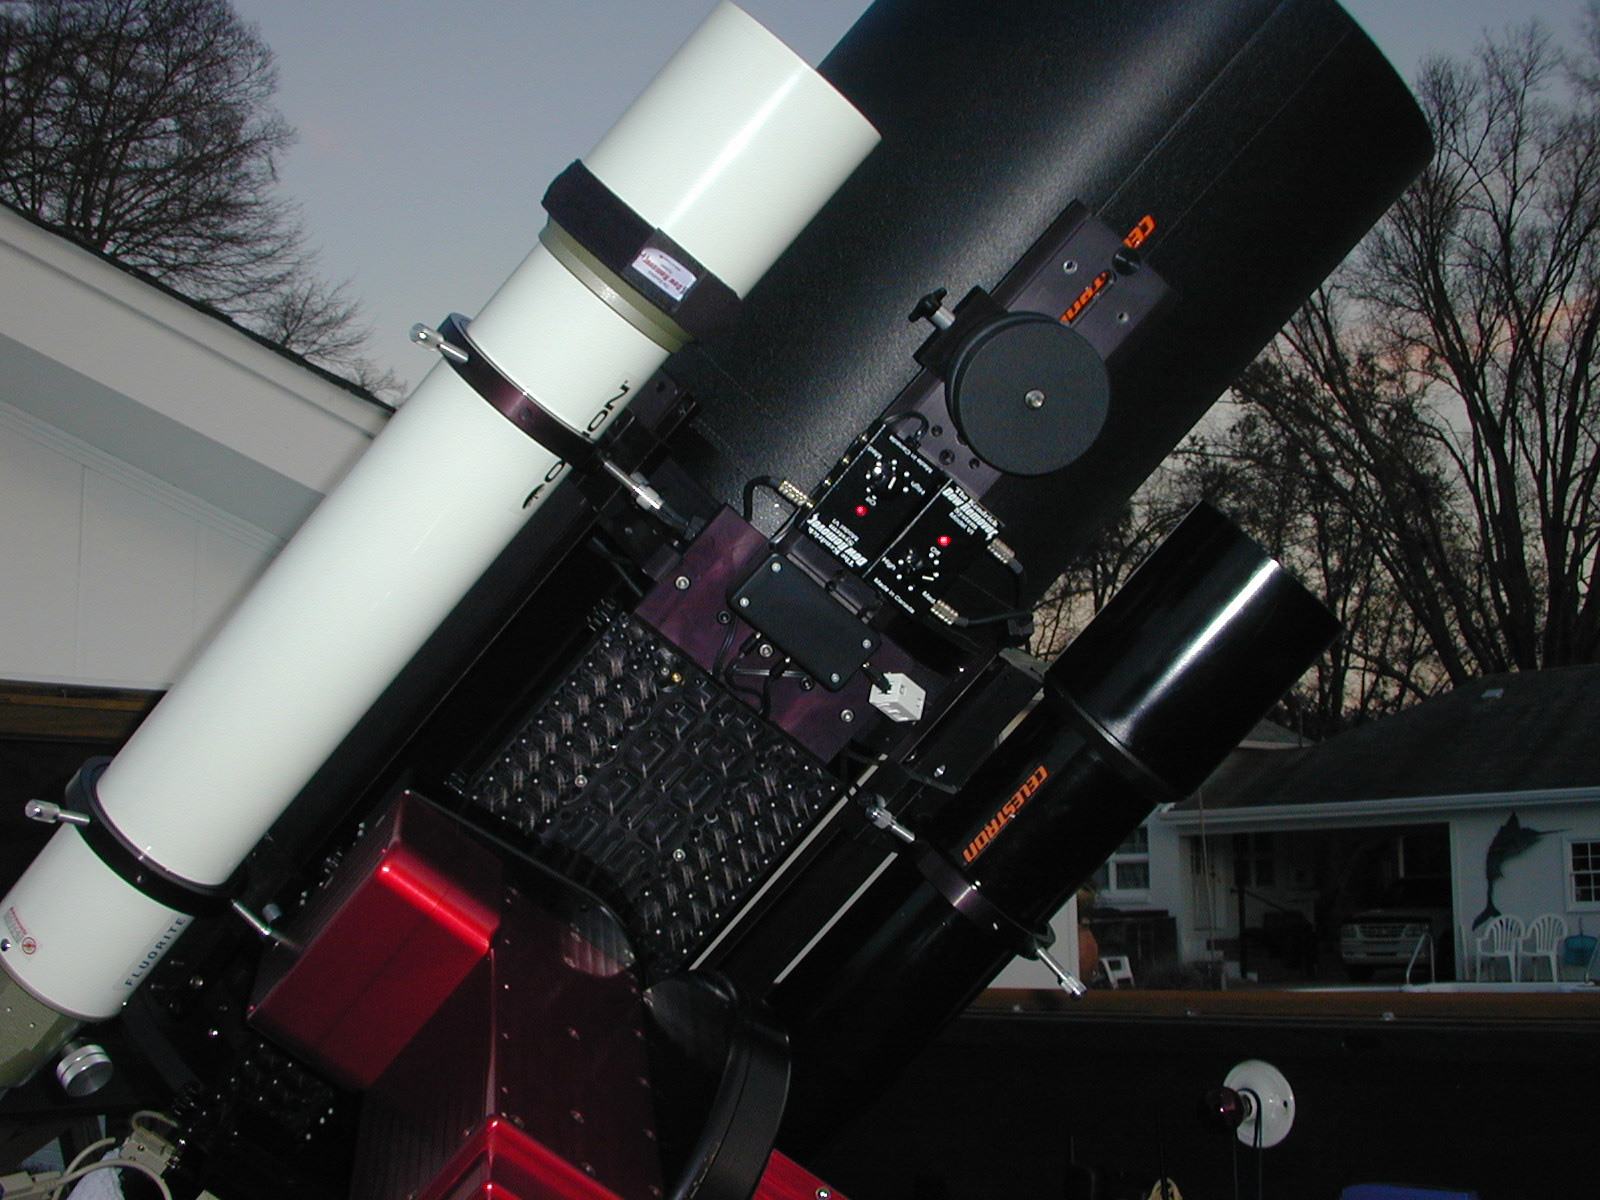
|
The Kendrick dew heater controllers are now placed at the front of the mount to move these noisy devices away from the electronics at the back. |
|
Here is a close-up view of the "split rings" that keep the guidescope rigidly mounted to eliminate flexure between it and the C14. | 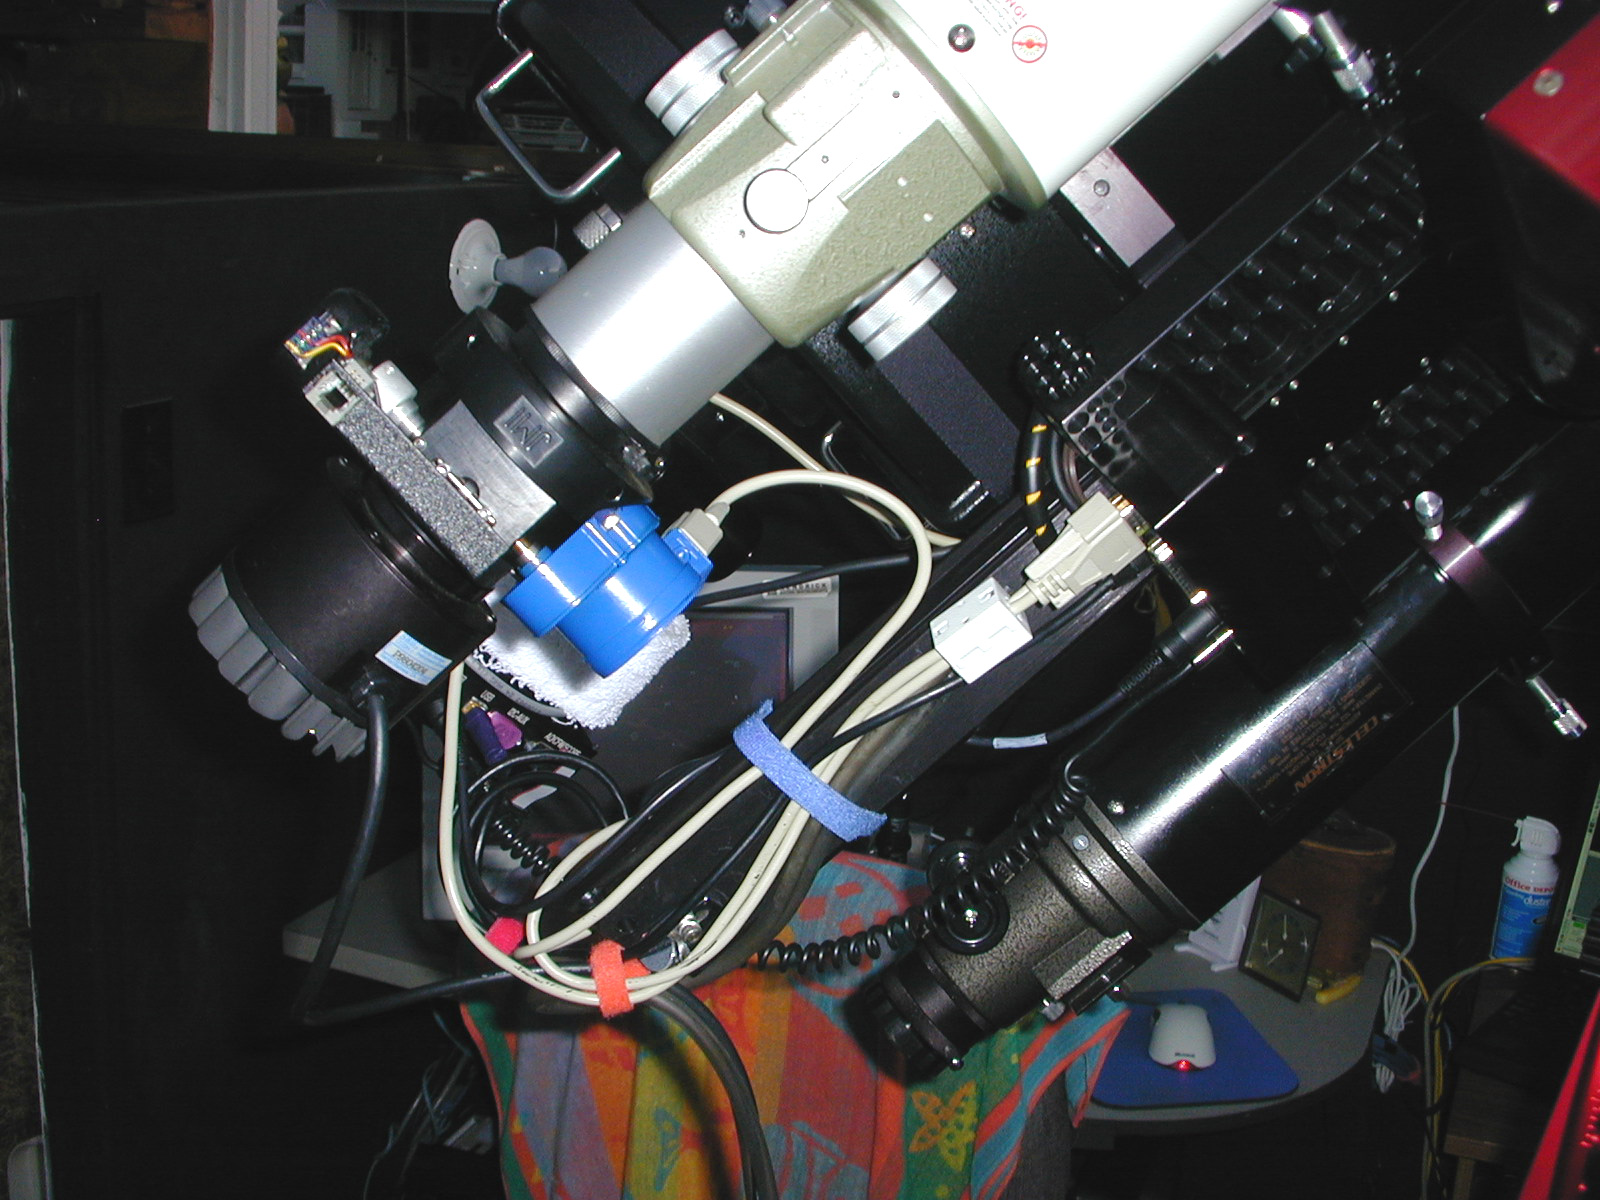
|
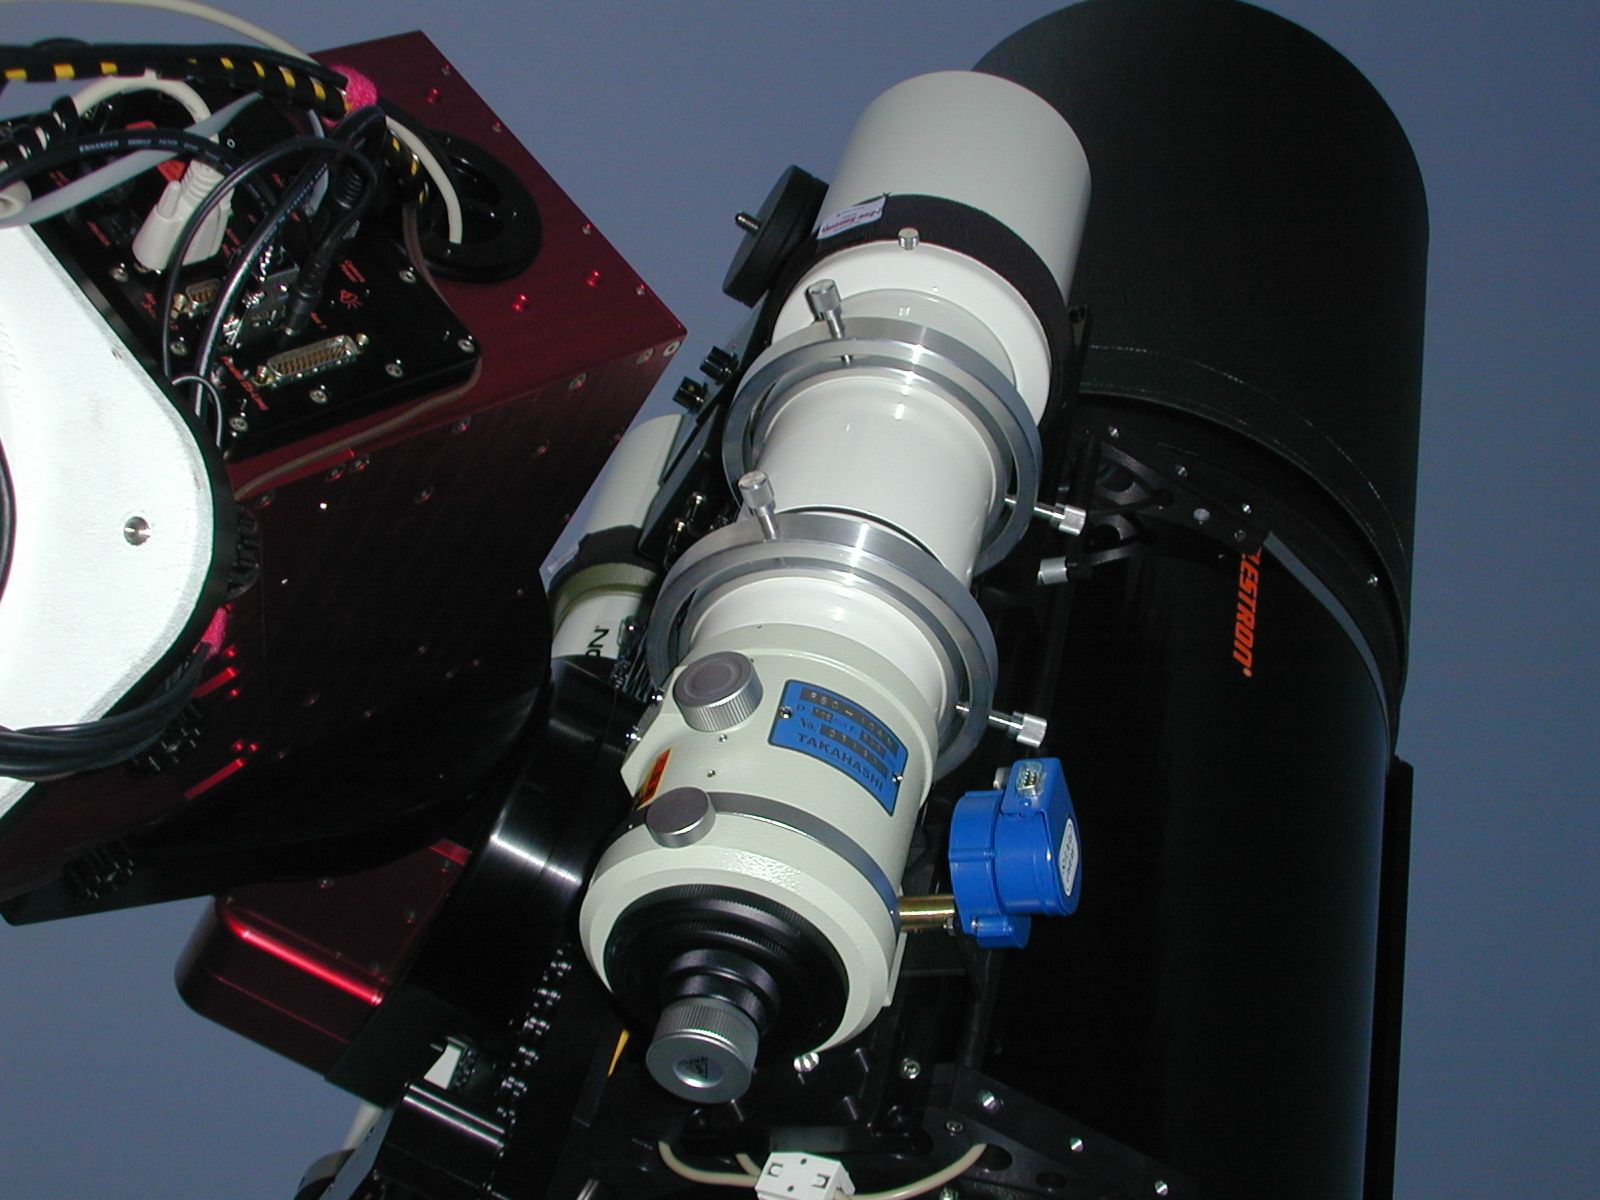
The Vixen 102mmFL uses a JMI NGF-S and RoboFocus to keep the ST-237A guide camera always in focus. |
|
The refractors are mounted below the centerline of the C14, and this keeps the additional weight close to the pivot point and keeps the counterweights closer in as well. | 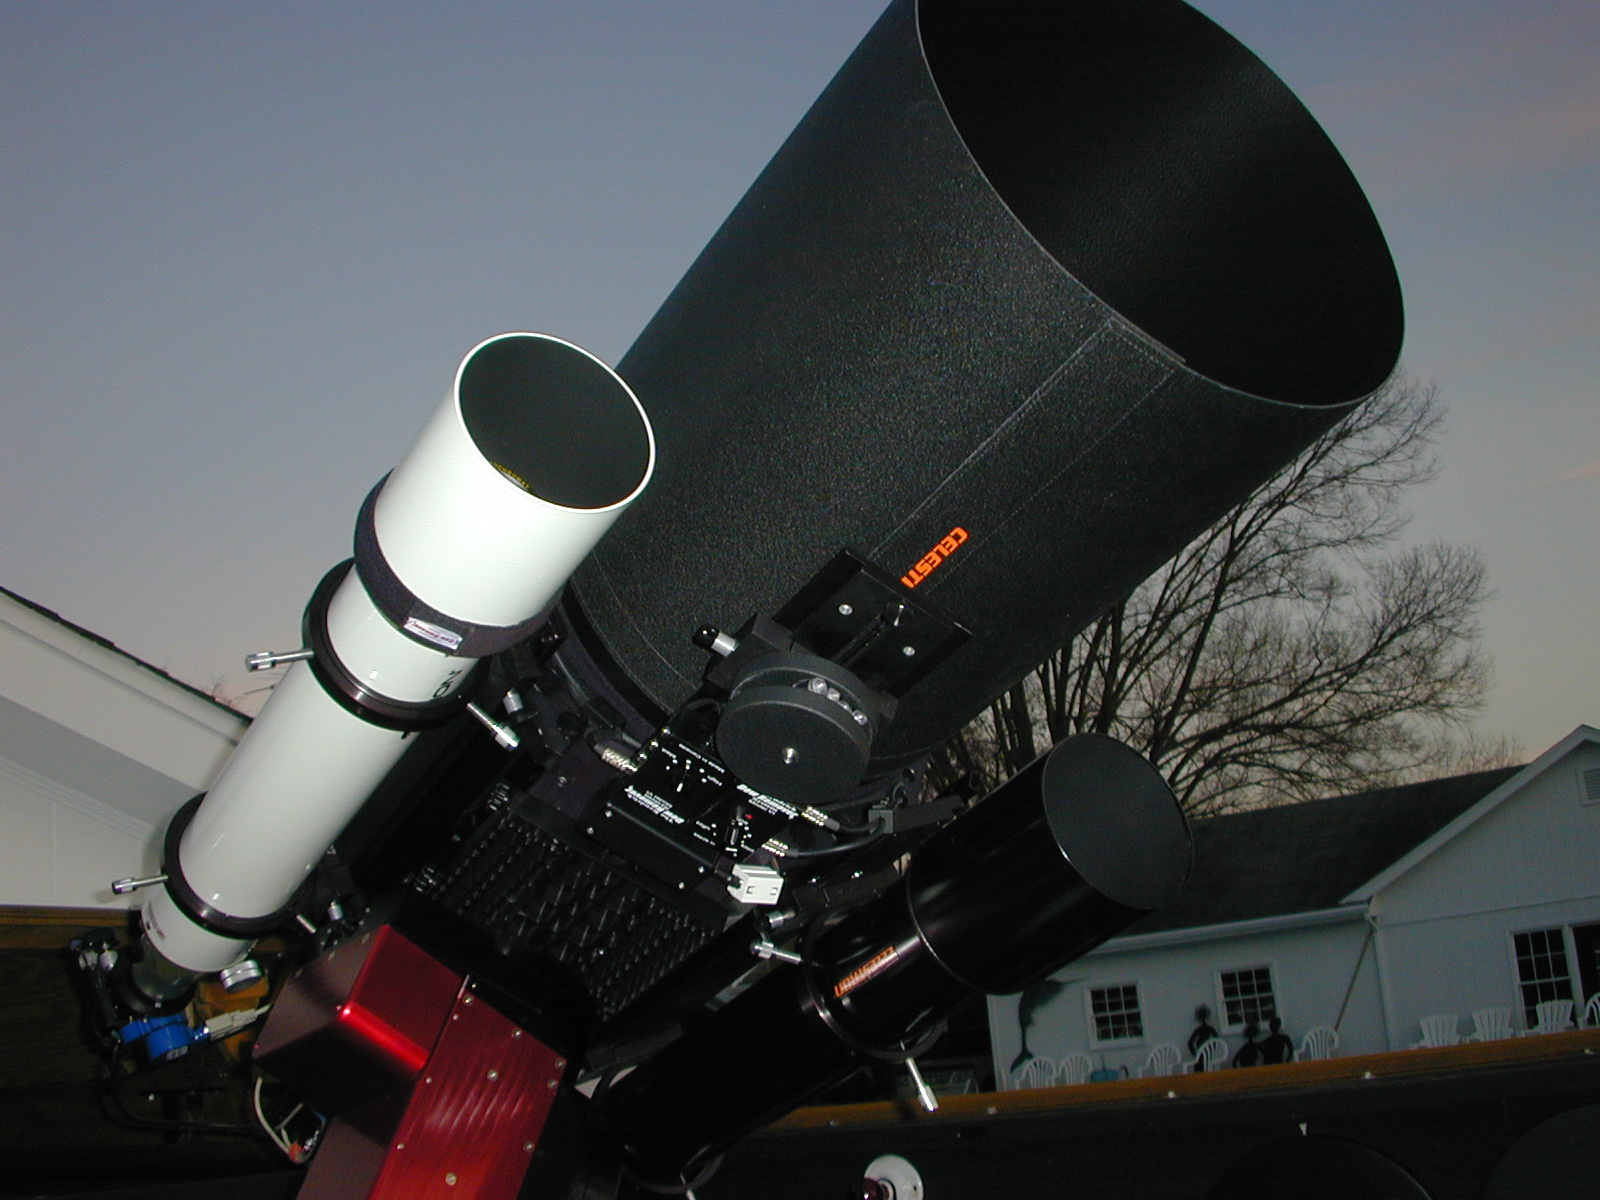
|
The Celestron C102 refractor on the right is only a placeholder for my soon to arrive Tak FSQ-106N. |
|
A closer view of the Losmandy DUP plates that were modified to bolt directly to the Homeyer cradle. | 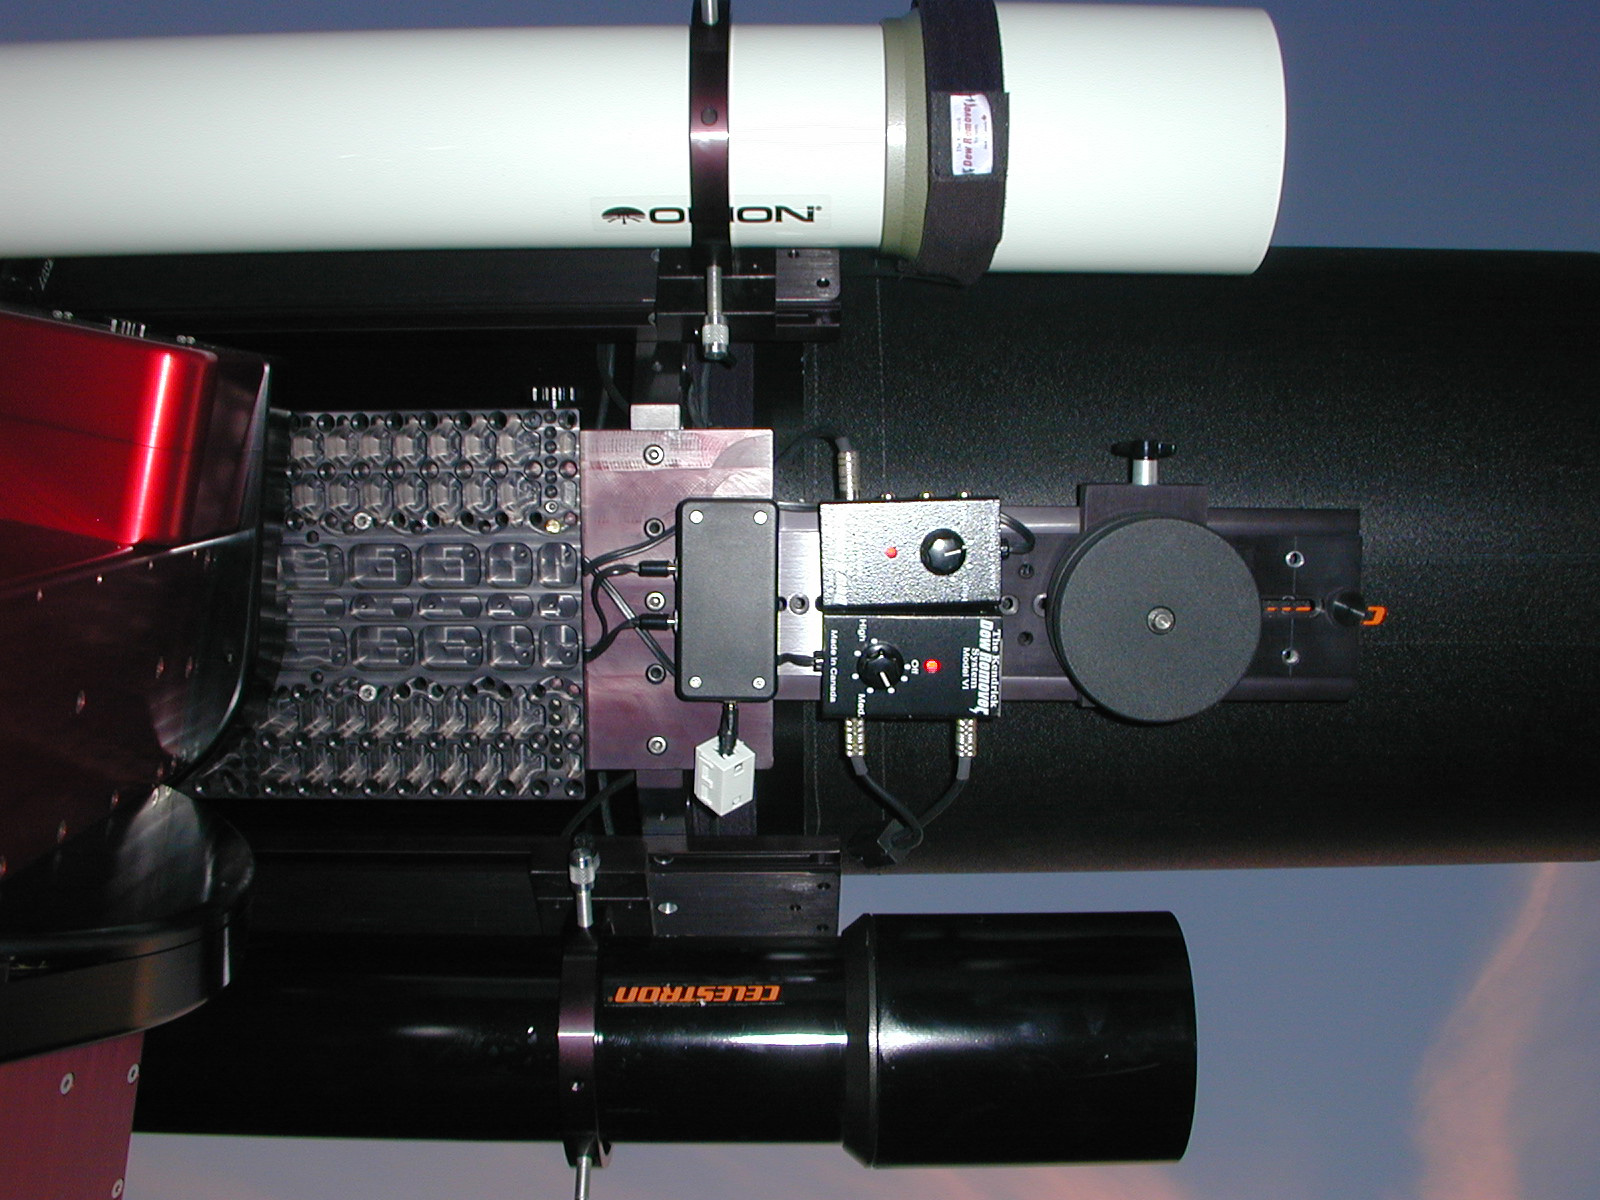
|
The Kendrick Dew Removal system controllers fit perfectly on the C14's counterbalance plate. The extra box distributes the DC power to both. |
|
A closer view from the rear showing how the DUP plate and cradle fit together. | 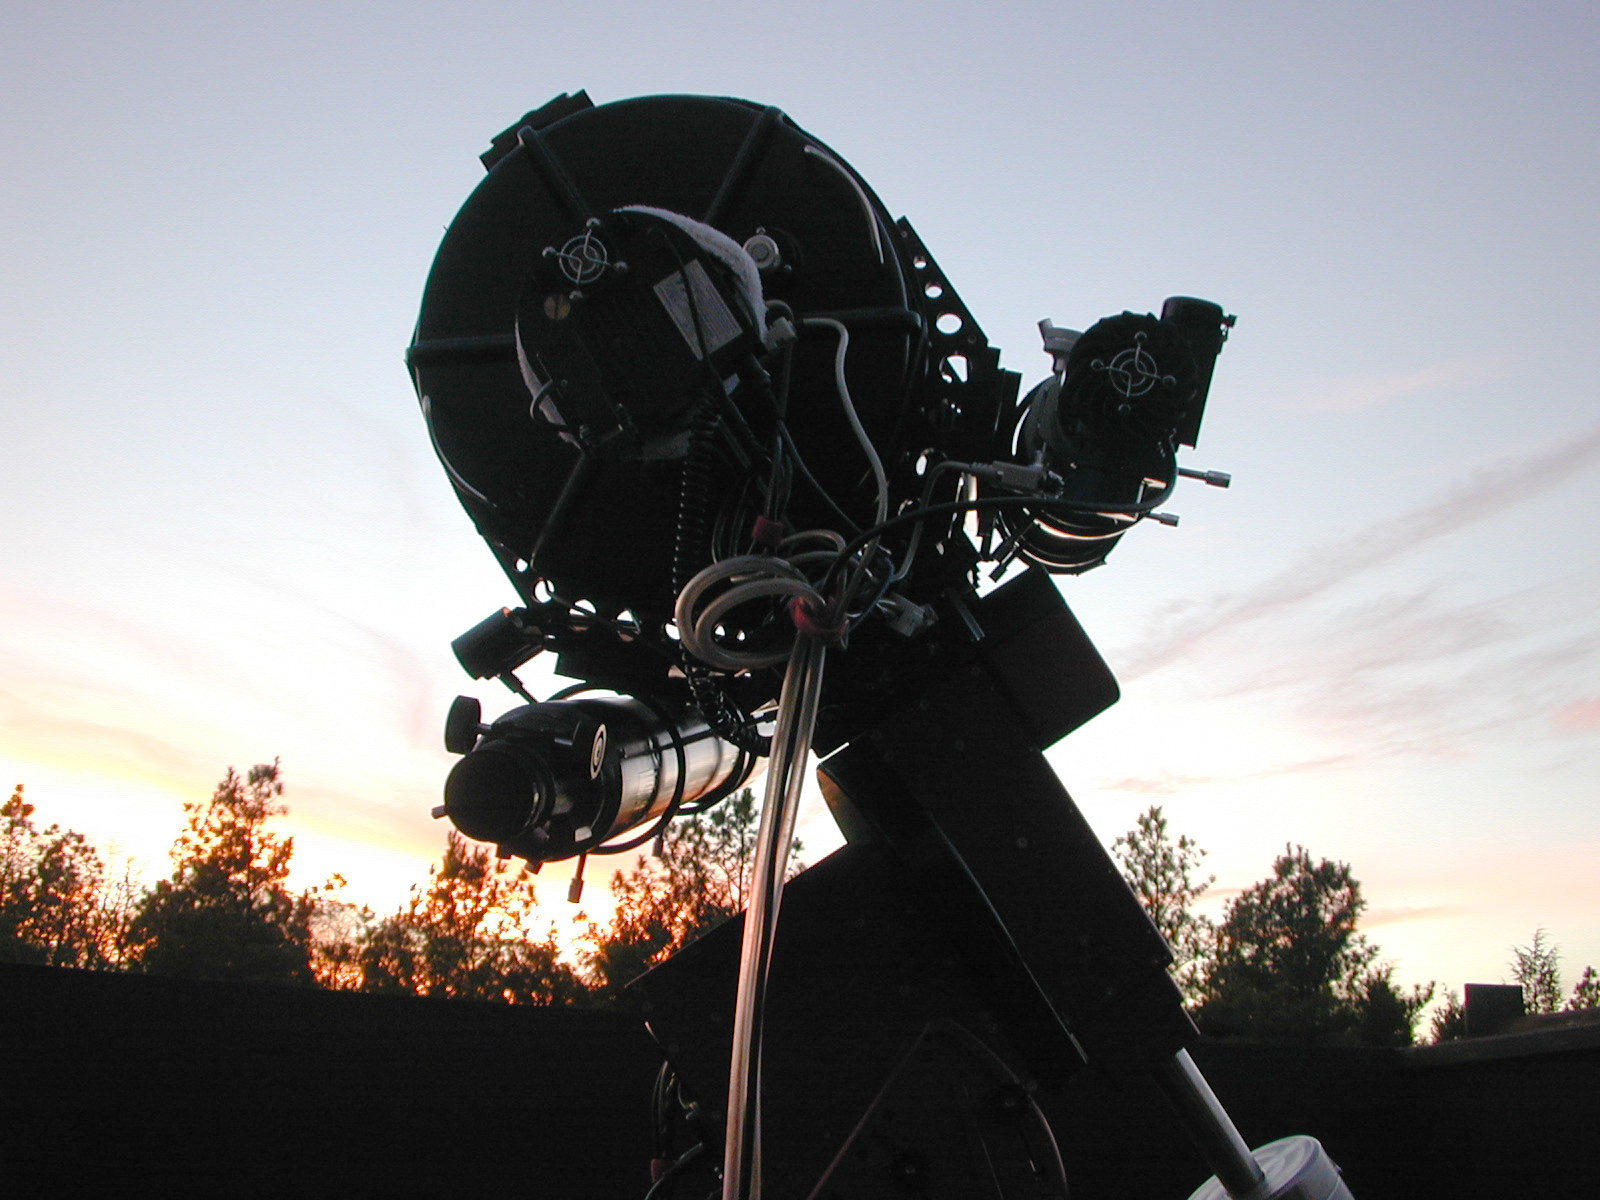
|
Homed and awaiting the darkness ................ |
| ................ "UPDATE 04-10-04" ................ Tak FSQ-106N is now installed |
|||
|
The Tak FSQ-106N is mounted with a set of custom rings from Andy Homeyer. | 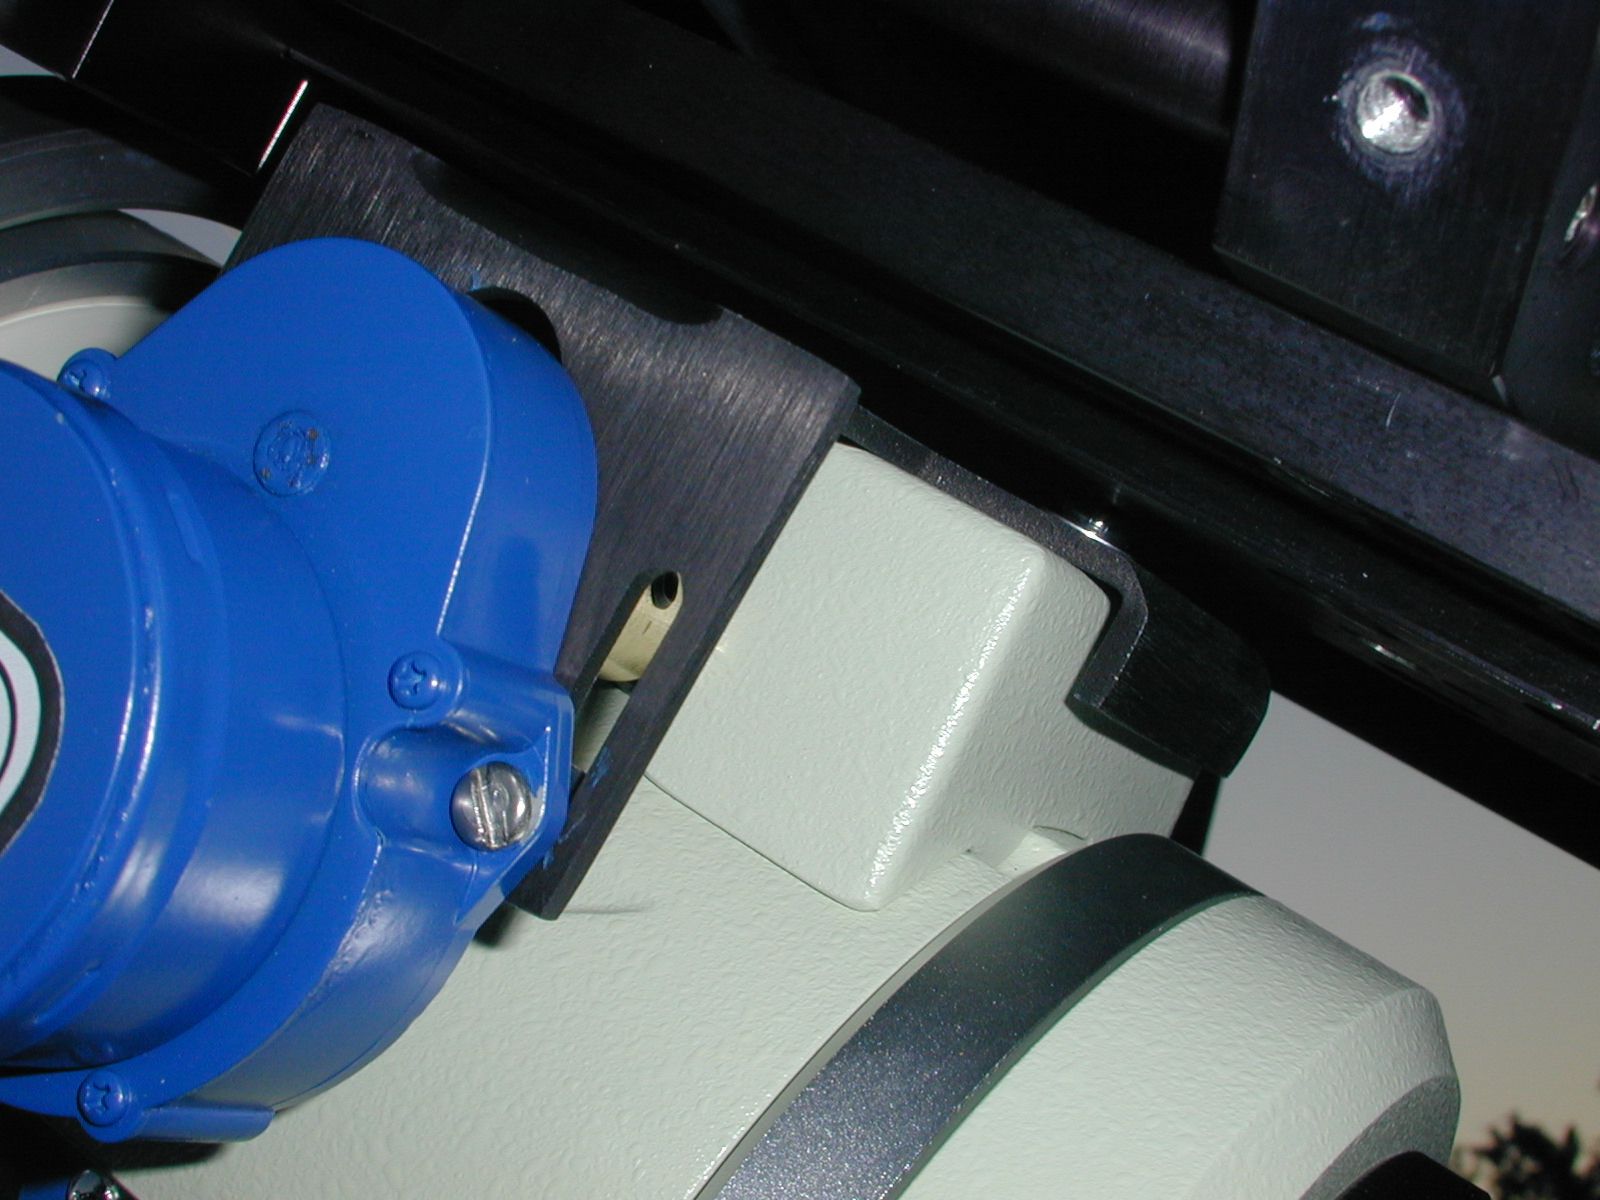
|
A RoBoBracket from Mark Jenkins allows the RoBofocus to attach to the R/P shaft with perfect alignment. |
|
The FSQ-106N fits nicely on the Andy Homeyer scope cradle and keeps the center of gravity low for easier balance. | 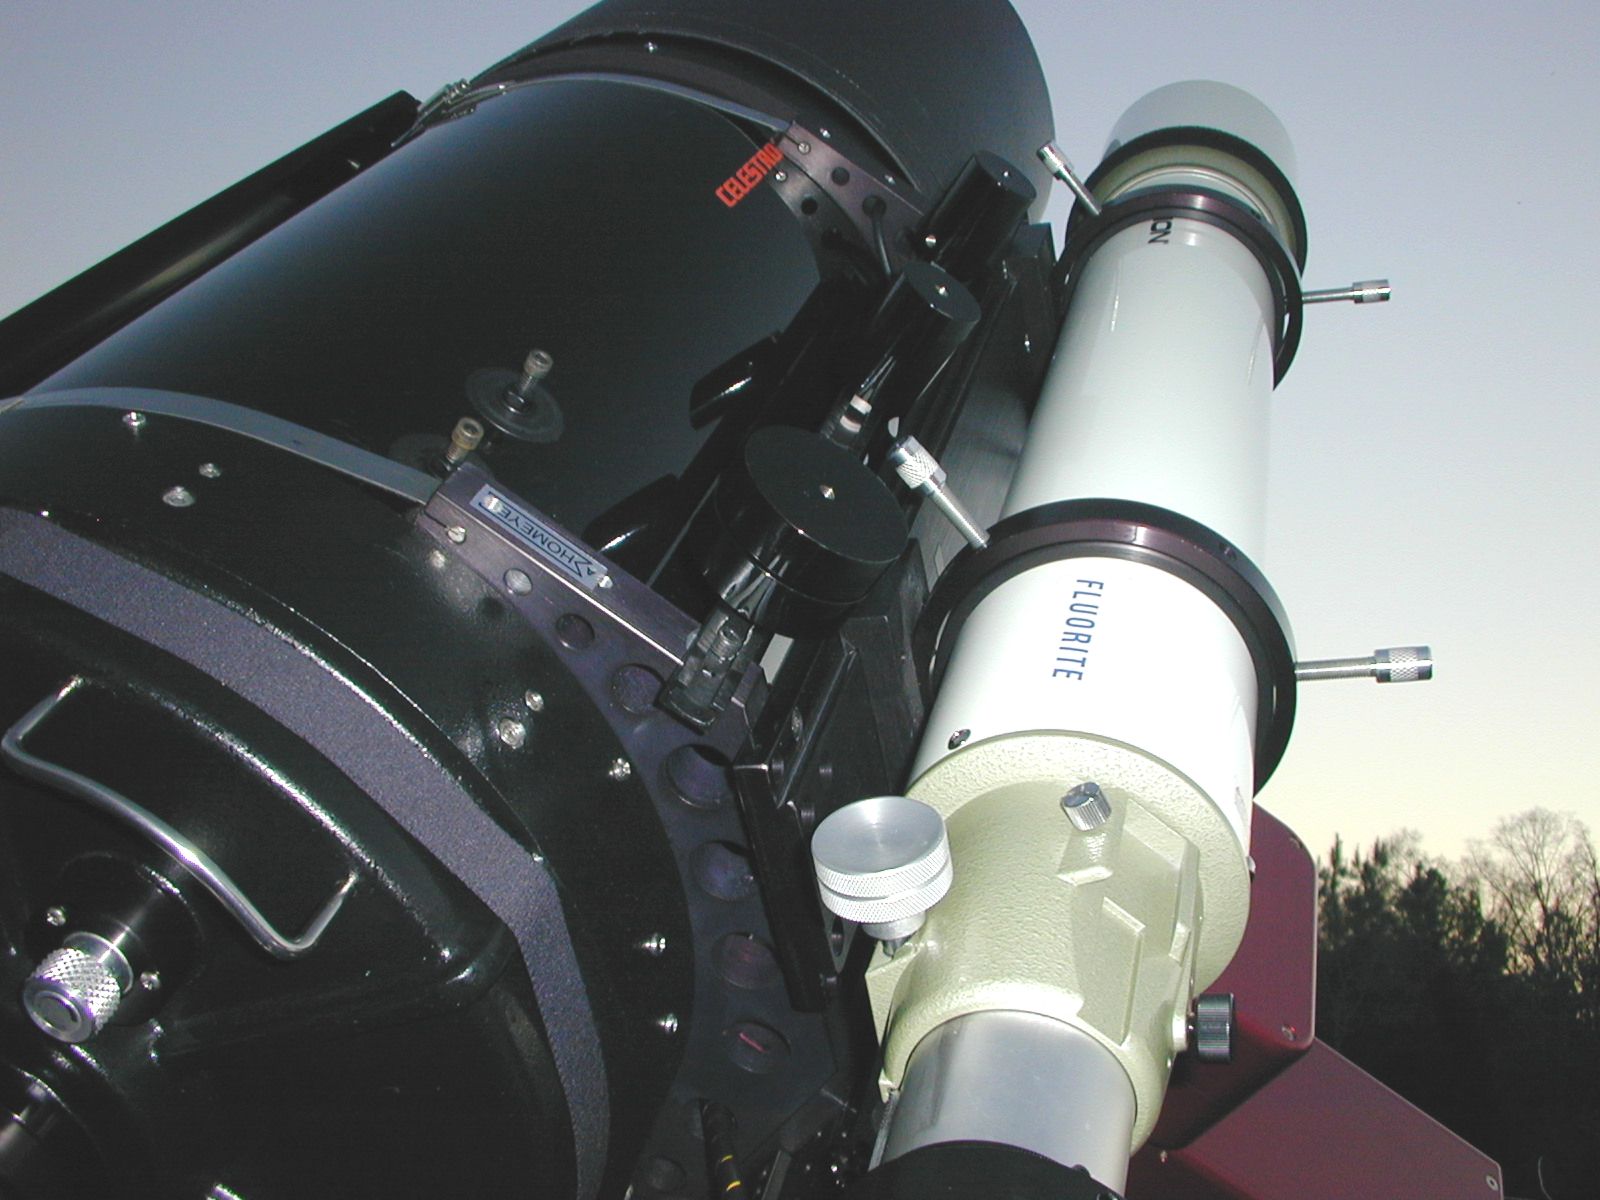
|
The FSQ-106N is a much heavier scope than the Vixen 102FL so extra counterweights had to be added to maintain the balance in all positions. |