|
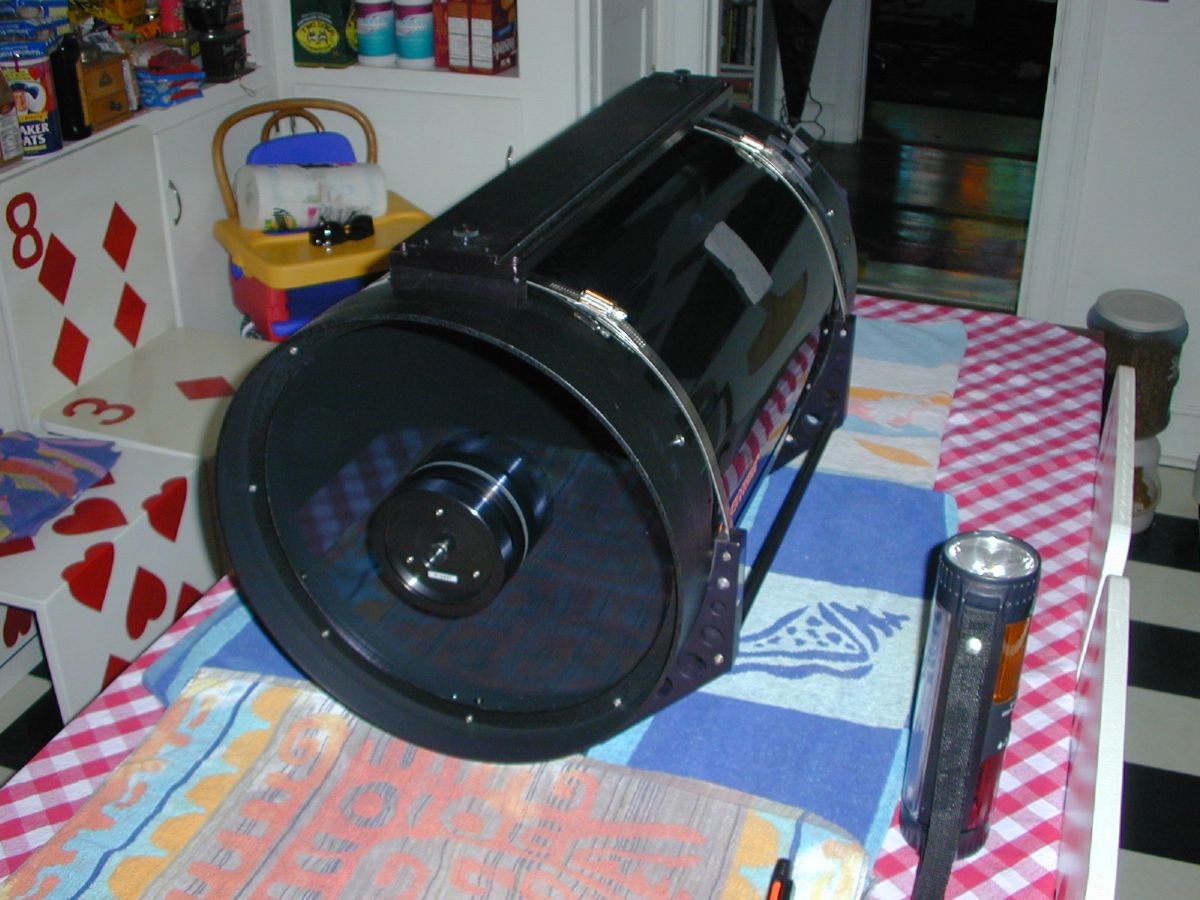
When the wife is supportive, life is good :-). My operating location was the kitchen table.
|
|
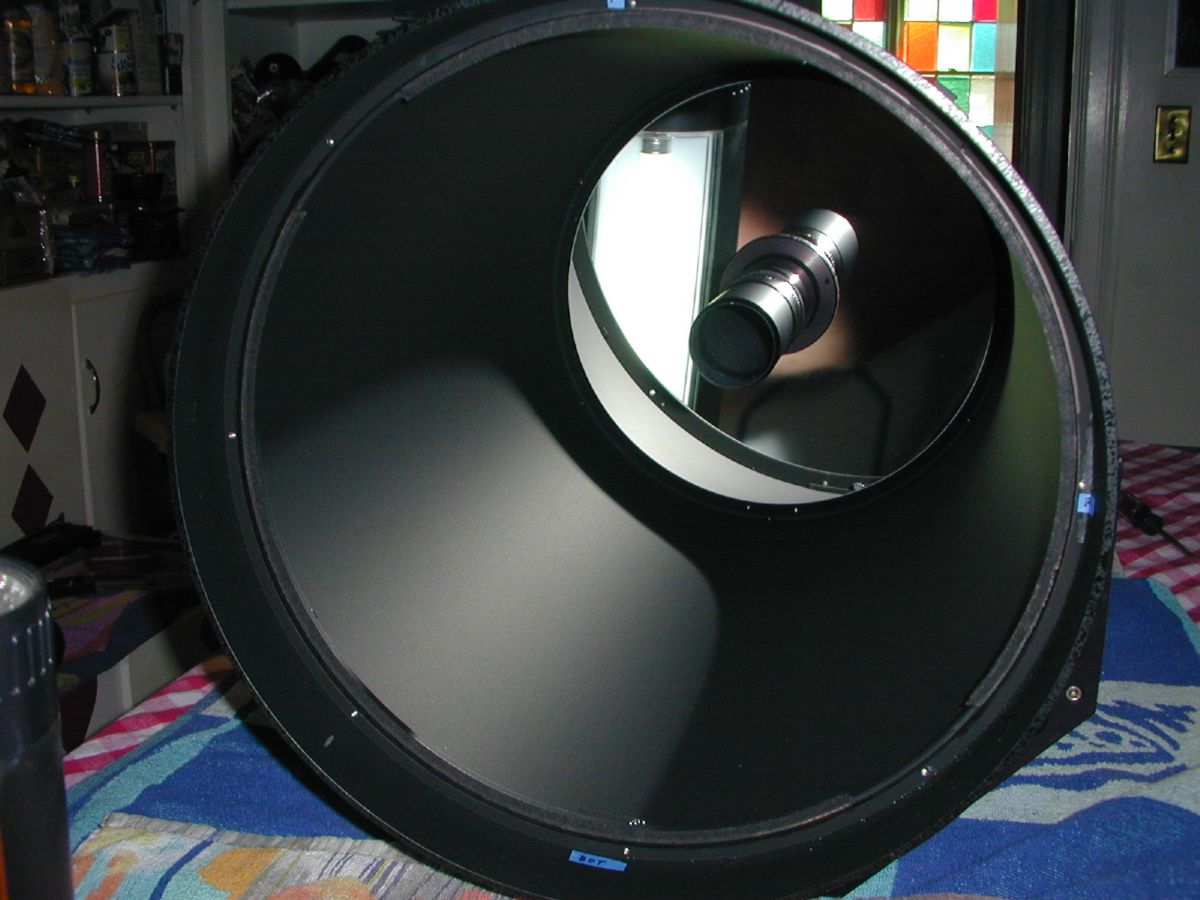
The first piece out is the corrector. Remove the retaining ring and make note of the position of the cork spaces. Also note the position of the number on the corrector. Taking a picture is an easy way to return it to exactly the same orientation.
|
|
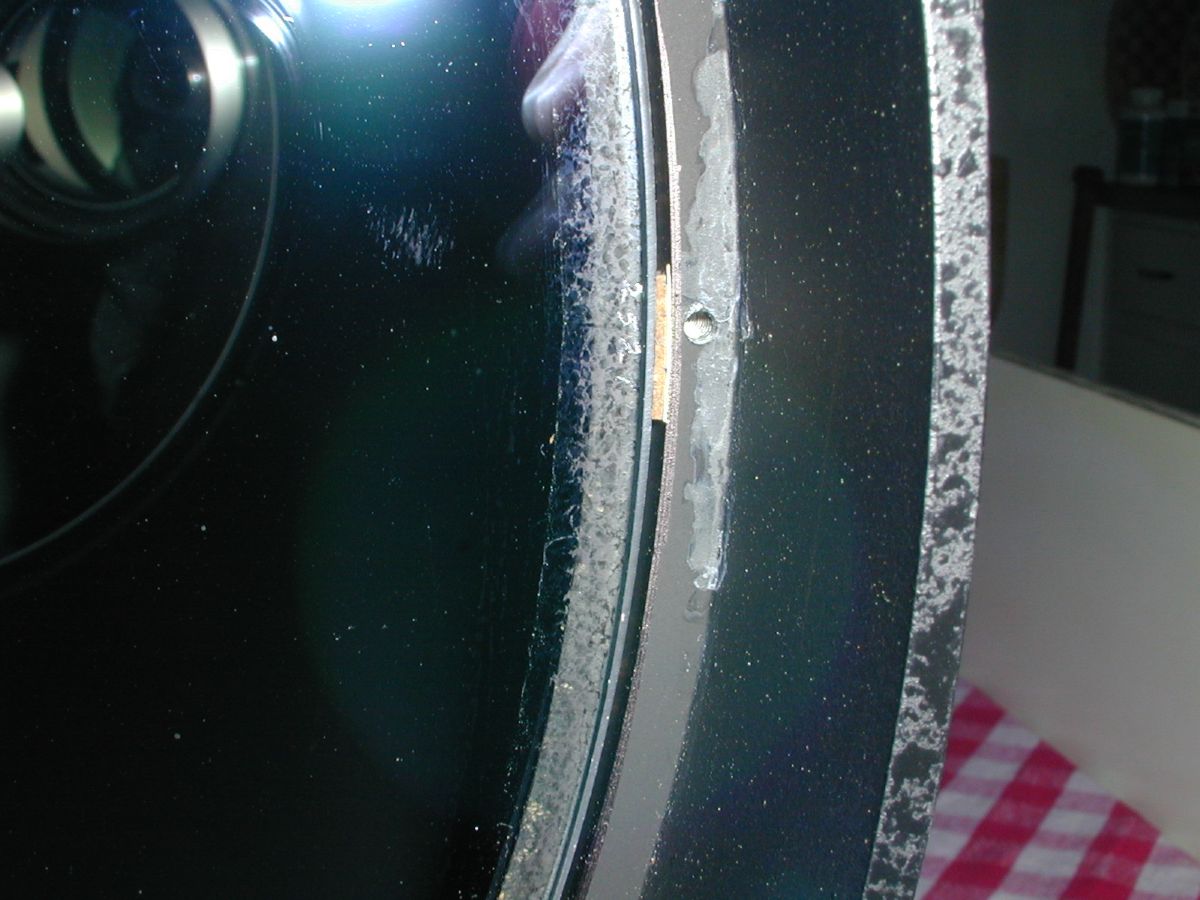
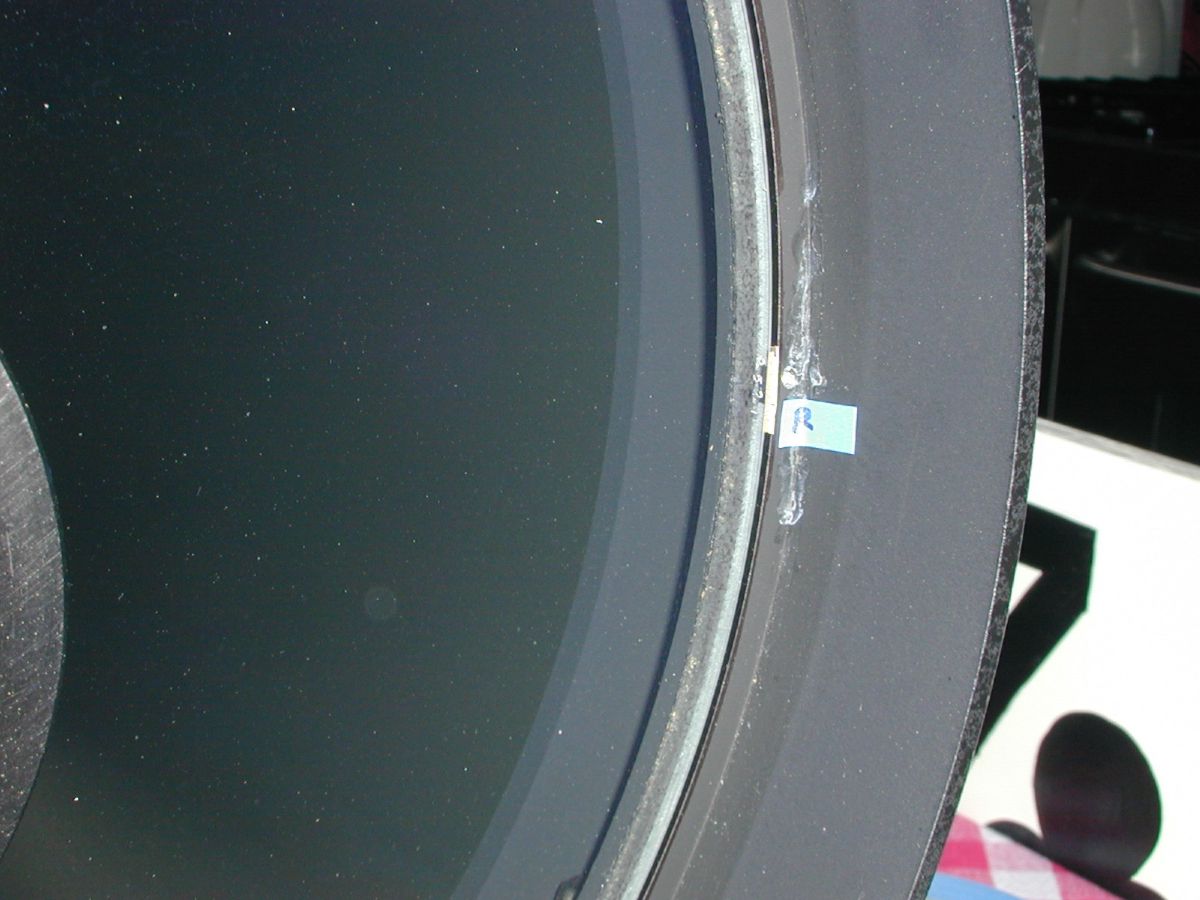
I had spacers at the top, bottom, and right side. I used masking tape to label the locations so each could be returned to its original position.
|
|
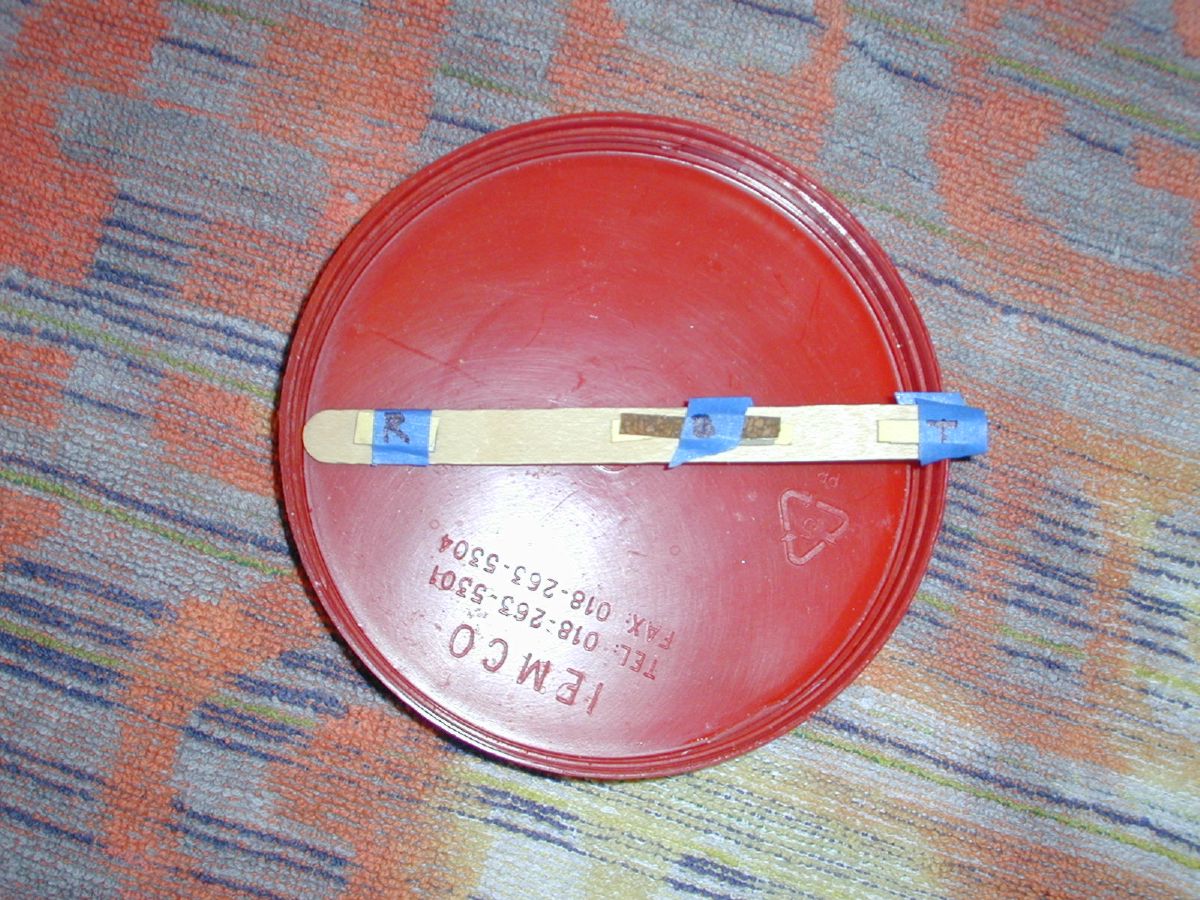
With the corrector removed, I carefully collected the spacers and taped and labeled them to a popsicle stick so they wouldn't get lost.
|
|
Here is the scope with the corrector removed . You can see the 3 markers for the spacer locations.
|
|
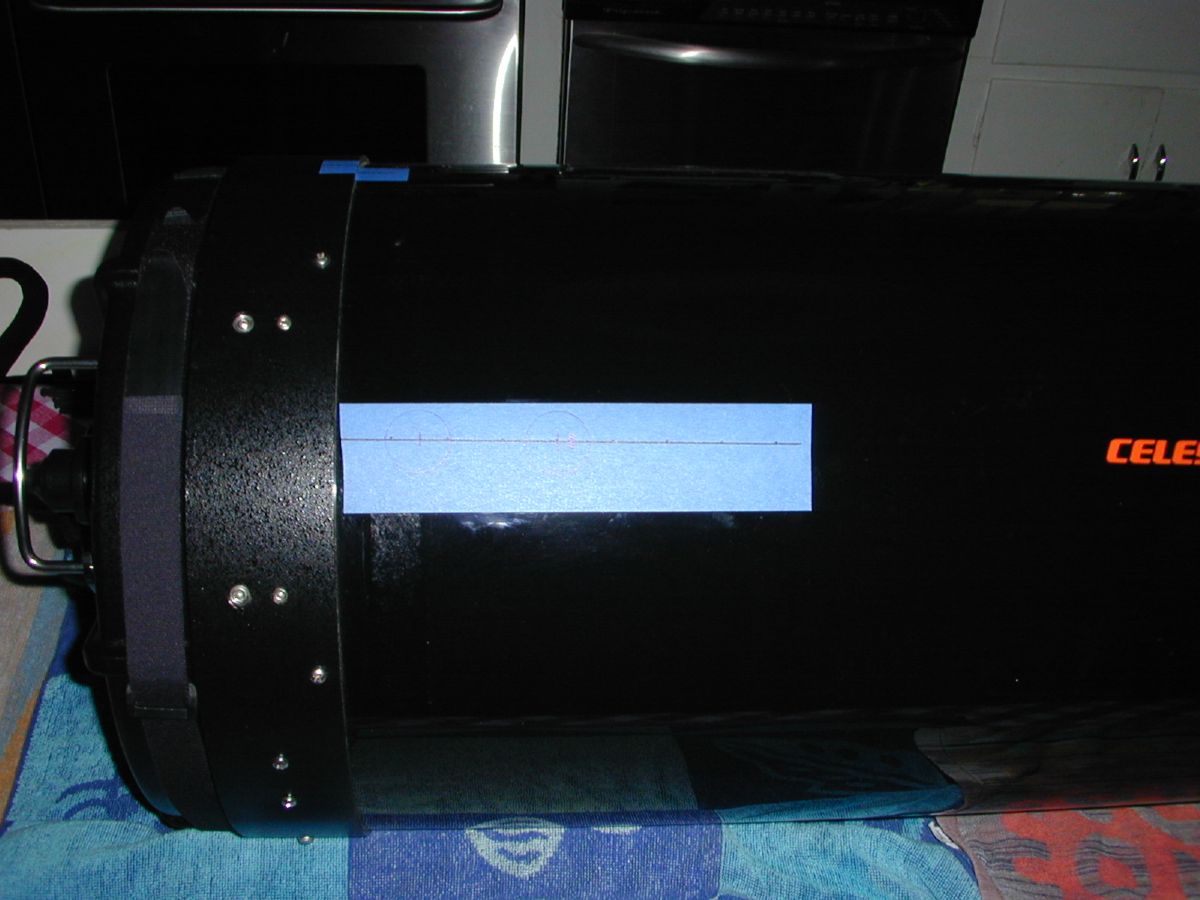
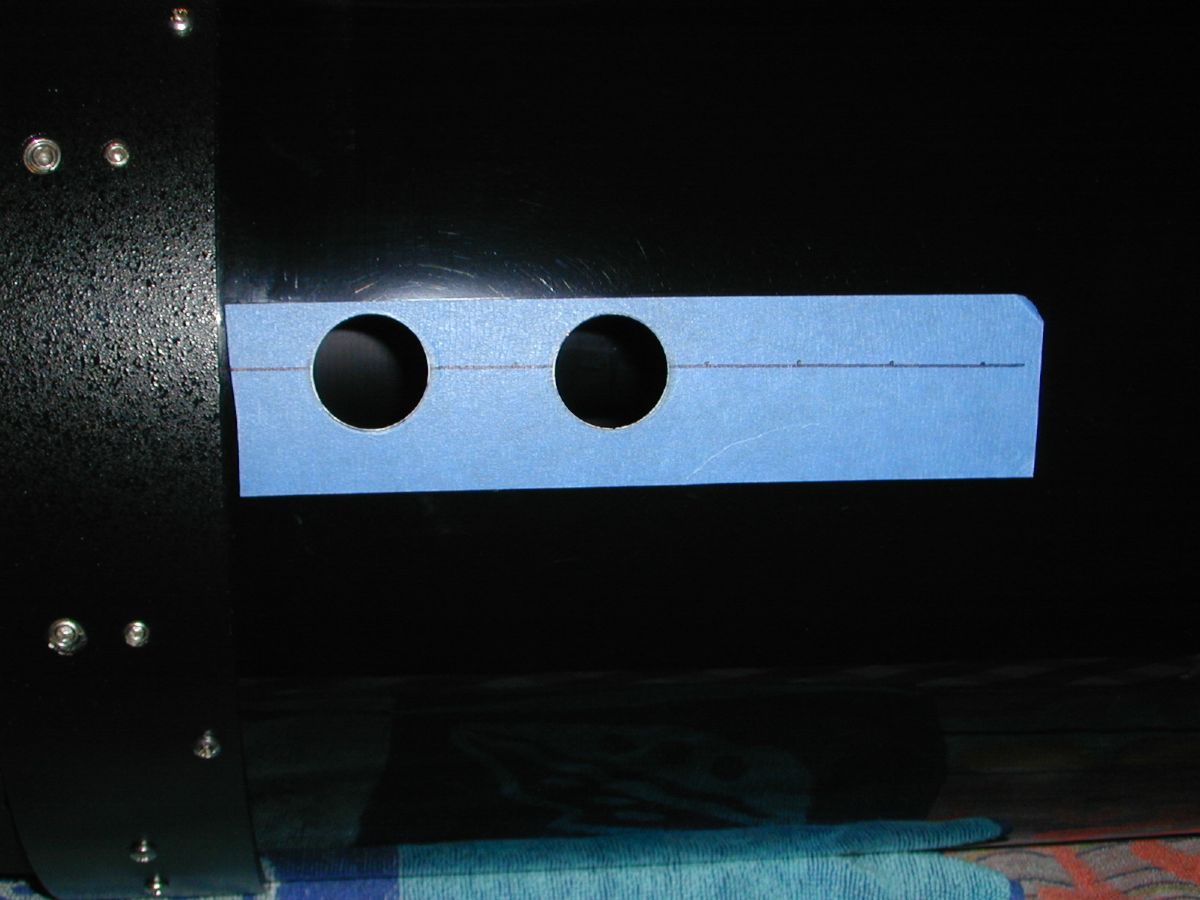
Next, I decided where the access holes needed to be cut and laid out the template on the scope with masking tape.
|
|
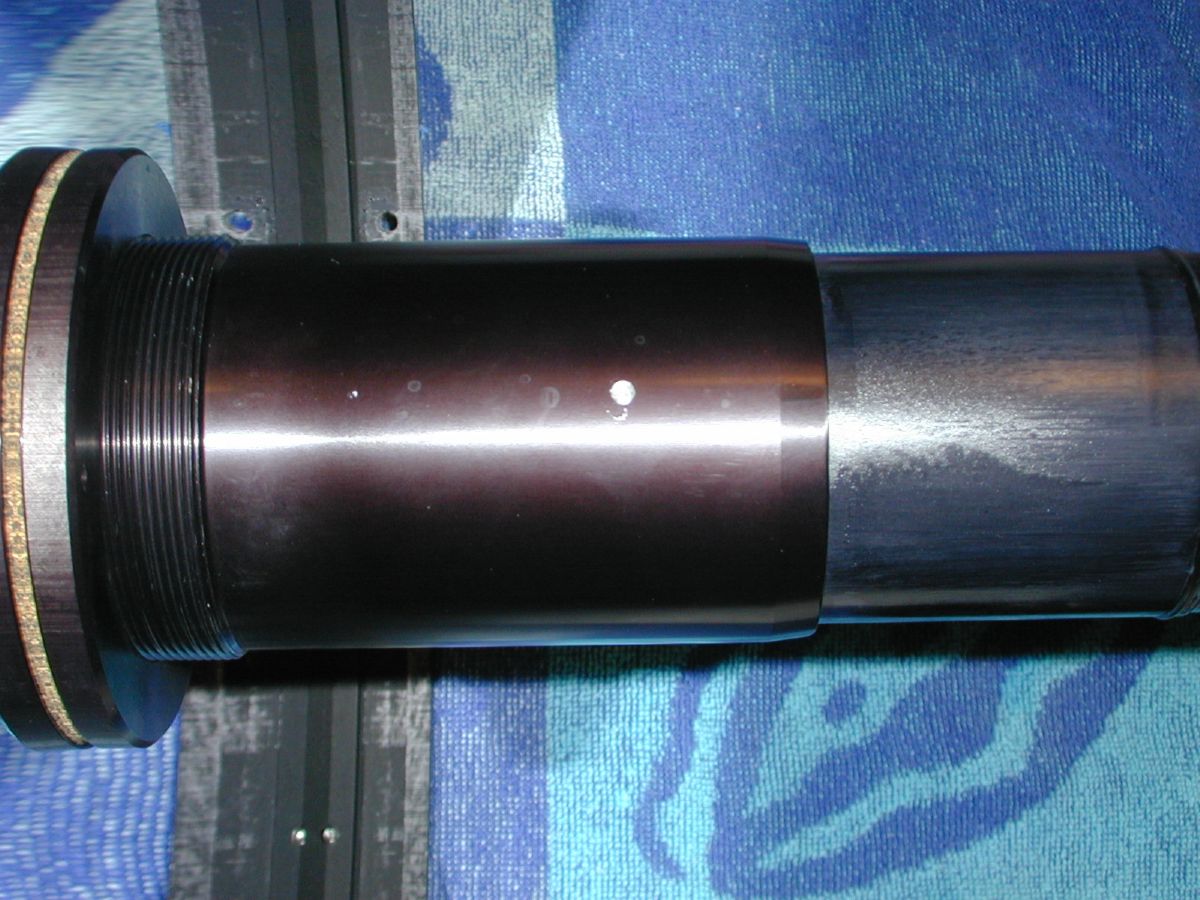
The Software Bisque collar installs over the mirror baffle tube. It needs a hole drilled in this tube as an "index" to keep the collar from rotating on the tube. A setscrew is tightened to hold the collar at this orientation.
|
|
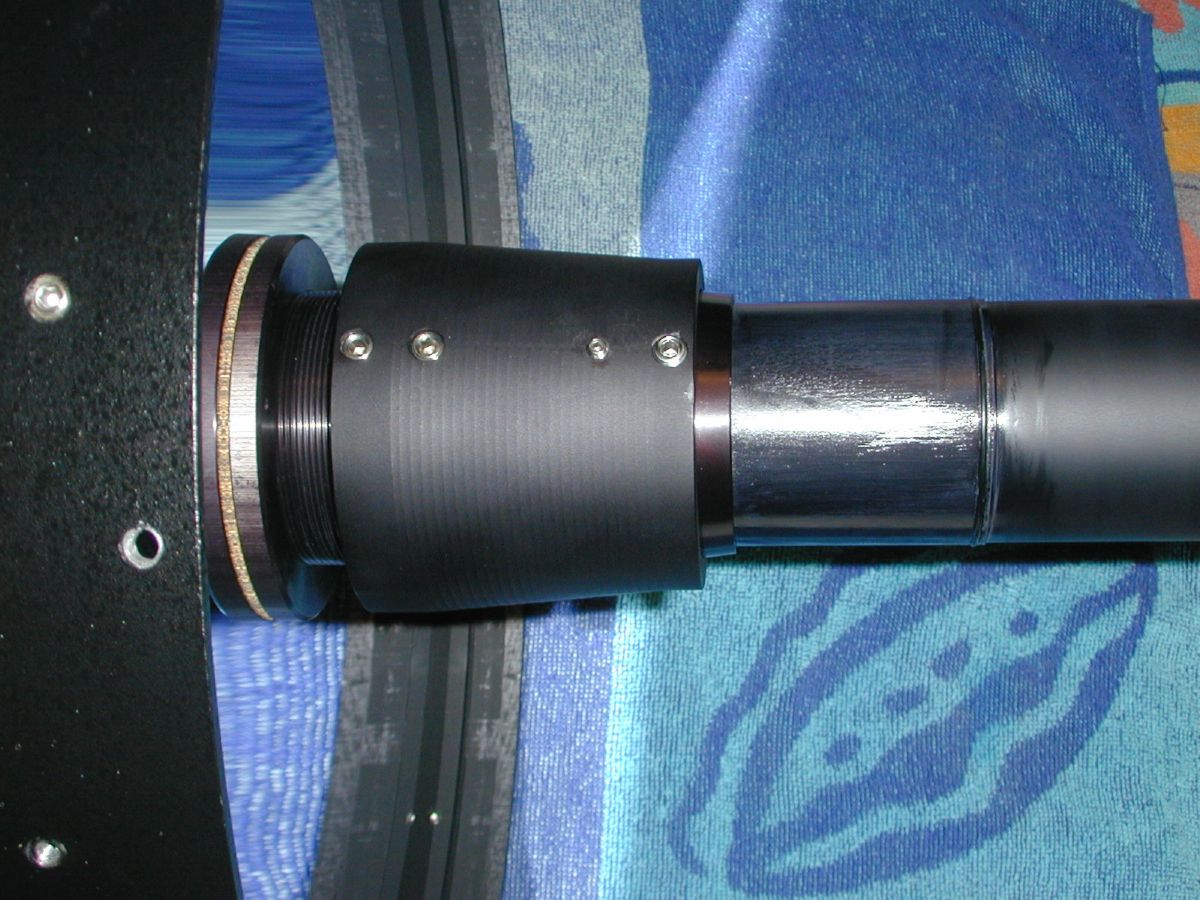
The collar has now been placed on the tube. The indexing setscrew is the second one from the front.
|
|
I used a knockout hole punch to cut two very clean 1 3/16” access holes to allow me to reach the larger setscrews that tighten the collar on the tube. The tightening is done with a T-Handle allen wrench.
|
|
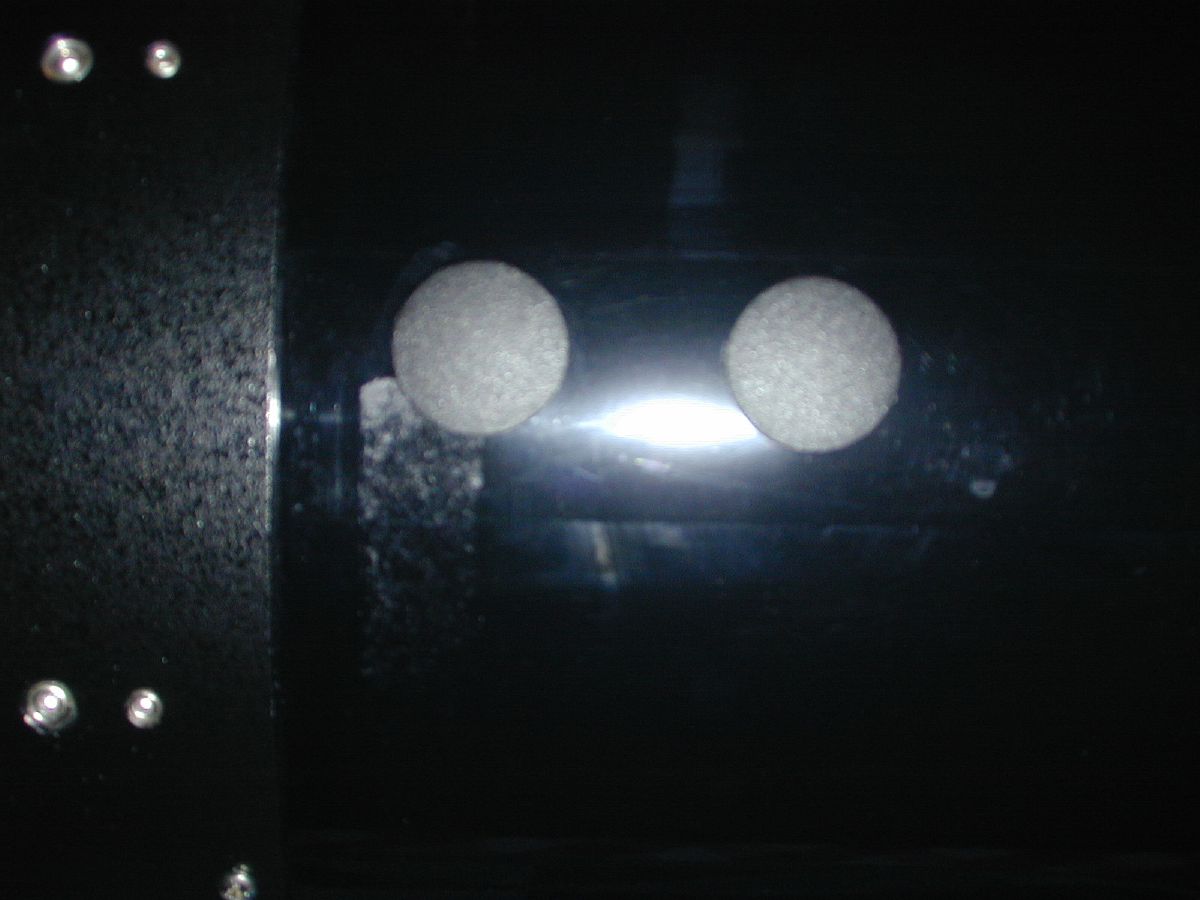
Two plastic plugs complete the surgery and all that's left is the reassembly. I also took this opportunity to clean my mirror, corrector on both sides, and inside of the OTA tube. I'm now ready to reinstall on my ParamountME and test the results.
|
